Here are the steps for integrating Google’s Identity Provider Services into VAL i.e., Google’s OpenID Connect Compliant Identity Provider (IdP) functionality as one of the IdP options exposed via VAL.
Conceptually, the process is as follows:
- Register your VAL-enabled Virtuoso instance as an Application (the Relying Party) with Google’s Identity Provider Services
- Add Google’s Identity Provider to the the collection of IdPs registered with your VAL-enabled Virtuoso instance .
Application (Relying Party) Registration Related Steps
- Register an Application with Google via Google Cloud (you must have a Google Cloud account)
- Register your Application which includes Naming and setting up a Callback URL
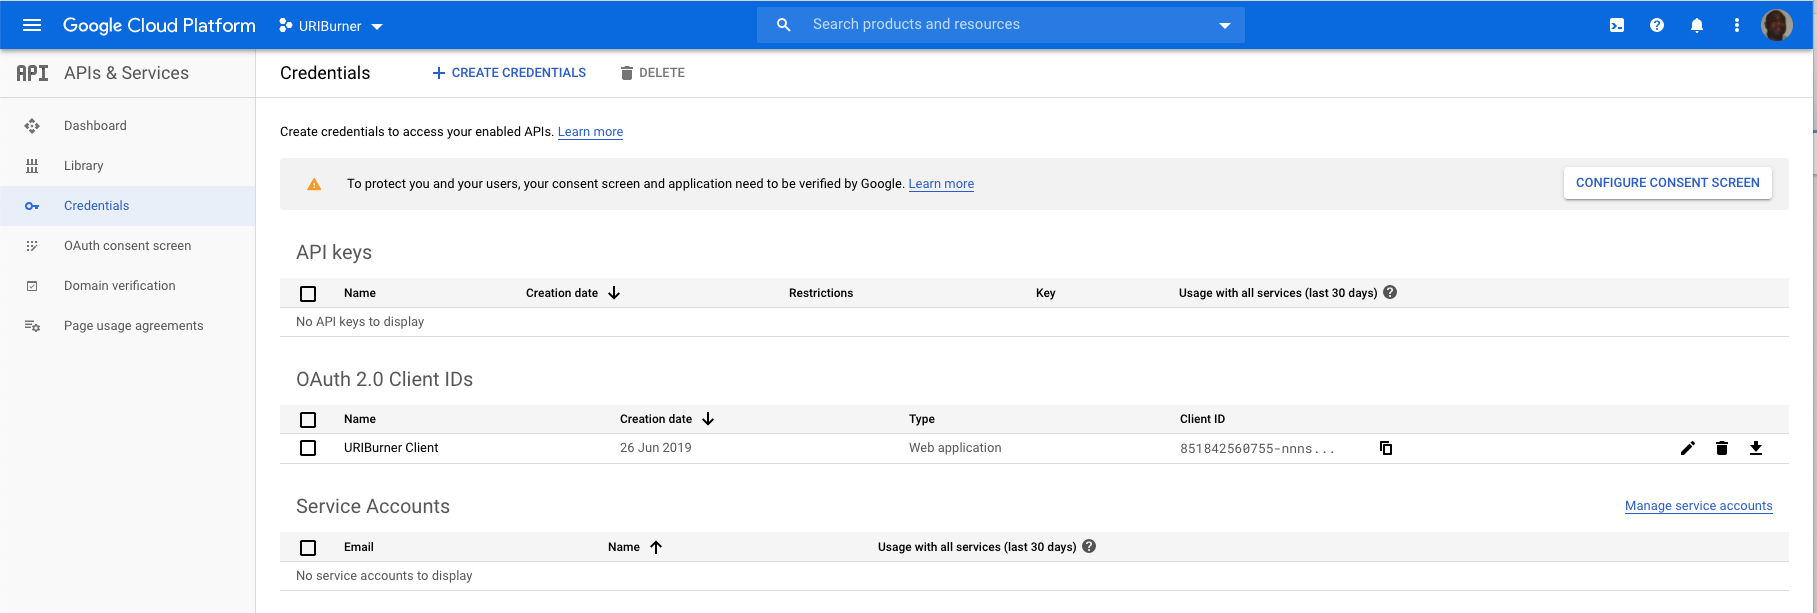


- Generate a Shared Secret (Private Key) for your App

At this juncture you have an App ID and its associated Shared Secret in place.
VAL Setup Steps
This is achieved via the Conductor or OAuth Idp Admin UI (https:/{your-instance-cname}/oauth/admin.vsp).

Irrespective of interface, the steps are as follows, in regards to registering a new Custom IdP:
-
Goto https://{cname}/oauth/admin.vsp
-
Click on the “Add OAuth API Keys” button; and then unhatch the “custom provider” checbox due to the fact that VAL includes an OAuth Provider Template for Google

-
Fill in the Application ID and Shared Secret
-
Save
-
Test VAL authentication via SPARQL endpoint or other services that use VAL for authentication
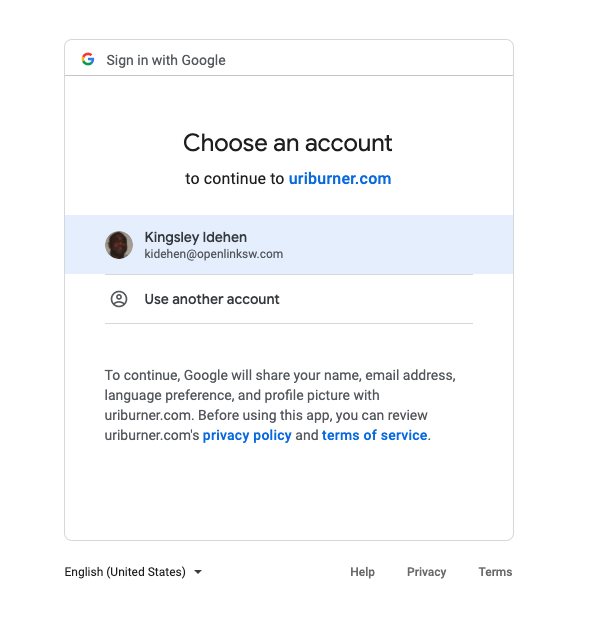
Here is a screencast demonstrating VAL using OpenID Connect for loosely-coupled interaction with OAuth Identity Providers.
")