Overview
- Package Download & Installation
- Configuration
- Application Usage
- Personal Assistant Configuration
- Sample Prompts
- Additional Information
Package Download & Installation
This process involves the following steps:
- Download the Virtuoso Authentication Layer (VAL) VAD package.
- Download the Personal Assistant VAD package.
- Set the
enable_g_in_sec = 1parameter in the[Flags]section in thevirtuoso.iniconfiguration file and restarted the Virtuoso server.
Note: The minimum Virtuoso version required for use is 08.03.3329, with the latest versions available for download from here.
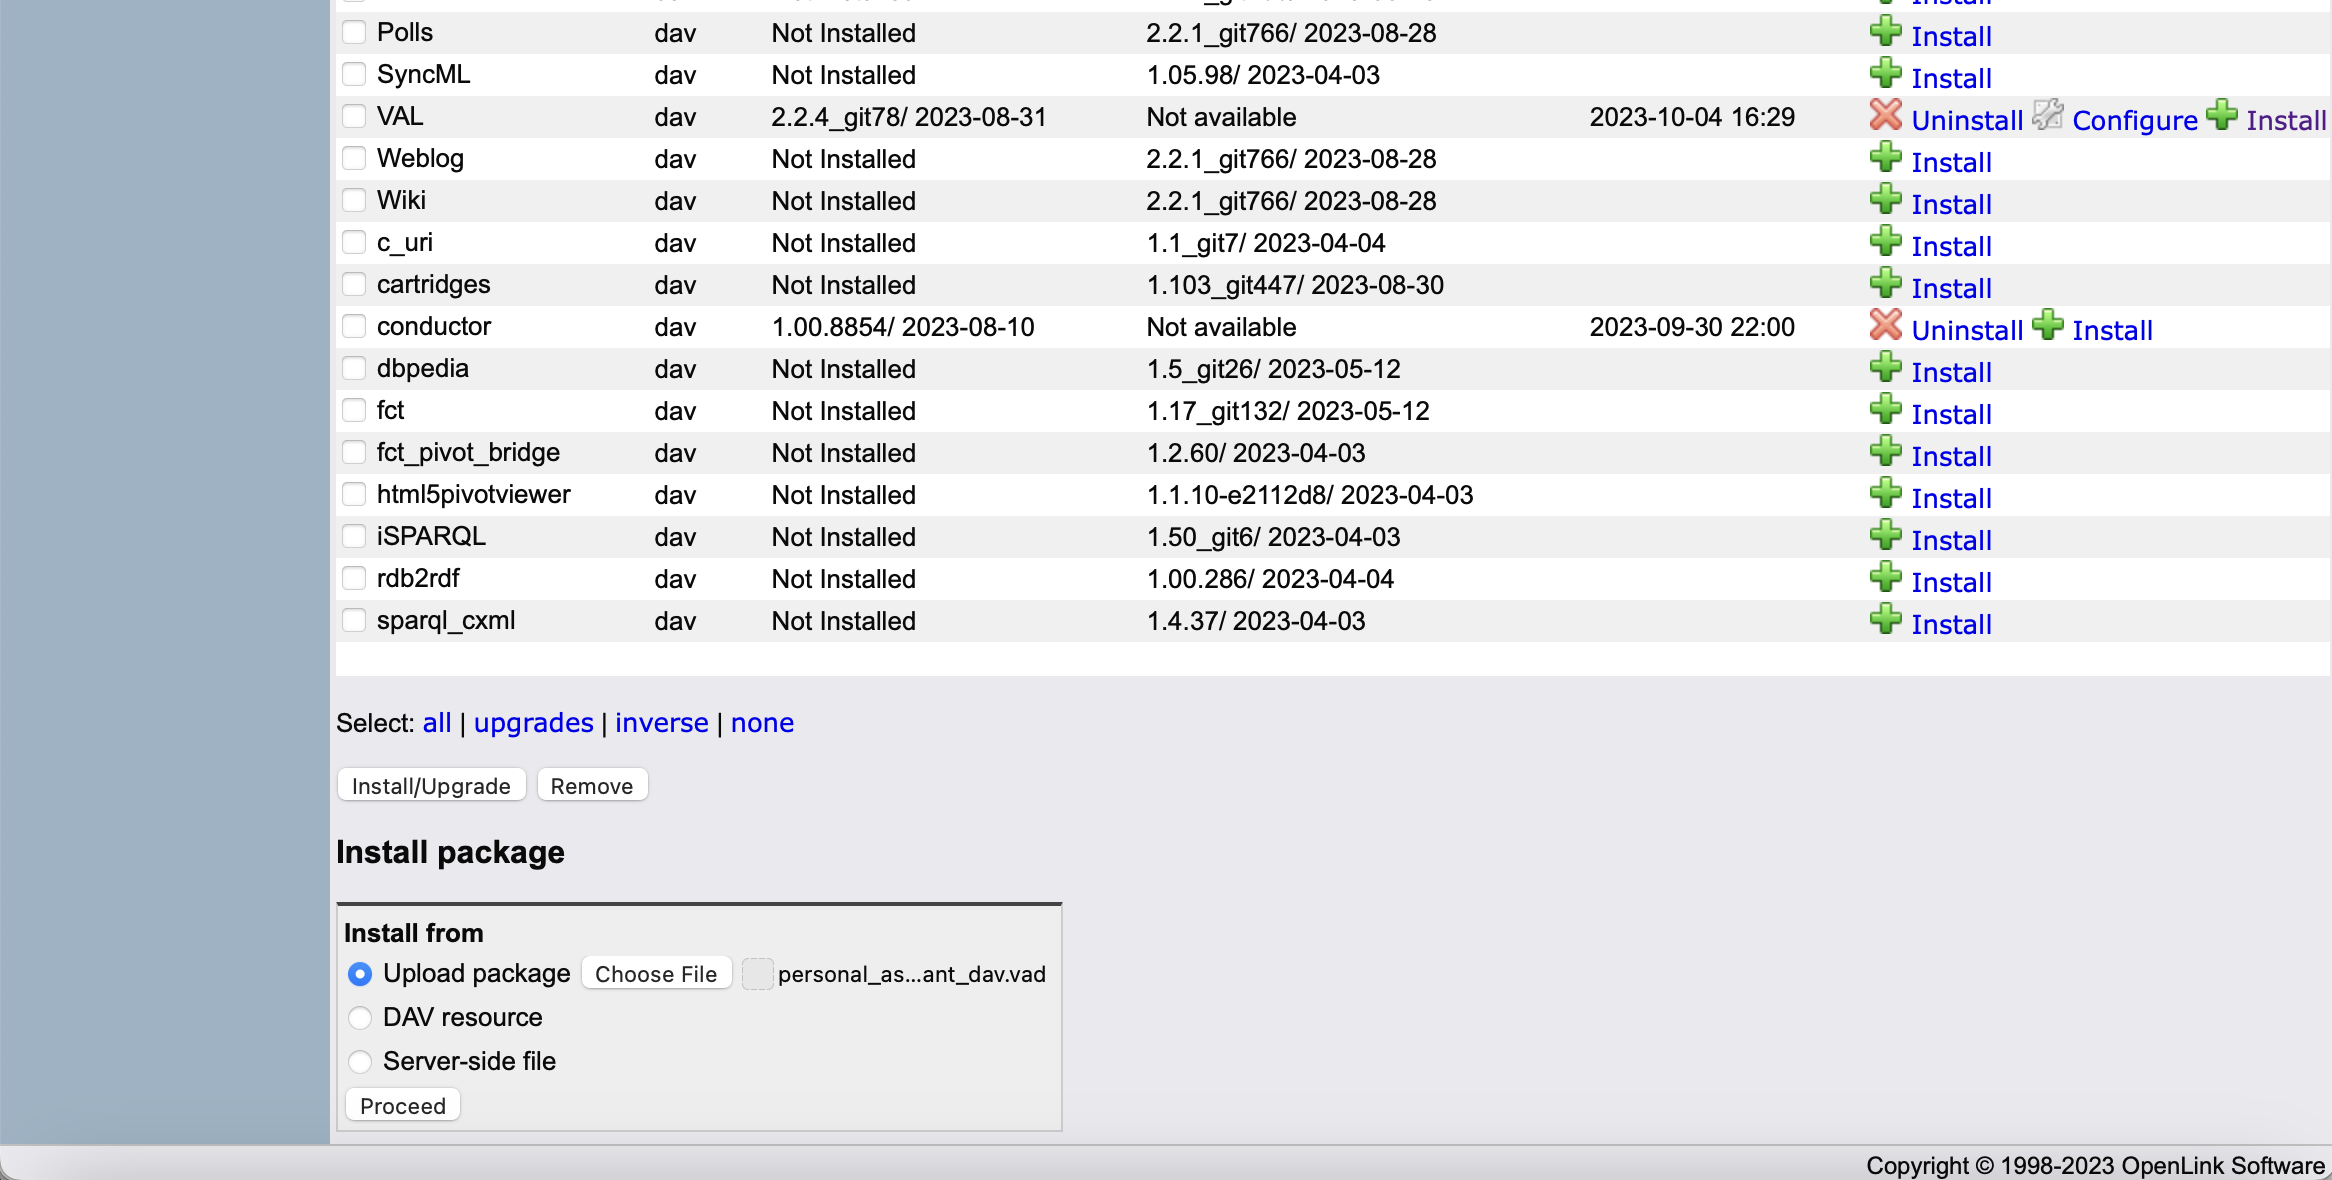
Once the packages have been downloaded, they can be installed via the Virtuoso iSQL command-line or Conductor interfaces. You MUST install the VAL package prior to installing the Personal Assistant package.
Using the Conductor interface, both packages can then be selected from the Install from section of the Conductor System Admin -> Packages tab where you click the Proceed button to install:
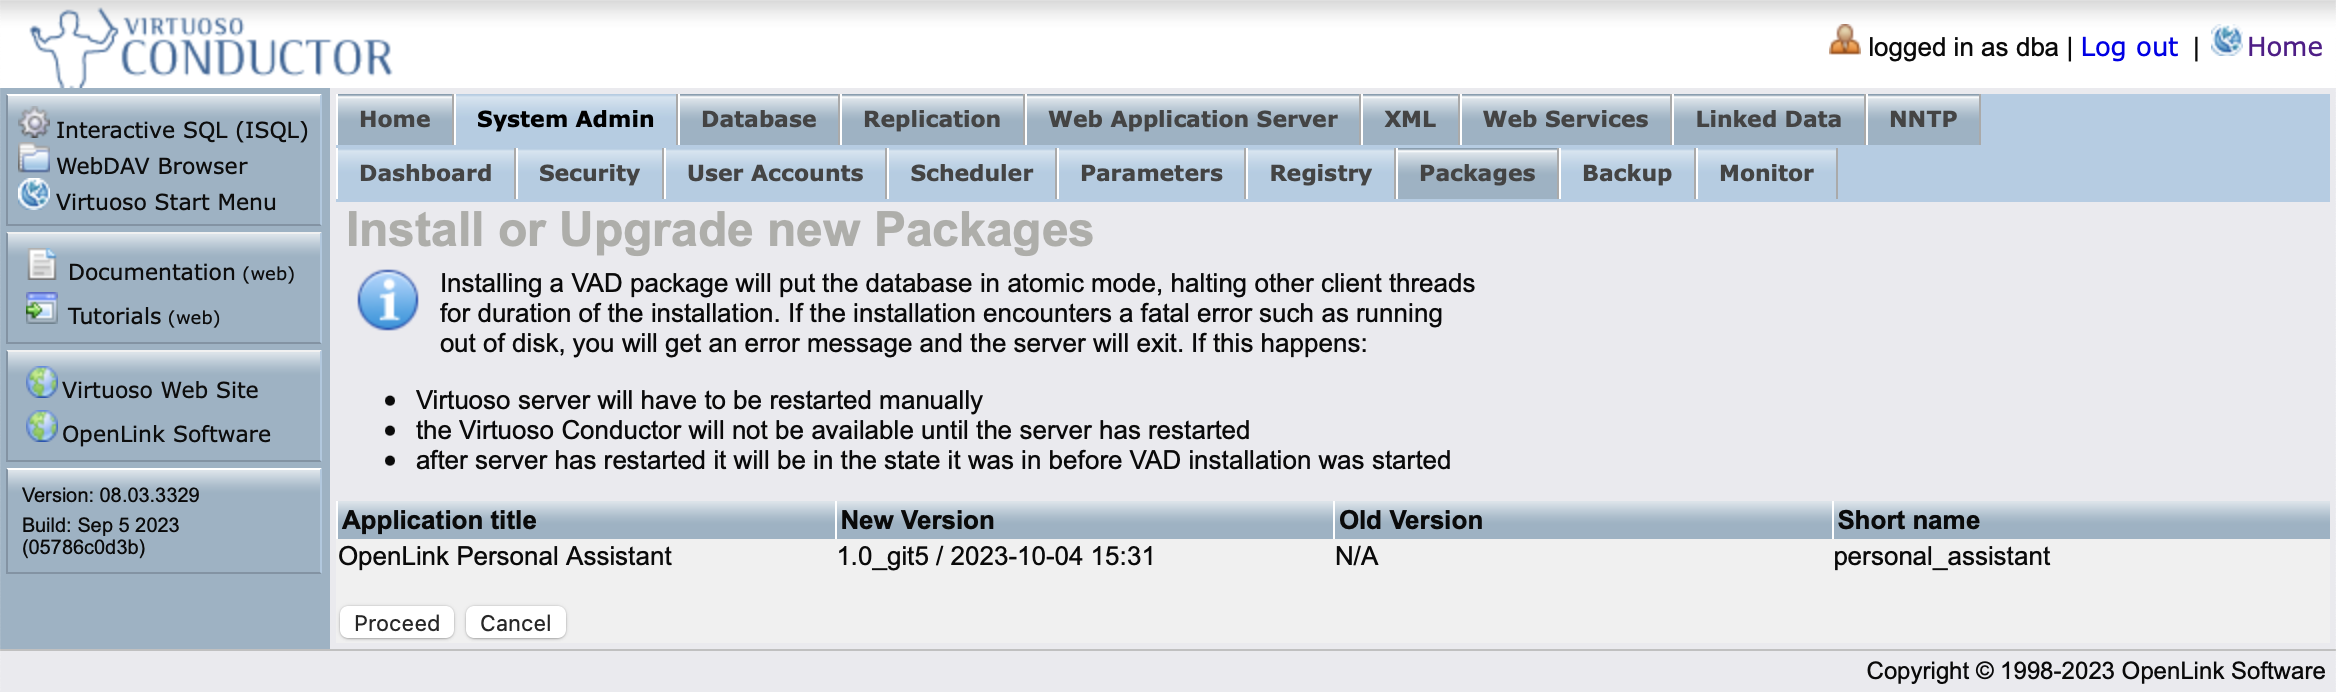
Once loaded and the version confirmed, click the Proceed button to install the selected VAD:
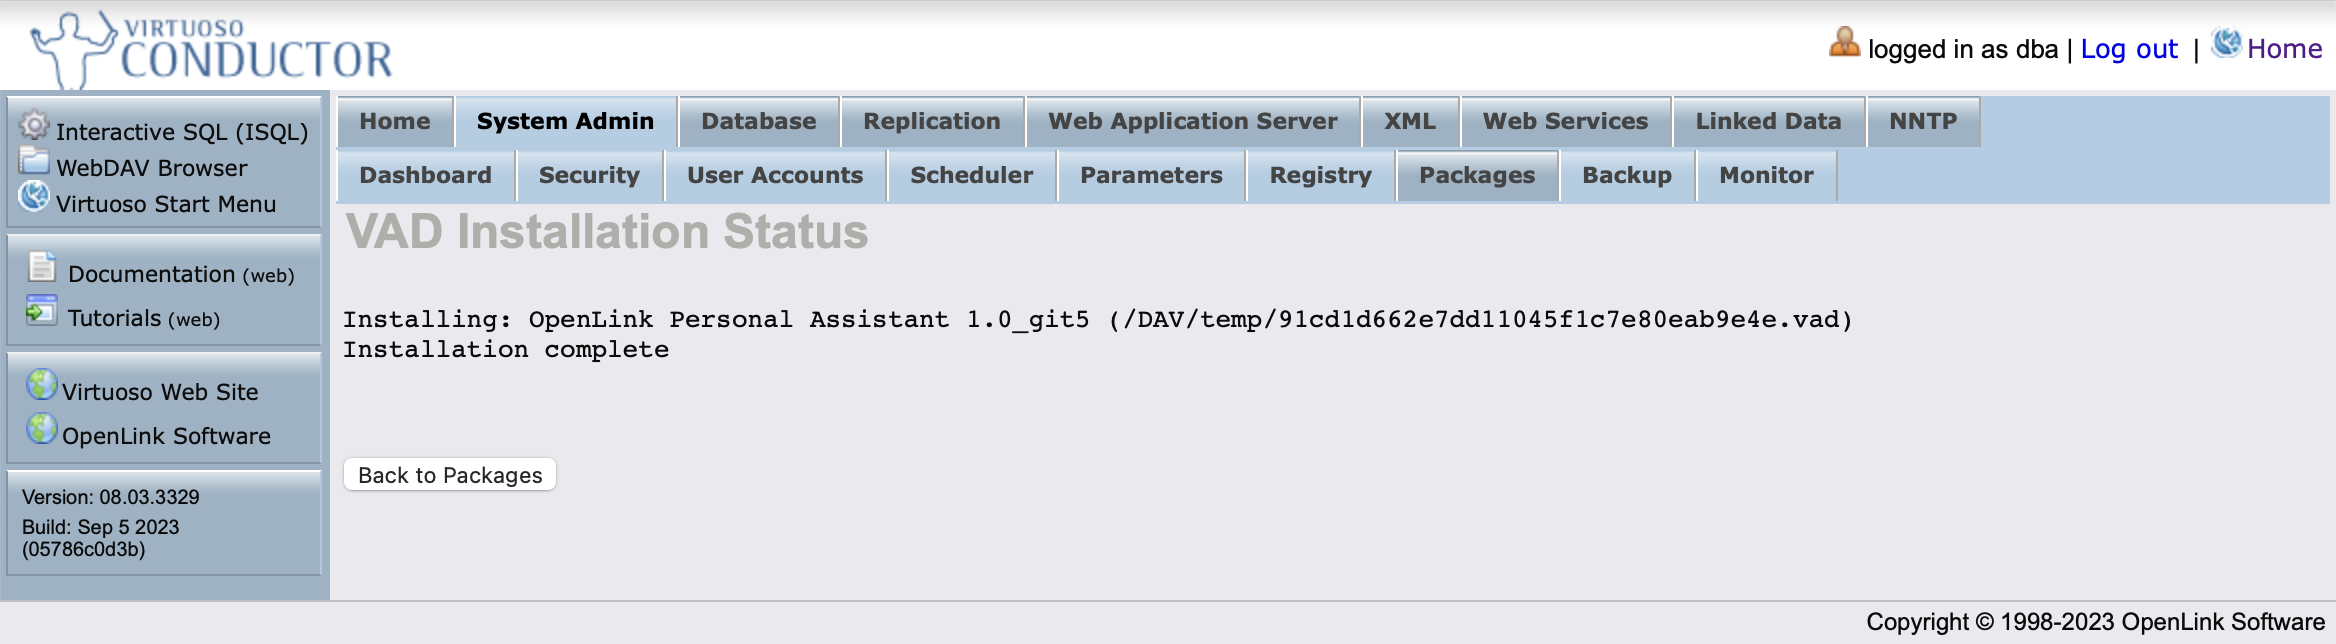
The installation is now complete:
Additional information about the VAL package is available here but following the steps in this guide will walk you through relevant aspects of its configuration for use with the Personal Assistant.
Configuration
Virtual Directories
If installing on a non-default virtual host (a virtual host other than the default provided by Virtuoso), an HTTPS listener must be created by copying the definitions for the existing /chat, /chat/api and /ws/chat virtual directories from the HTTP listener definitions, created during VAD package installation.
Alternatively, you can also use the following SQL command templates, where {CNAME} placeholder implies the Canonical Name of the machine hosting your Virtuoso instance, to create the required HTTPS Listener Virtual directories via the iSQL command-line or Conductor interfaces:
-- Chat Endpoint
DB.DBA.VHOST_REMOVE (
	 lhost=>':443',
	 vhost=>'{CNAME}',
	 lpath=>'/chat'
);
DB.DBA.VHOST_DEFINE (
	 lhost=>':443',
	 vhost=>'{CNAME}',
	 lpath=>'/chat',
	 ppath=>'/DAV/VAD/personal_assistant/',
	 is_dav=>1,
	 is_brws=>0,
	 def_page=>'index.html',
	 ses_vars=>0,
	 sec=>'SSL',
	 auth_opts=>vector ('https_key', '{db-or-filesystem-hosted-tls-key}', 'https_cert', '{db-or-filesystem-hosted-tls-cert}', 'https_extra_chain_certificates', '{db-or-filesystem-hosted-tls-cert-chain.pem}', 'https_verify', '0', 'https_cv_depth', 10),
	 is_default_host=>0
);
-- Chat Websockets Endpoint
DB.DBA.VHOST_REMOVE (
	 lhost=>':443',
	  vhost=>'{CNAME}',
	 lpath=>'/ws/chat'
);
DB.DBA.VHOST_DEFINE (
	 lhost=>':443',
	  vhost=>'{CNAME}',
	 lpath=>'/ws/chat',
	 ppath=>'/SOAP/Http/websockets',
	 is_dav=>0,
	 is_brws=>0,
	 soap_user=>'chat',
	 ses_vars=>0,
	 auth_opts=>vector ('https_key', '{db-or-filesystem-hosted-tls-key}', 'https_cert', '{db-or-filesystem-hosted-tls-cert}', 'https_extra_chain_certificates', '{db-or-filesystem-hosted-tls-cert-chain.pem}', 'https_verify', '0', 'https_cv_depth', 10),
	 opts=>vector ('websocket_service_call', 'OAI.DBA.CHAT', 'websocket_service_connect', 'OAI.DBA.CHAT_WS_CONNECT', 'cors', '*', 'cors_allow_headers', '*', 'cors_restricted', 0),
	 is_default_host=>0
);
-- Chat API Endpoint
DB.DBA.VHOST_REMOVE (
	 lhost=>':443',
	  vhost=>'{CNAME}',
	 lpath=>'/chat/api'
);
DB.DBA.VHOST_DEFINE (
	 lhost=>':443',
	 vhost=>'{CNAME}',
	 lpath=>'/chat/api',
	 ppath=>'/SOAP/Http',
	 is_dav=>0,
	 is_brws=>0,
	 realm=>'Chat',
	 auth_fn=>'OAI.DBA.CHAT_WS_AUTH',
	 soap_user=>'chat',
	 ses_vars=>0,
auth_opts=>vector ('https_key', '{db-or-filesystem-hosted-tls-key}', 'https_cert', '{db-or-filesystem-hosted-tls-cert}', 'https_extra_chain_certificates', '{db-or-filesystem-hosted-tls-cert-chain.pem}', 'https_verify', '0', 'https_cv_depth', 10),
	 opts=>vector ('websocket_service_call', 'OAI.DBA.CHAT', 'websocket_service_connect', 'OAI.DBA.CHAT_WS_CONNECT','cors', '*', 'cors_allow_headers', '*', 'cors_restricted', 0),
	 is_default_host=>0
);
Note: If a nginx proxy is configured in front then make sure the /chat/ws virtual directory proxies the WebSockets.
HTTP & WebSocket Endpoint Configuration
Using the Conductor WebDAV explorer locate /DAV/VAD/personal_assistant/config.js.example``, copy or rename to config.js` in the same folder (ensuring read permissions for owner, group and other) and edit to set the relevant WebSocket (wsServer) & Base URI (httpServer) for the installation in question.
var wsServer='wss://{CNAME}:{PORT}/ws/chat';
var httpServer='https://{CNAME}:{PORT}';
Note: The client UI (a lightweight Single Page Application) can be used as a frontend to any other Personal Assistant chat backend, so it is not mandatory to use the client UI on the same instance as the backend.
Access Controls
API Key Control
By default, users will be prompted to enter their own OAuth API key to use the client UI upon connection. However, if required or preferred, one can register the OpenAI API key for system-wide access using the command registry_set ('openai-chat-app-key', '[API KEY]') via the iSQL command-line or Conductor interfaces, although note all usage will then be billed to that OpenAI API key account.
You can disable this modality at any time by executing the command registry_remove ('openai-chat-app-key') via the iSQL command-line or Conductor interfaces.
Virtuoso Authentication Layer (VAL) Related Configuration
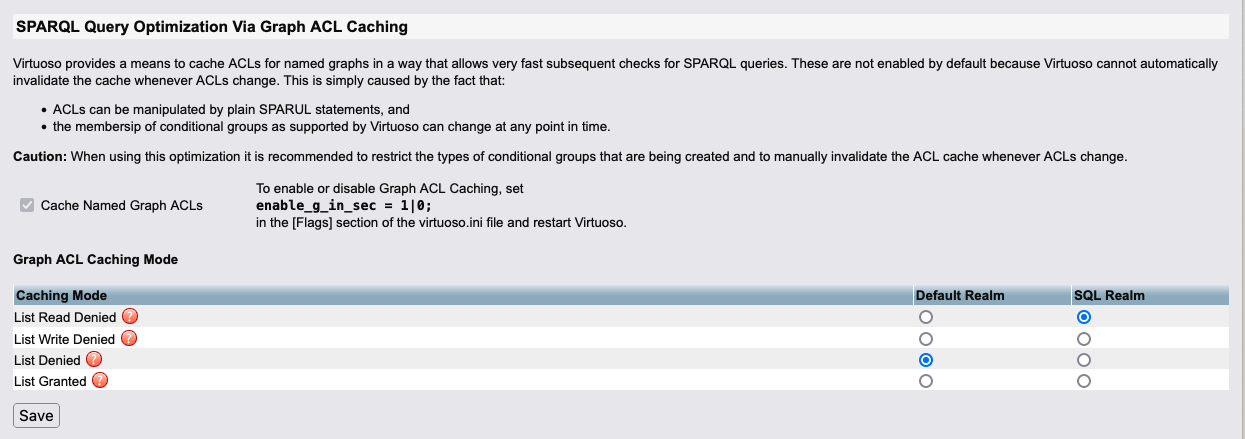
Fine-grained Attribute-based Access Control (ACL) Graph Caching
Use of this application requires enablement of VAL’s “Graph Caching Mode” which ensures highly scalable fine-grained attributed-based access control processing.
You can configure this mode via the Conductor UI or via the iSQL command-line.
Conductor UI
Command Line
Simply execute the following command: __dbf_set('enable_g_in_sec',1)
Access Controls
In addition to OpenAI API Keys, it is important to protect the Personal Assistant using attribute-based access controls (ACLs). You achieve this by creating a generic ACL that requires users to authenticate (using a variety of authentication protocols) prior to application use. You can set up this ACL by running the script situated in {your-instance-cname/DAV/VAD/personal_assistant/sql/chat_acl_rules.sql} via the iSQL command-line interface (rather than Conductor).
Using the Conductor you can copy, edit, paste, and run the following:
SPARQL
PREFIX acl: <http://www.w3.org/ns/auth/acl#>
PREFIX oplacl: <http://www.openlinksw.com/ontology/acl#>
PREFIX foaf: <http://xmlns.com/foaf/0.1/>
PREFIX oplres: <http://www.openlinksw.com/ontology/restrictions#>

WITH <https://{your-instance-cname}/acl/graph/rules/http%3A%2F%2Fwww.openlinksw.com%2Fontology%2Facl%23DefaultRealm>
DELETE
{
  <#rulePublicChat> a acl:Authorization;
            foaf:maker <http://www.openlinksw.com/dataspace/person/kidehen#this> ;
            oplacl:hasAccessMode oplacl:Read, oplacl:Sponge, oplacl:Write;
            acl:accessTo <urn:oai:chat>;
            acl:agent <#groupBasicNetID>;
            oplacl:hasRealm oplacl:DefaultRealm;
            oplacl:hasScope oplacl:Query .

};

SPARQL
PREFIX acl: <http://www.w3.org/ns/auth/acl#>
PREFIX oplacl: <http://www.openlinksw.com/ontology/acl#>
PREFIX foaf: <http://xmlns.com/foaf/0.1/>
PREFIX oplres: <http://www.openlinksw.com/ontology/restrictions#>

WITH <https://{your-instance-cname}/acl/graph/rules/http%3A%2F%2Fwww.openlinksw.com%2Fontology%2Facl%23DefaultRealm>
INSERT
{
  <#rulePublicChat> a acl:Authorization;
            foaf:maker <http://www.openlinksw.com/dataspace/person/kidehen#this> ;
            oplacl:hasAccessMode oplacl:Read, oplacl:Sponge, oplacl:Write;
            acl:accessTo <urn:oai:chat>;
            acl:agent <#groupBasicNetID>;
            oplacl:hasRealm oplacl:DefaultRealm;
            oplacl:hasScope oplacl:Query .

};
VAL Scopes Configuration
- Enable the VAL default ACL
scopesin Conductor VAL configure page. - Enable
Solid Client Authentication Library compatibility modein Conductor VAL configure page. - Configure Virtuoso Authentication Layer (VAL) Secure Endpoint to enable Callback URL from HTTPS.
Web Crawling (“Sponger”) Usage Privileges
Incorporating web crawls into query solution production pipelines requires the following steps:
- Granting
SPARQL_SPONGEprivileges to the SQL account (“demo” by default) associated with theDemo.demo.execute_sql_querystored procedure that handles SPASQL (SPARQL inside SQL) functionality. This is achieved by executing the commandGRANT SPARQL_SPONGE TO demo. - Running the attached script through the iSQL command-line interface.
assistant_sponging_patch.sql.zip (1.1 KB)
Having successfully performed the steps above, you will then be able to execute SPASQL queries such as:
SELECT X.sample, X.entityTypeID, X.sampleCount
FROM
(
    SPARQL
    DEFINE get:soft "soft"
    SELECT (SAMPLE(?entity) AS ?sample) (COUNT(*) AS ?sampleCount) (?entityType As ?entityTypeID)
    FROM <https://www.apple.com/shop/buy-ipad/ipad-pro>
    WHERE {?entity a ?entityType. FILTER (CONTAINS(STR(?entityType),"schema"))}
    GROUP BY ?entityType
    ORDER BY DESC (?sampleCount)
) AS X
Application Usage
The OpenLink Personal Assistant is only accessible on the secure HTTPS port of the hostname https://{CNAME}:{PORT}/chat:
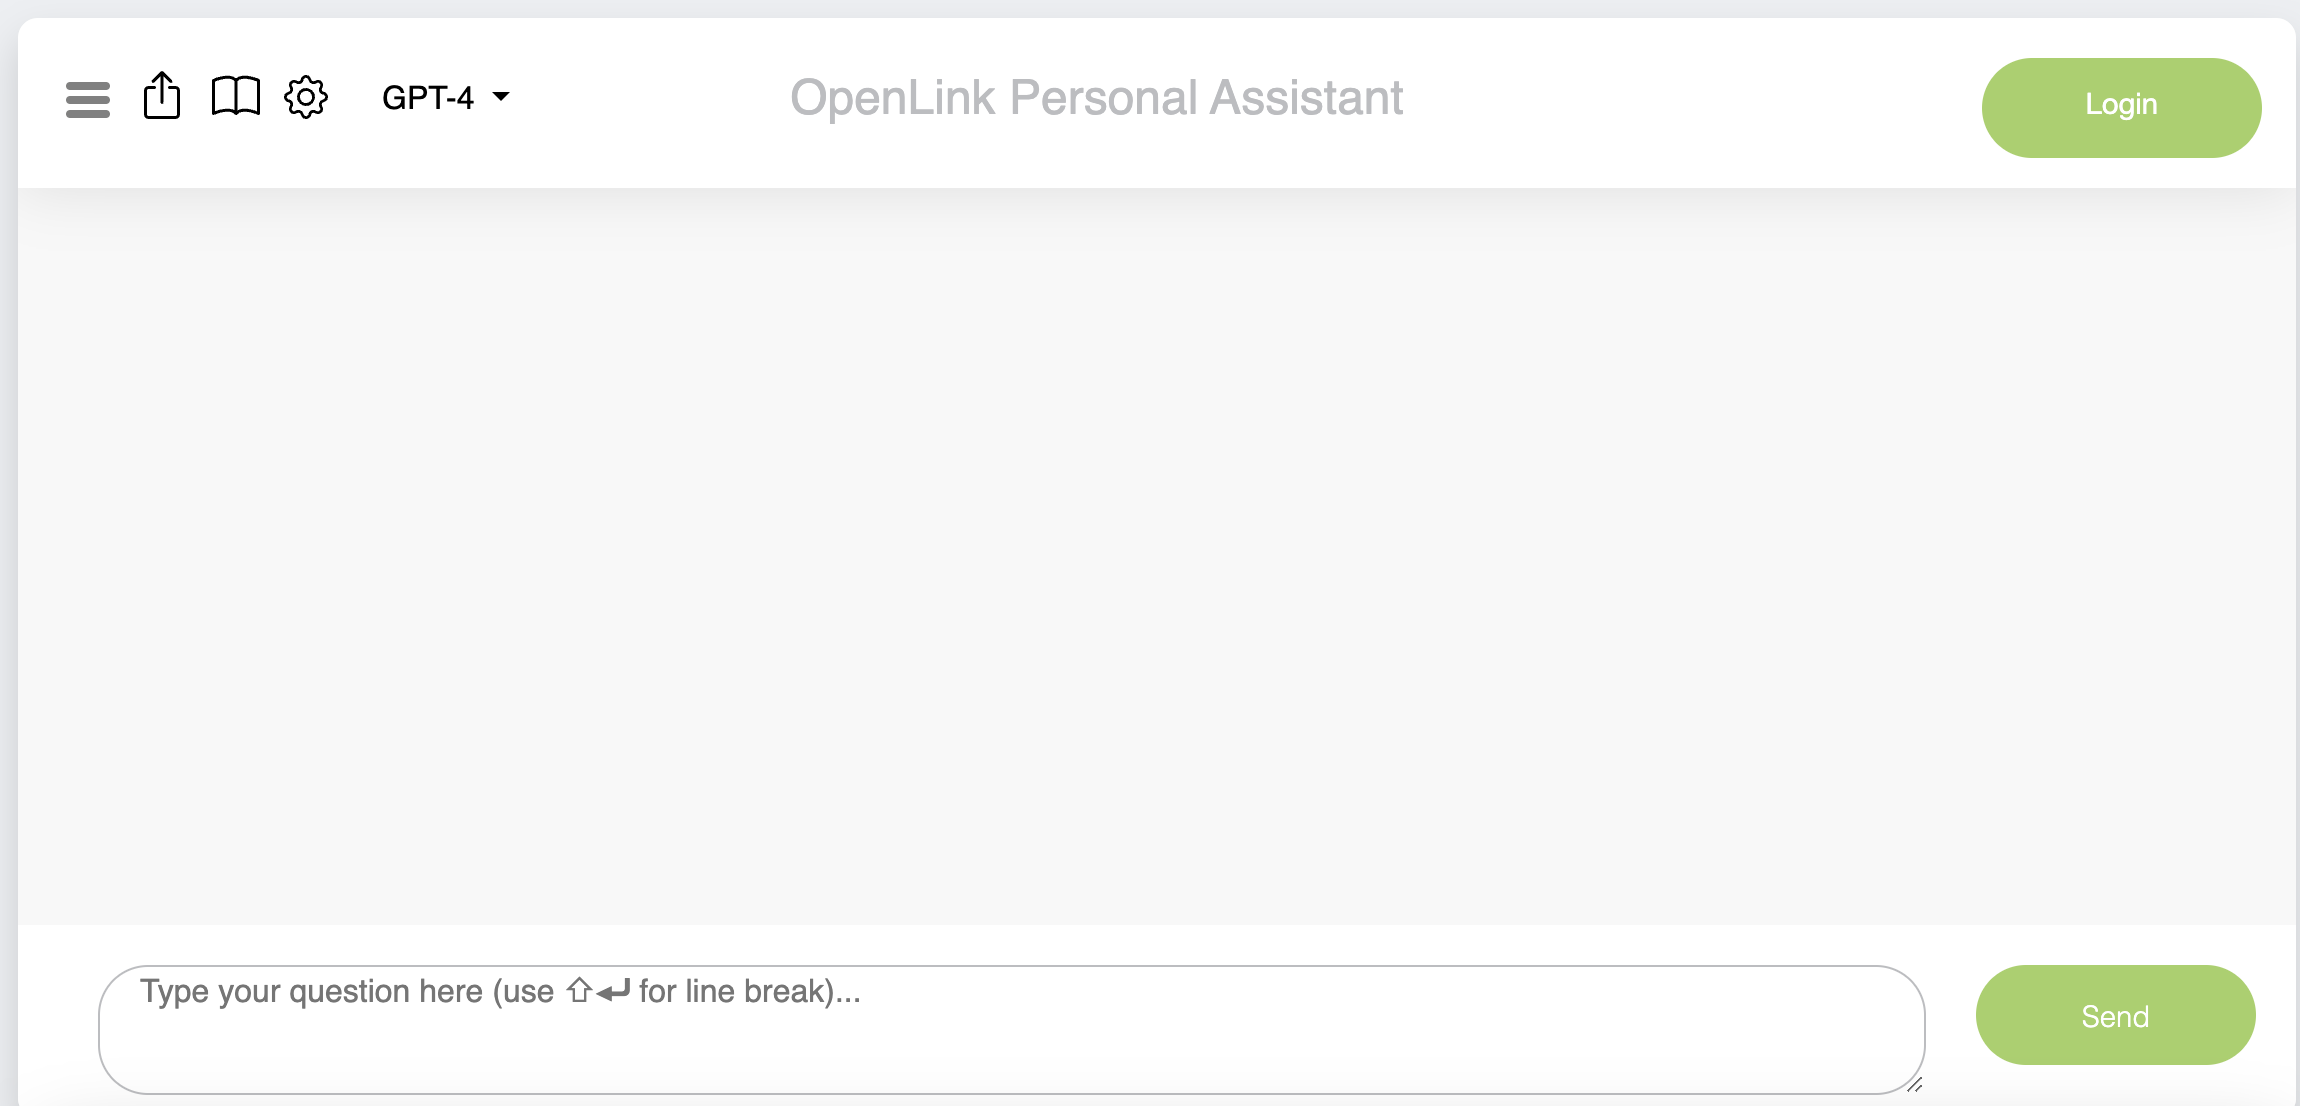
Click on the Login button to log in and access the personal assistant:
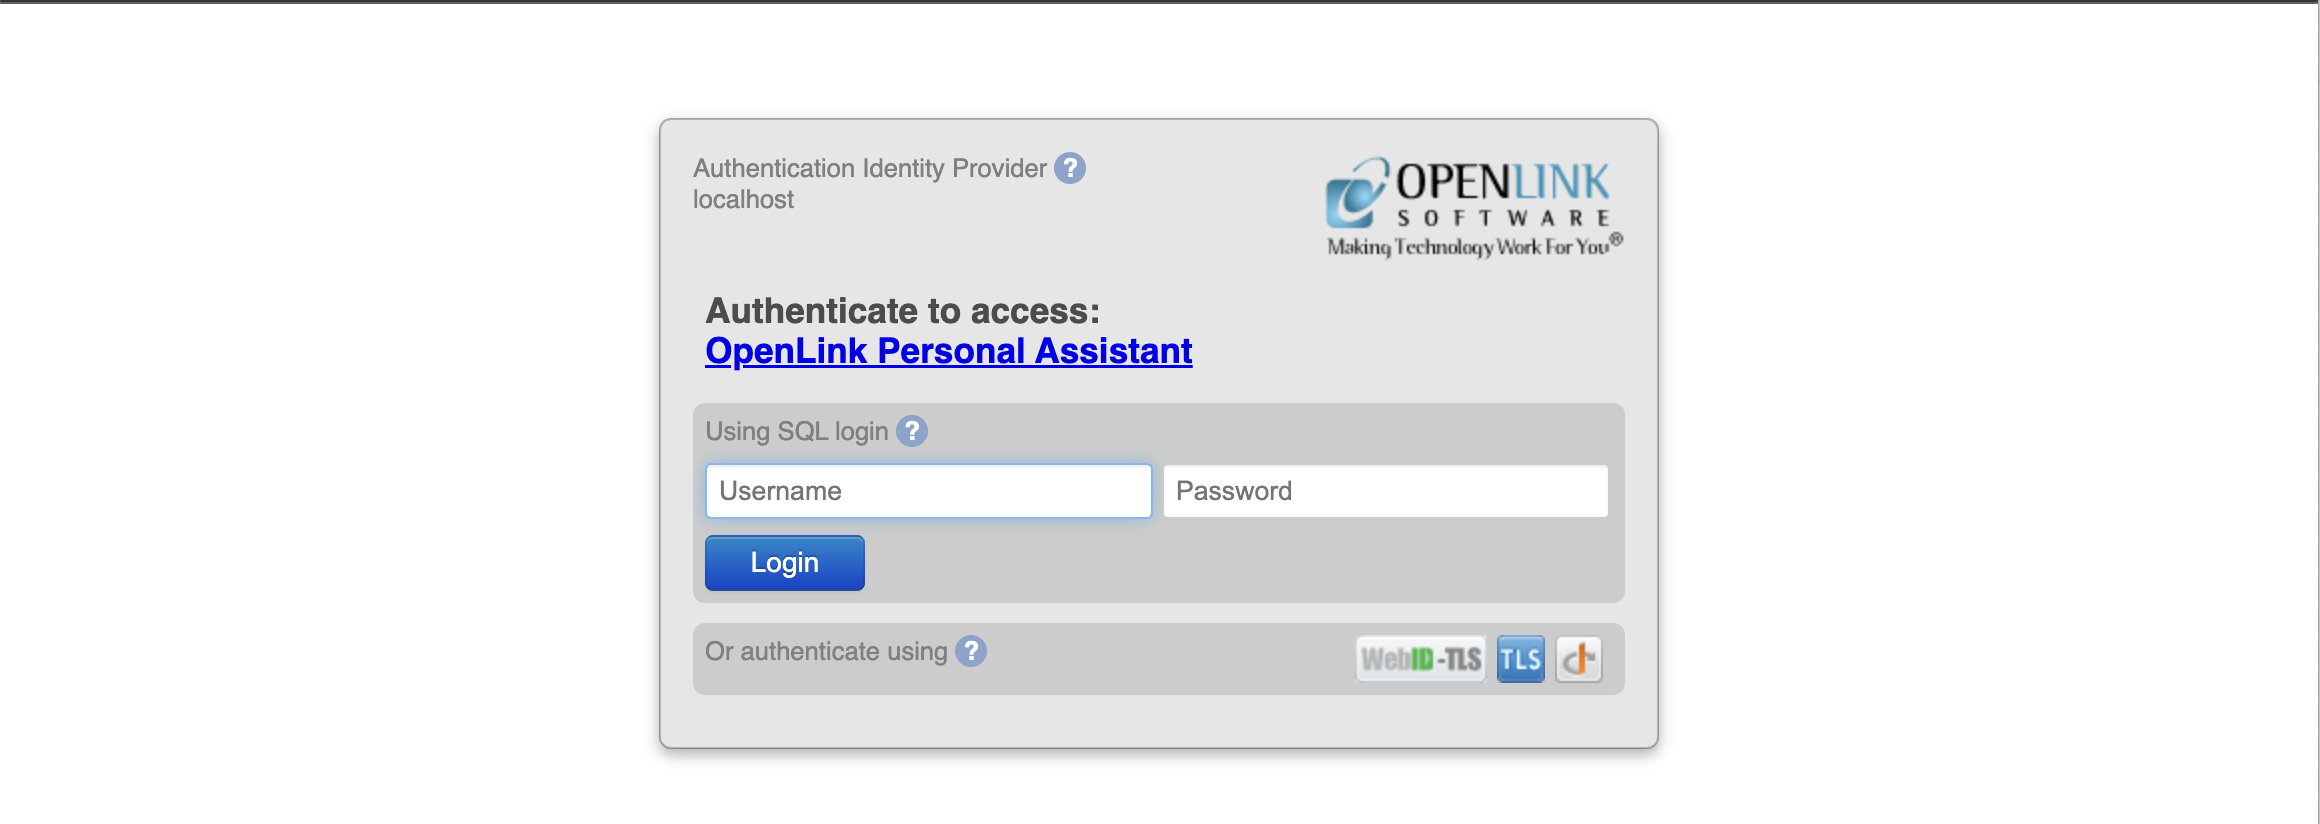
Authenticate by choosing one of the authentication service options presented by Virtuoso’s multi-protocol authentication interface:
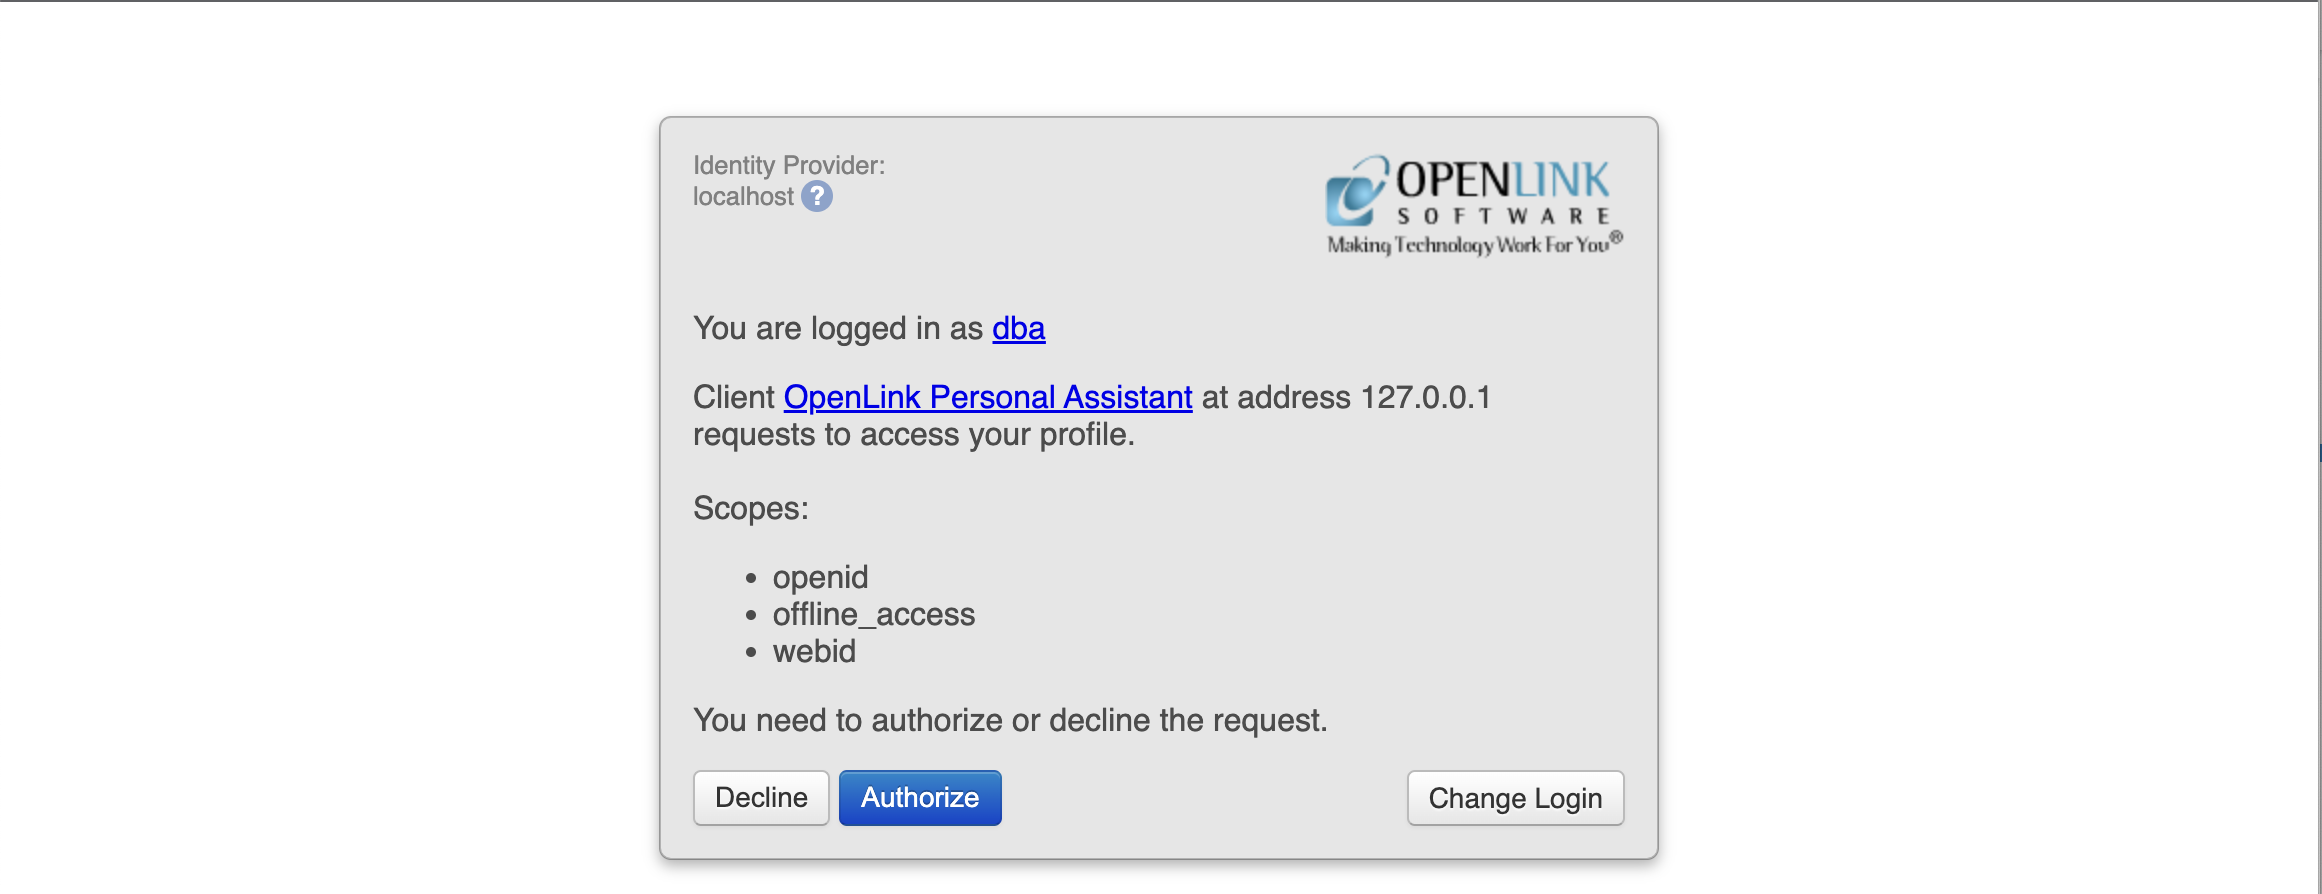
Click on the Authorize button to authorize the login request:
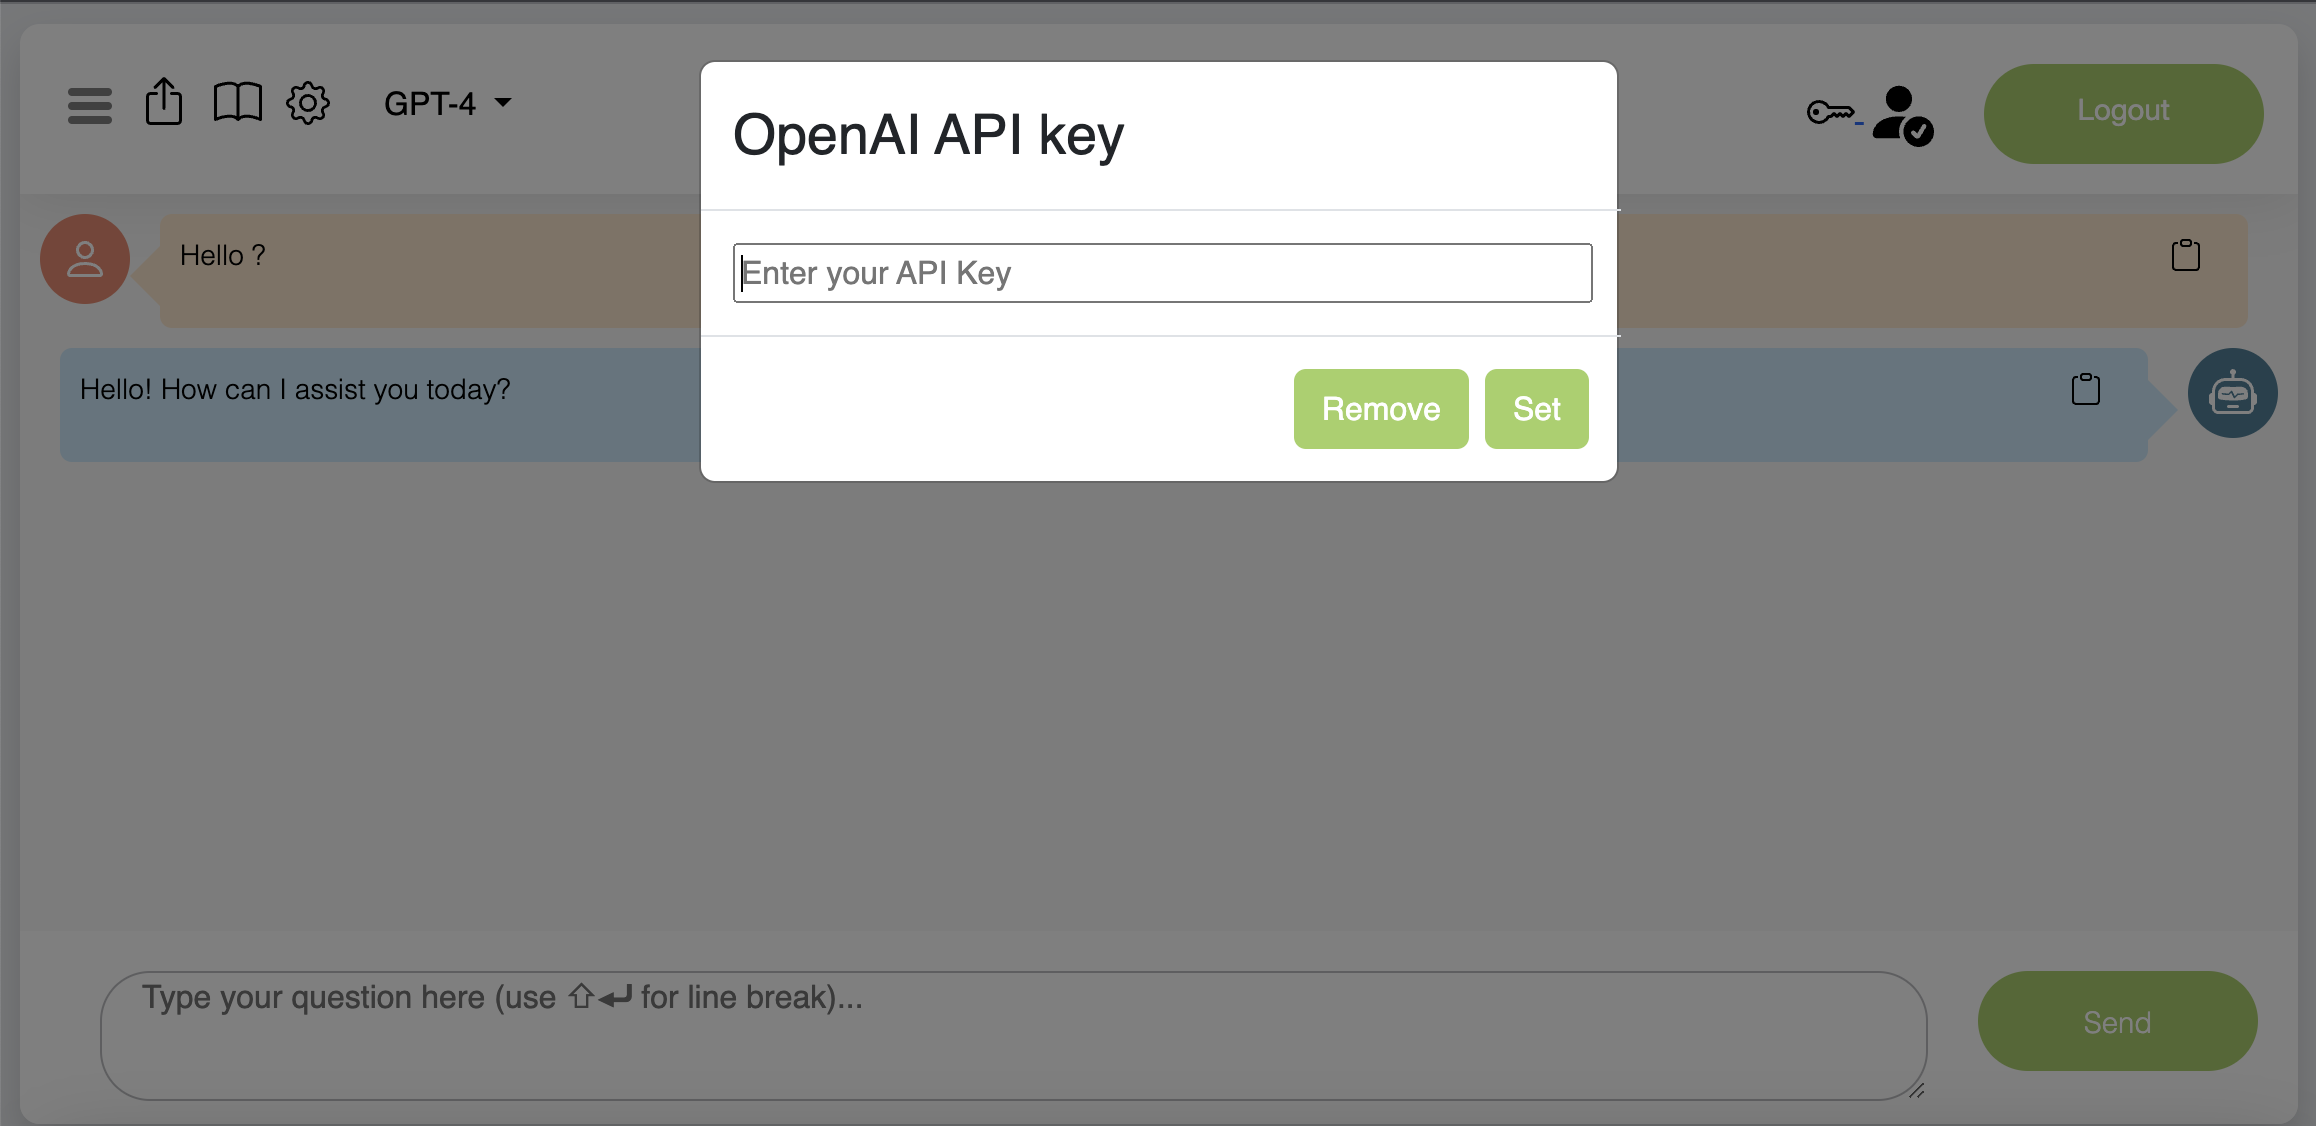
Enter a valid OpenAI API Key in the designated field to enable communication with the OpenAI API:
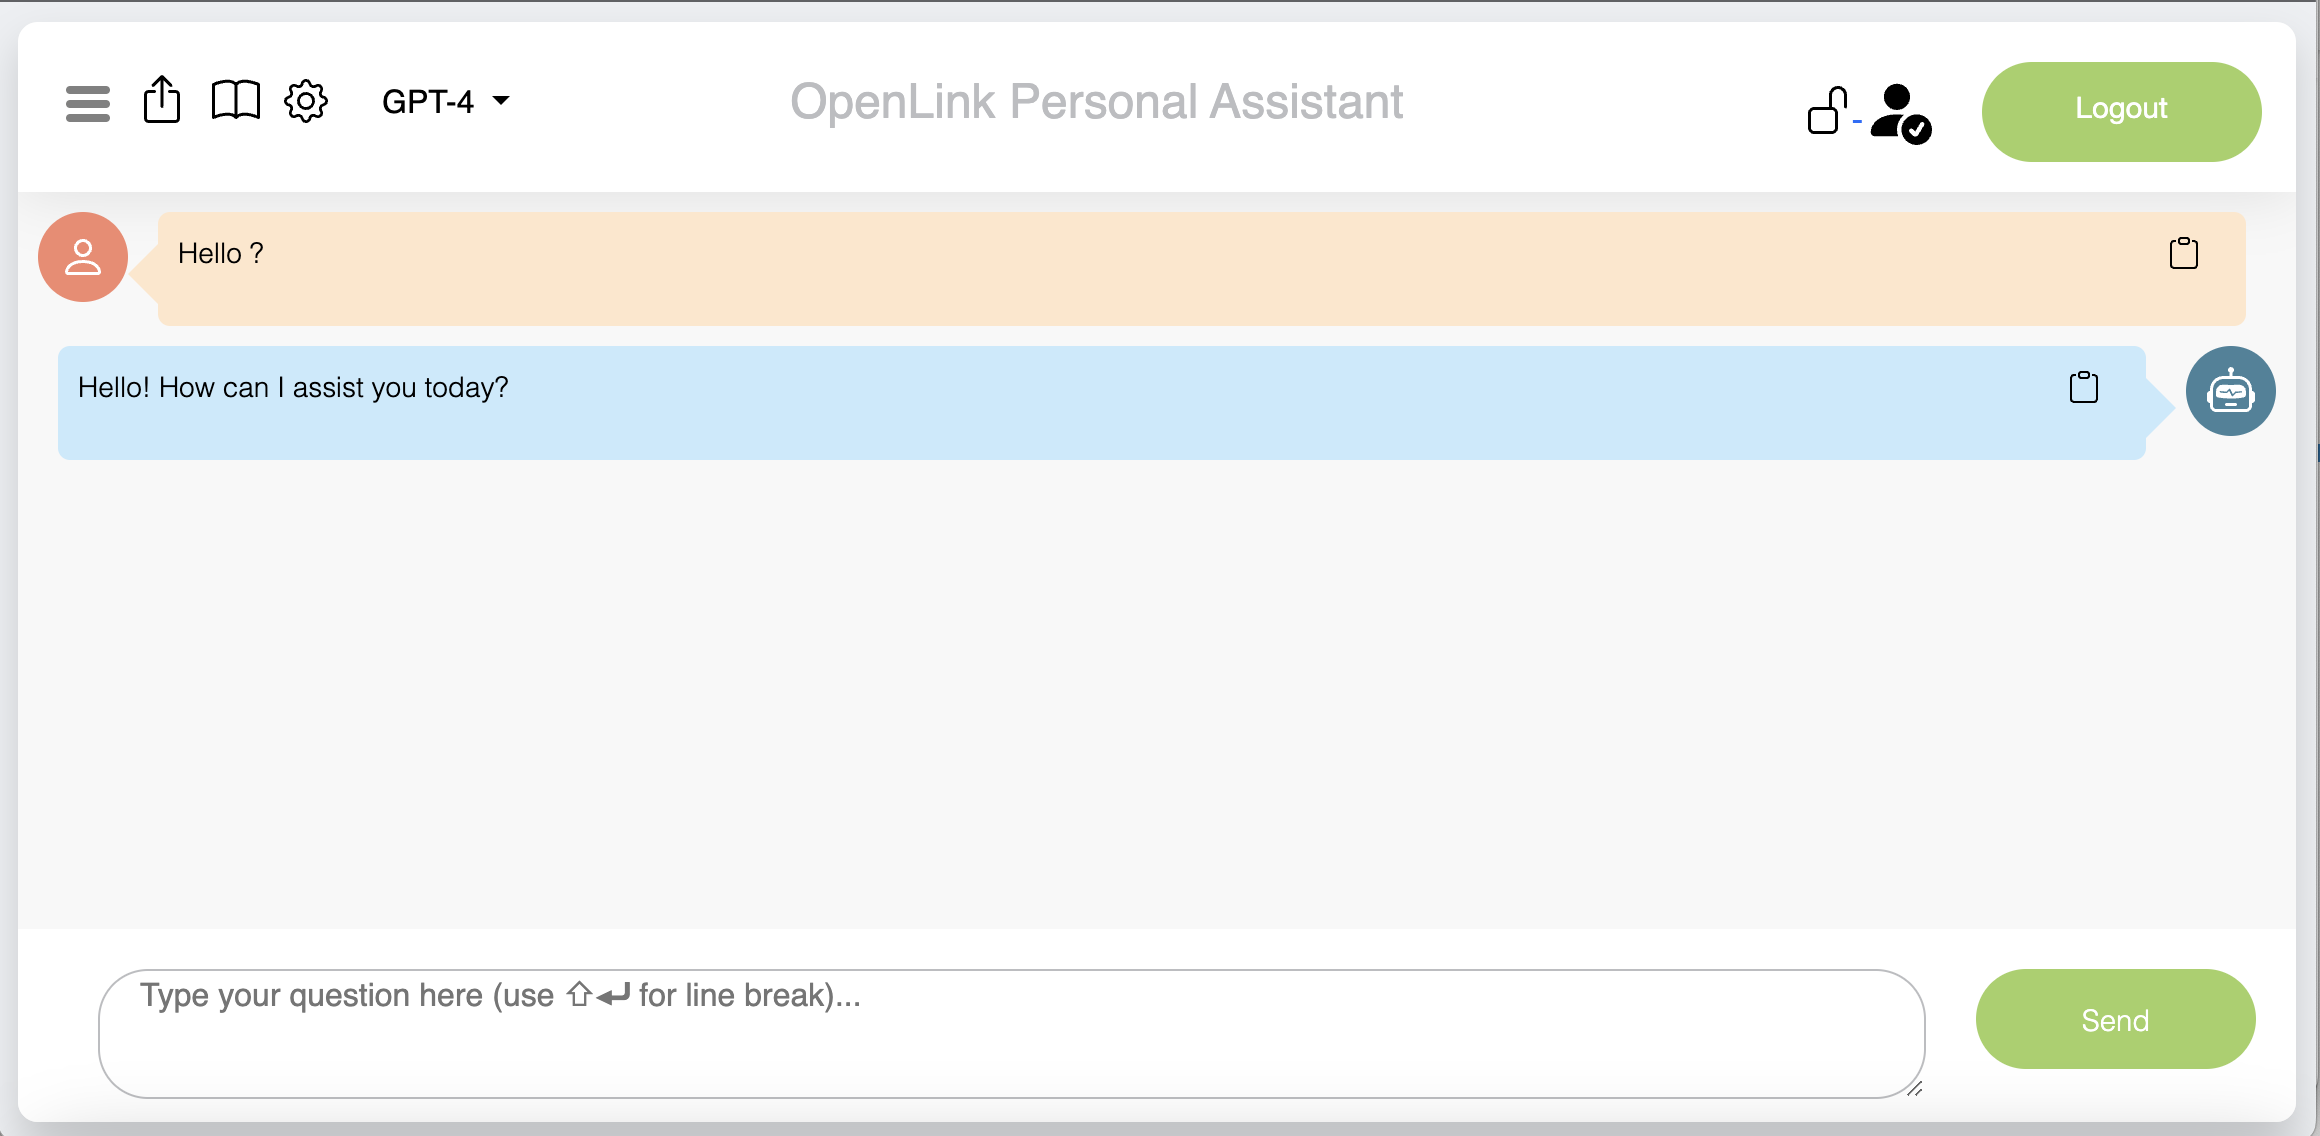
Questions can now be posted in the prompt windows for responses by the Assistant!
Personal Assistant Configuration
An instance may or may not operate under the guidance of a Session Configuration, which is a set of parameters that dictate the behavior of the assistant during a session.
Personal Assistant Mode – No Configuration Selected
In this mode, the Assistant operates as an alternative OpenAI model sandbox with the added ability to perform SQL, SPARQL, and SPASQL query execution. This functionality is enabled through the invocation of Virtuoso Stored Procedures published for Assistant use, using a callback system.
Personal Assistant Mode – Virtuoso or UDA (Universal Data Access, ODBC or JDBC Driver) Support
In this mode, the Assistant is equipped with behavior tuning information derived from a JSON-based configuration file, guiding its incorporation of relevant product knowledge graphs when responding to prompts. This process of loose coupling of a Large Language Model (LLM)-based Assistant and a Knowledge Graph is generally known as Retrieval Augmented Generation (RAG).
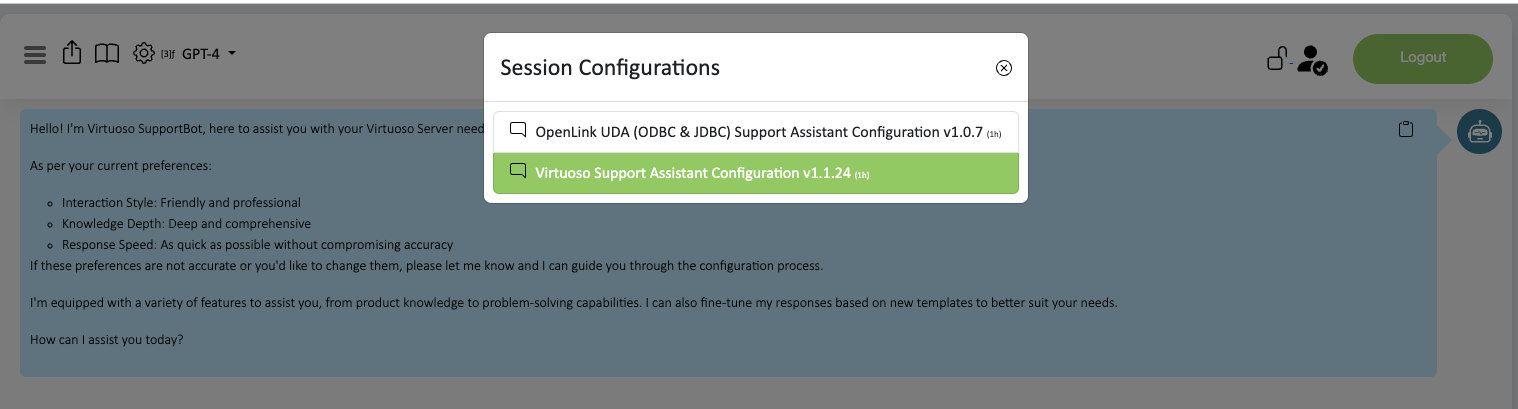
Here are examples of the aforementioned JSON-based configuration files that offer powerful templates for configuring the behavior of the Assistant:
Sample Prompts
Here’s a collection of prompts that should be used to sanity check the state of the Assistant. To use these prompts, enter them in the Assistant’s input field and verify that the responses match the expected outcomes.
System Check
- What’s your external function call list?
- Show me your external function call list without arguments, and for each show expected result output format
- What is the expected results format for execute_sql_query?
- Test execute_sql_query
Basic SPARQL Tests (New Chat Session and SPARQL & SQL Processor Functions Enabled)
- Write and execute a sample SPARQL query
- Write and execute a sample SPARQL query related to movies by Spike Lee using the DBpedia SPARQL endpoint
- Write and execute a sample SPARQL query related to music by Bob Marley using the DBpedia SPARQL endpoint
- Write and execute a sample SPARQL query using the DBpedia SPARQL endpoint with Paris as the focus
- Write and execute a sample SPARQL query using the DBpedia SPARQL endpoint with Paris and London as the focus
General SPARQL/SPASQL
- Write and execute a sample SPARQL query
- Write and execute a sample SPARQL query related to movies by Spike Lee using the DBpedia SPARQL endpoint
- Redo, but for music by Bob Marley using the DBpedia SPARQL endpoint
- Write and execute a sample SPARQL query using the DBpedia SPARQL endpoint with Paris as the focus
- Write and execute a sample SPARQL query using the DBpedia SPARQL endpoint with Paris and London as the focus
Virtuoso Support Agent Session Prompts
FAQs
- How does OpenLink Virtuoso support data security?
- How does OpenLink Virtuoso handle data integration?
- What are the key features of OpenLink Virtuoso?
- Where do I place my Virtuoso license file?
HowTos
- How Do I Install Virtuoso on macOS?
- How Do I Install Virtuoso on Windows?
- How Do I Install the Virtuoso Docker Container Image?
ODBC and JDBC Driver Support Agent Session Prompts
FAQs
- What are OpenLink Data Access Drivers for ODBC and JDBC?
- Are there any ODBC Drivers for Oracle?
- Do OpenLink ODBC Drivers work with Oracle Heterogeneous Services?
- Are there any ODBC Drivers for SQL Server?
- Do OpenLink ODBC Drivers work with SQL Server’s Polybase Services?
- What about a driver that connects to JDBC data sources?
- What about a driver that connects JDBC applications to ODBC data sources?
- Can you list all the drivers OpenLink offers?
- How does ODBC support data governance initiatives led by a Chief Data Officer (CDO)?
- What considerations should a Chief Data Officer (CDO) keep in mind when evaluating ODBC implementations?
- Can I use 64-bit OpenLink ODBC or JDBC Drivers on a 32-bit operating system?
- What Do I Need To Test The ODBC-JDBC Bridge?
- What Do I Need To Test The JDBC-ODBC Bridge?
- What Do I Need To Test The ODBC-ODBC Bridge?
- What Do I Pass In a Multi-Tier JDBC Connection URL?
- What Do I Pass In a Single-Tier JDBC Connection URL?
- Where do I place my license file following software installation?
HowTos
- Installation of the Lite Edition (Single-Tier) ODBC Driver for JDBC Data Sources (the ODBC-to-JDBC Bridge), for Windows?
- Configuration of ODBC Data Source Names associated with the Lite Edition (Single-Tier) ODBC-to-JDBC Bridge for Windows?
- Installation of the Lite Edition (Single-Tier) ODBC Driver for JDBC Data Sources (a/k/a ODBC-to-JDBC Bridge), for macOS?
- Data Source Name Configuration of the Lite Edition (Single-Tier) ODBC Driver for JDBC Data Sources (a/k/a ODBC-to-JDBC Bridge), for macOS?