Prerequisites:
- A functional installation of Yellowfin
- A working JDBC Connection to a Virtuoso Universal Server instance which has been configured to enable SQL access via the JDBC protocol
- Virtuoso JDBC Driver classname properly added to /Yellowfin 7.35/appserver/webapps/ROOT/WEB-INF/web.xml
Getting Data from Virtuoso into Yellowfin
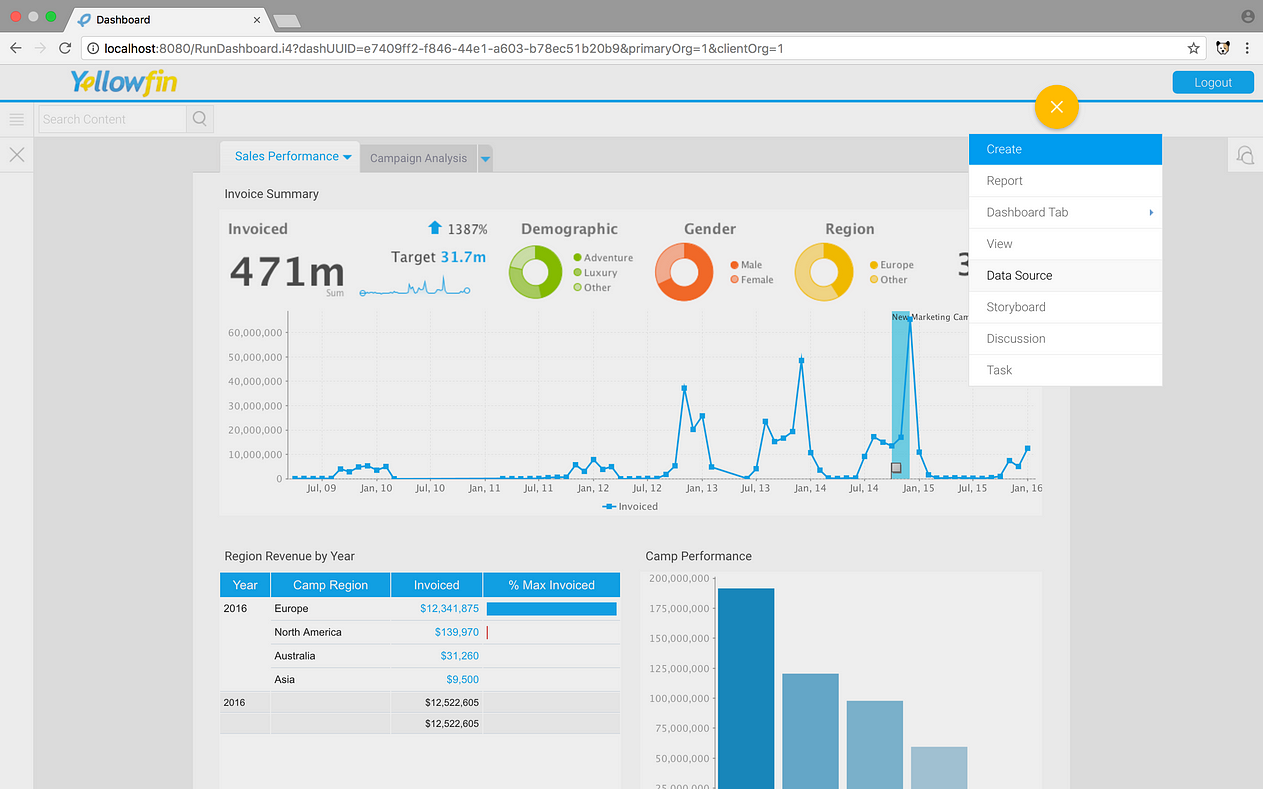
(1) Navigate to your running Yellowfin instance. Click on the yellow plus icon and select Data Source .
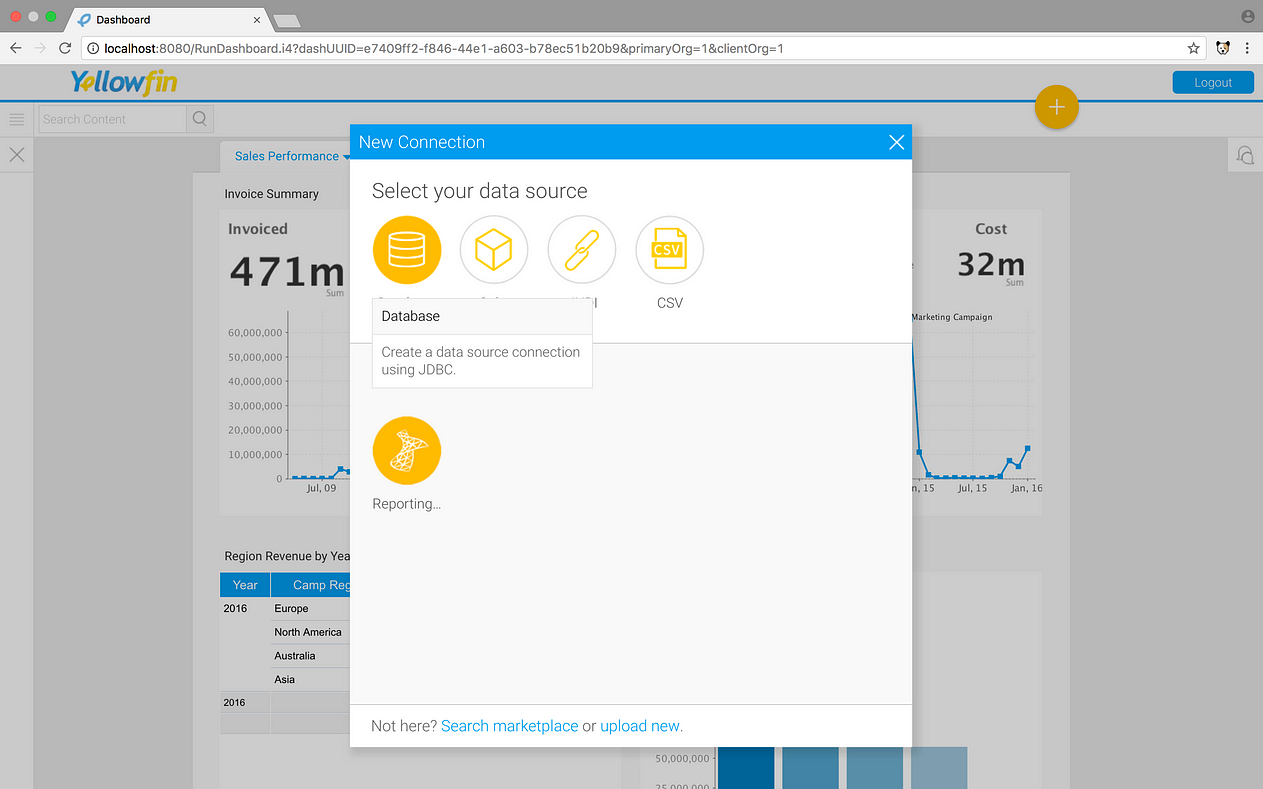
Click Database .
Select the Virtuoso JDBC driver from the JDBC Driver list. WE will be using virtuoso.jdbc4.Driver for this demonstration. Fill out your connection string and login parameters, followed by clicking on the Create View Arrow , and click Test Connection .
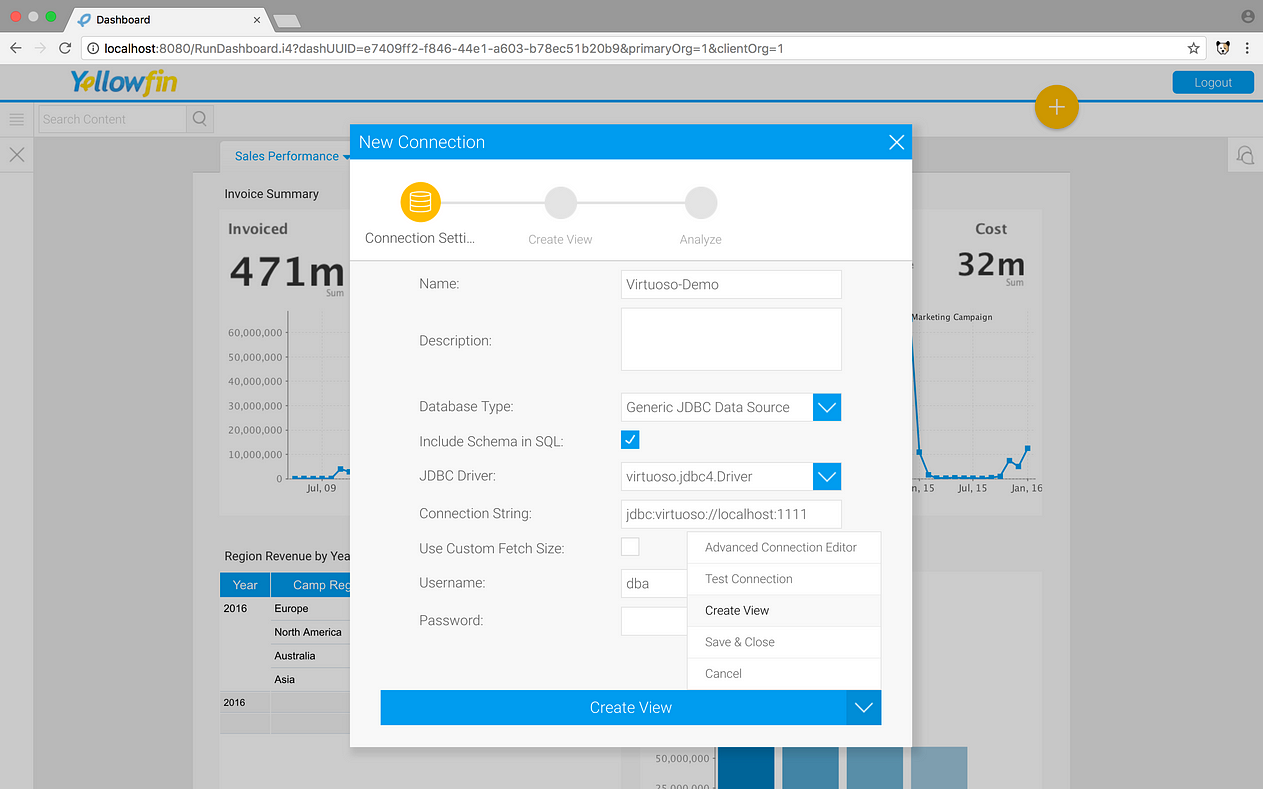
Upon a successful test connection, click Create View.

Virtuoso makes this work by extending SQL with SPARQL (a/k/a SPASQL); in this case, by putting a SPARQL query into the SQL FROM clause.
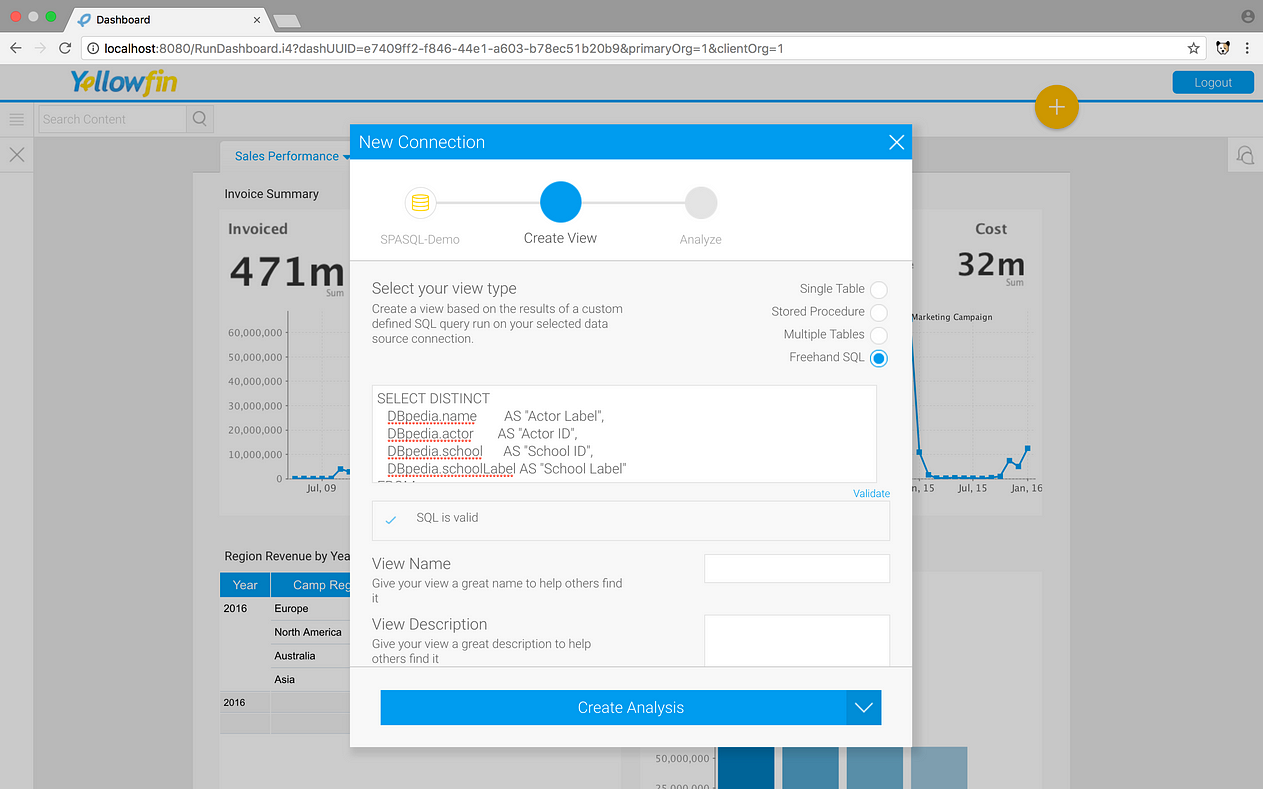
Here, we are querying against DBpedia (i.e., Wikipedia content in Structured Data form, that has been published in line with Linked Data principles). Select Freehand SQL and use the following SPASQL query—
SELECT DISTINCT
               DBpedia.name AS "Actor Label",
               DBpedia.actor AS "Actor ID",
               DBpedia.school AS "School ID",
               DBpedia.schoolLabel AS "School Label"
FROM
(
SPARQL
PREFIX dct: <http://purl.org/dc/terms/>
SELECT ?actor ?school ?name ?schoolLabel
WHERE
{
SERVICE <http://dbpedia.org/sparql>
{
  ?actor
  dct:subject <http://dbpedia.org/resource/Category:Tony_Award_winners> ;
  <http://dbpedia.org/ontology/almaMater> ?school ;
  foaf:name ?name .
  ?school
  rdfs:label ?schoolLabel .
  FILTER ( LANG(?name) = "en" )
  FILTER ( LANG(?schoolLabel) = "en" )
}
}
ORDER BY ASC(?school)
LIMIT 100
) AS DBpedia
Click Validate . After successful validation, click Create Analysis.
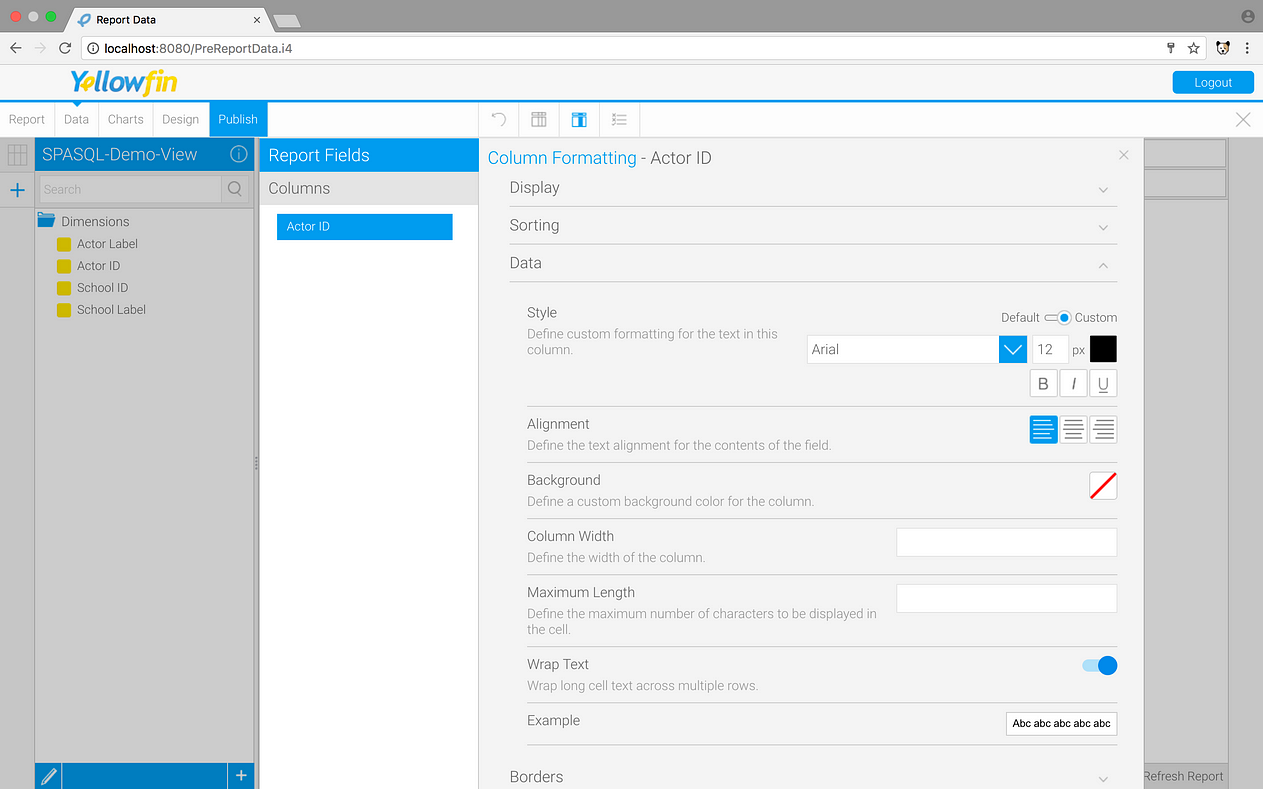
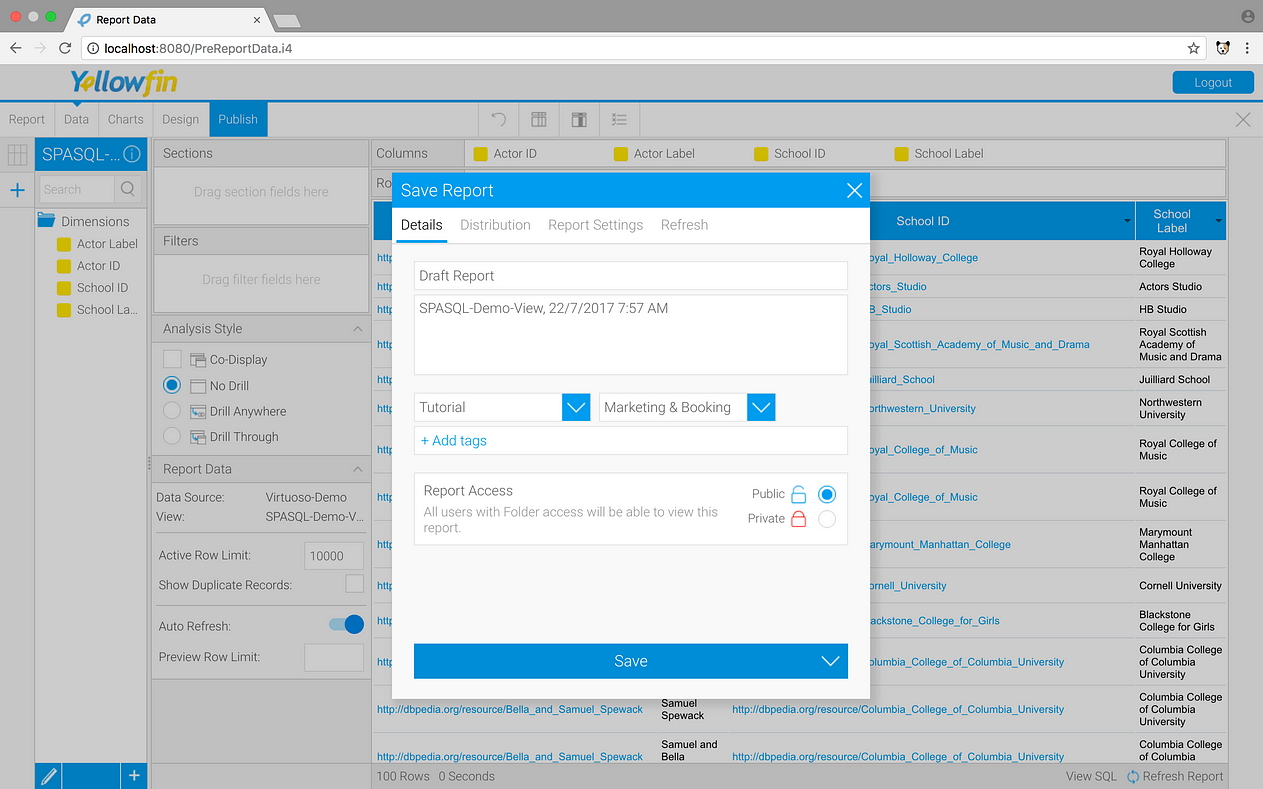
For this example, drag, the Actor ID dimension (Relation or Entity Relationship Type) into the Columns field. In order to populate the column with data, a custom datatype will need to be established. Click on the black arrow on the right-side of the Actor ID column and select Format → Edit .

Click on the Data tab, and change Style from default to custom .
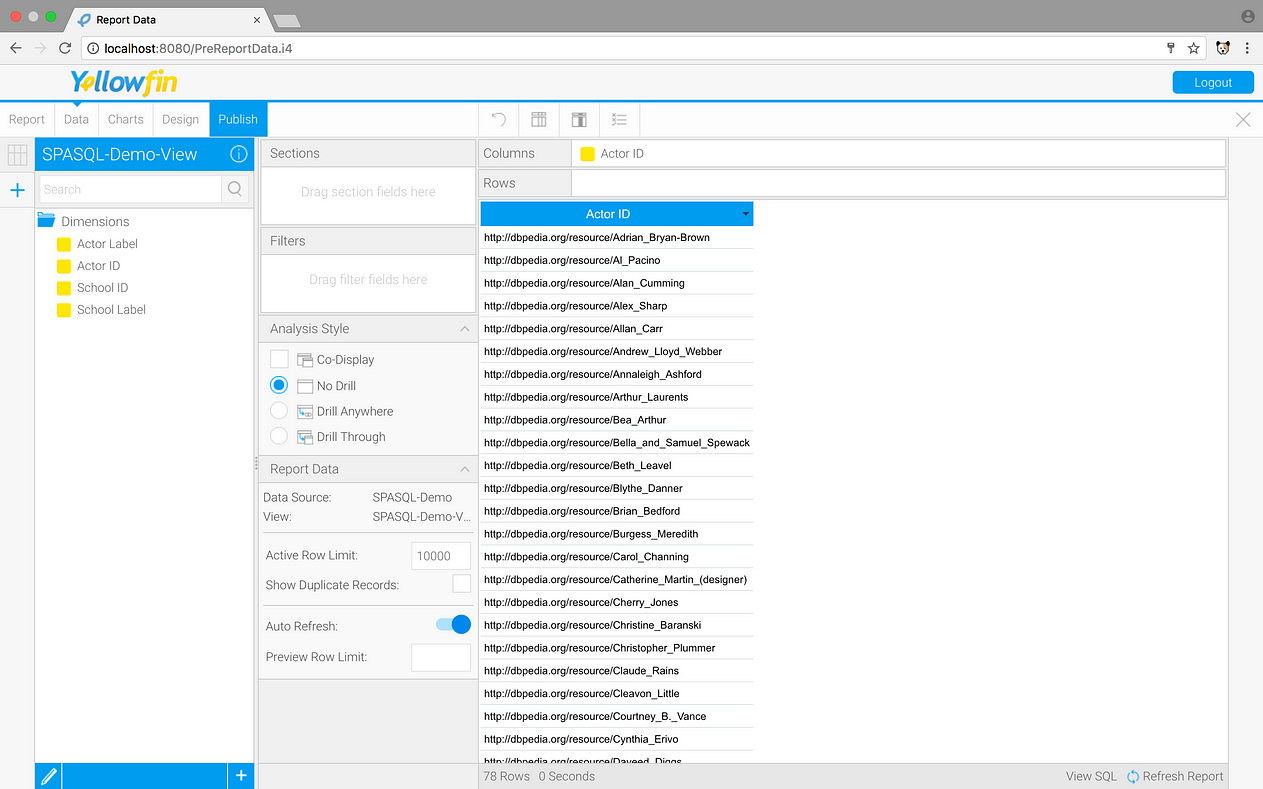
Exit out of the menu and see the HTTP URIs appear as literal value (i.e, they aren’t live hyperlinks or references at this stage).
Right click on the right-side Actor ID arrow again, and click on Format → Edit . Navigate to the Display tab and enter ## in the URL text box.
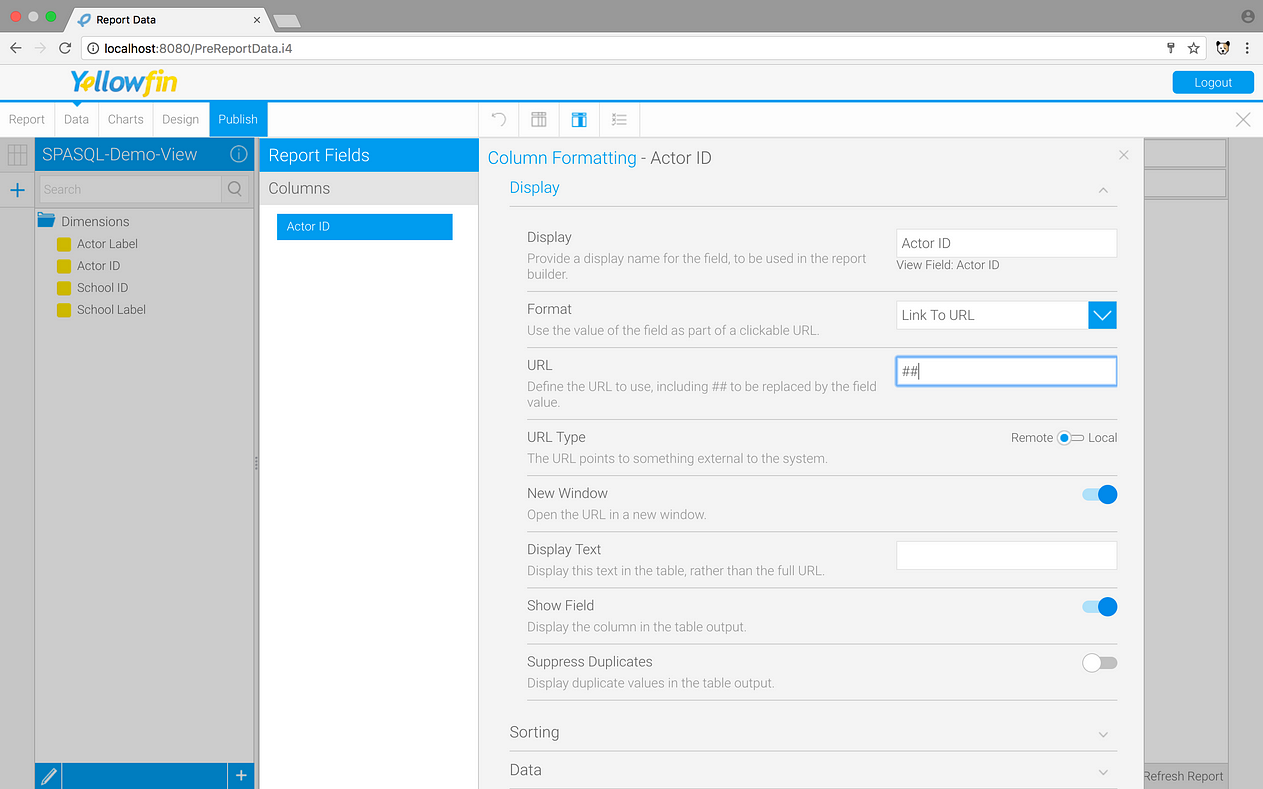
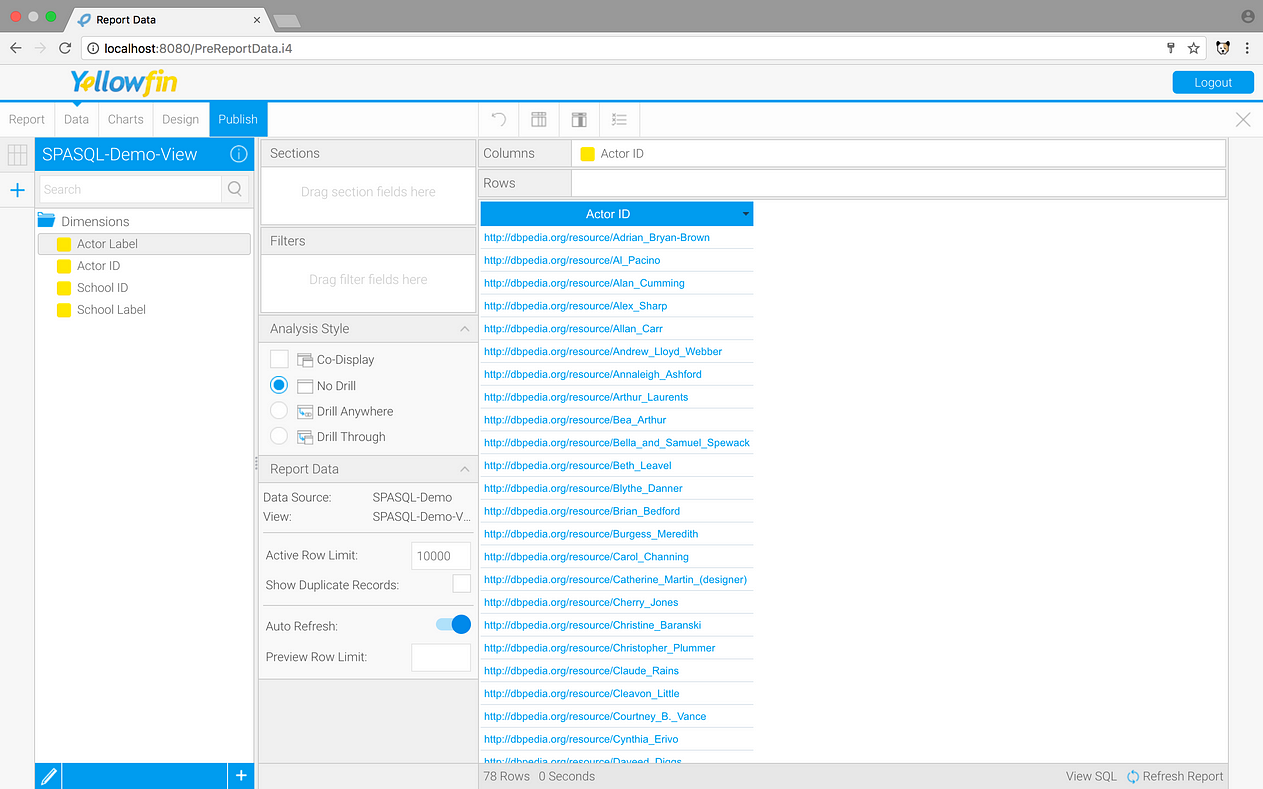
Exit the menu and the HTTP URI literal values will become live hyperlinks.
Using Other Columns with Hyperlinks is not a straightforward capability with yellowfin. Using HTTP URI’s is the most straightforward path.
Due to how live hyperlinks are handled in Yellowfin, you can only experience the reference lookup feature of an HTTP URI by using CTRL+RightMouse+Click (or similar) to open a Context Menu in your browser that includes a “ Go to” option.

Right Click Required due to External URLs not resolving properly when clicked
Clicking on “ go to…” will result in your web browser retrieving an HTML page that describes the entity identified by the selected DBpedia hyperlink (HTTP URI).
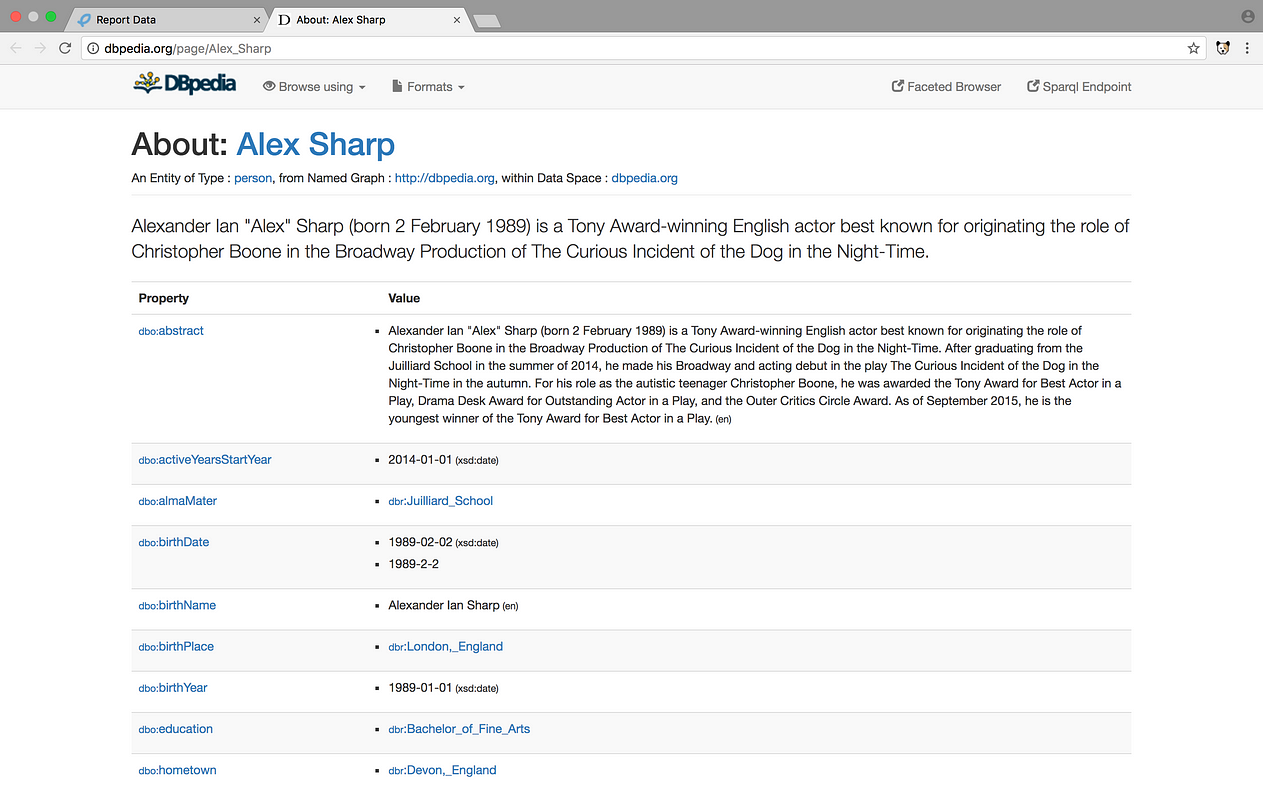
For the purpose of presenting a finished report, I added columns with literal and hyperlink values with the goal of juxtaposing two types of identifiers (literals and hyperlink-based references) associated with the entities in my report.

Click Publish , and then Save .
Your report will be generated and presented in your web browser. Report viewers now have the additional ability to drill-down for information on an entity of interest from DBpedia and the rest of the massive Linked Open Data cloud.
