Introduction
This document details the process for deploying the OpenLink Virtuoso Pay-As-You-GO-License (PAGO) Edition Marketplace Offer for the Google Cloud.
Prerequisites
- A Google Cloud subscription account
Deployment from Google Marketplace Offer
- From the Google Marketplace search for the keywords
OpenLinkorVirtuosoto locate the available Virtuoso PAGO offer:
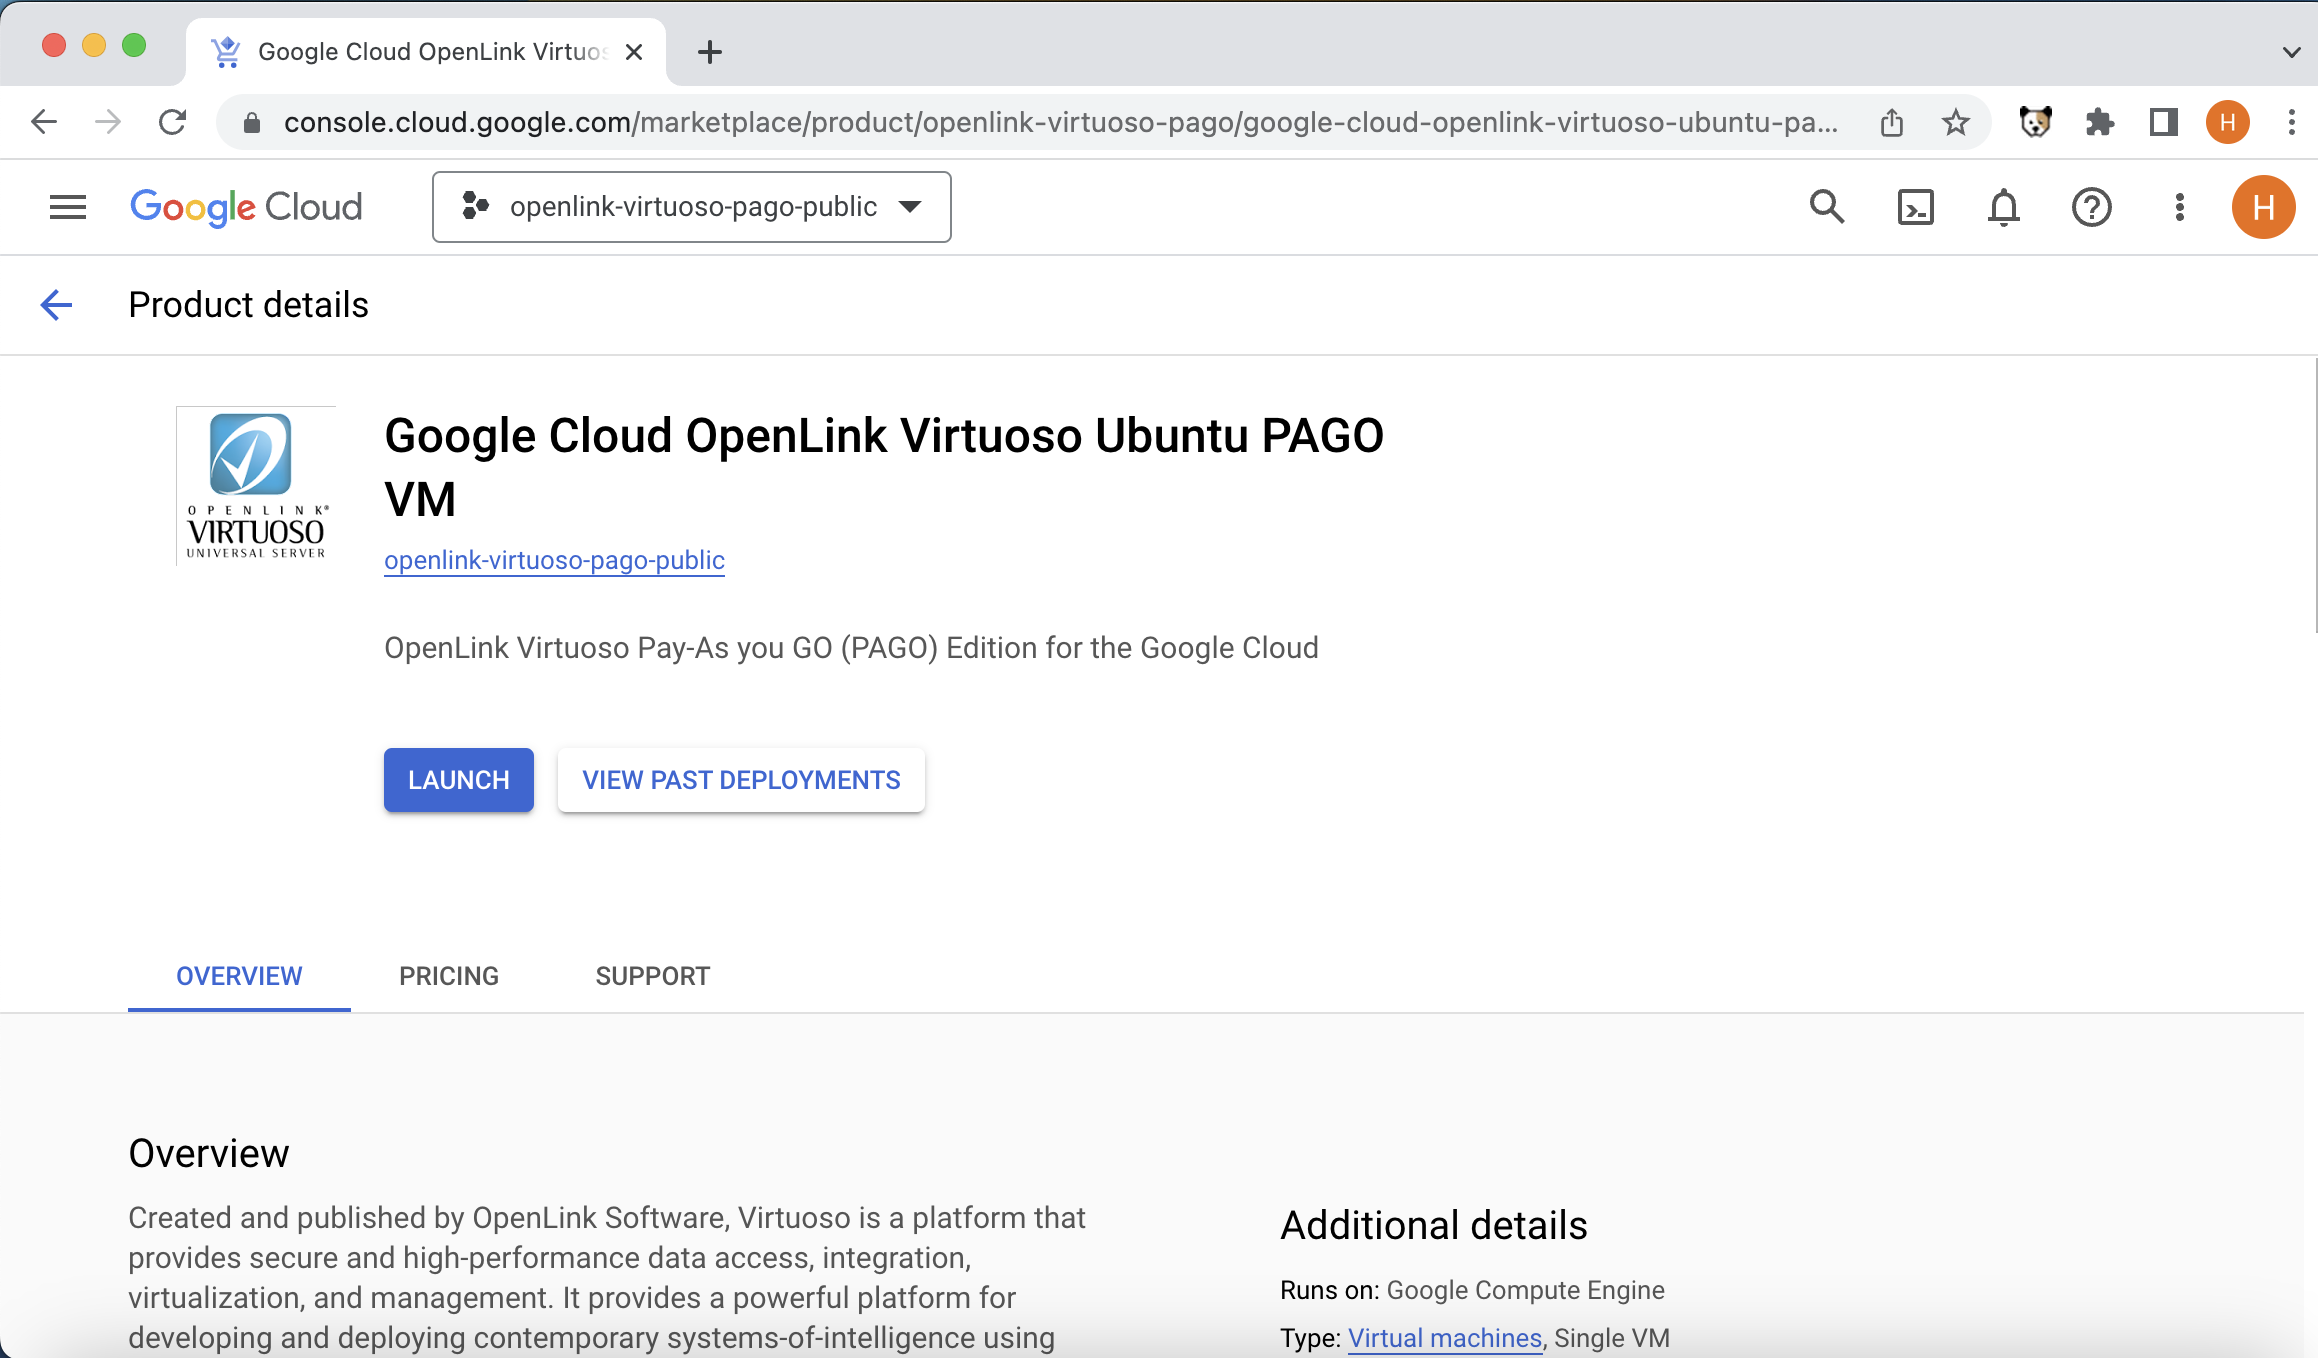
- Click on the
Launchbutton to start the subscription and deployment of the PAGO offer.
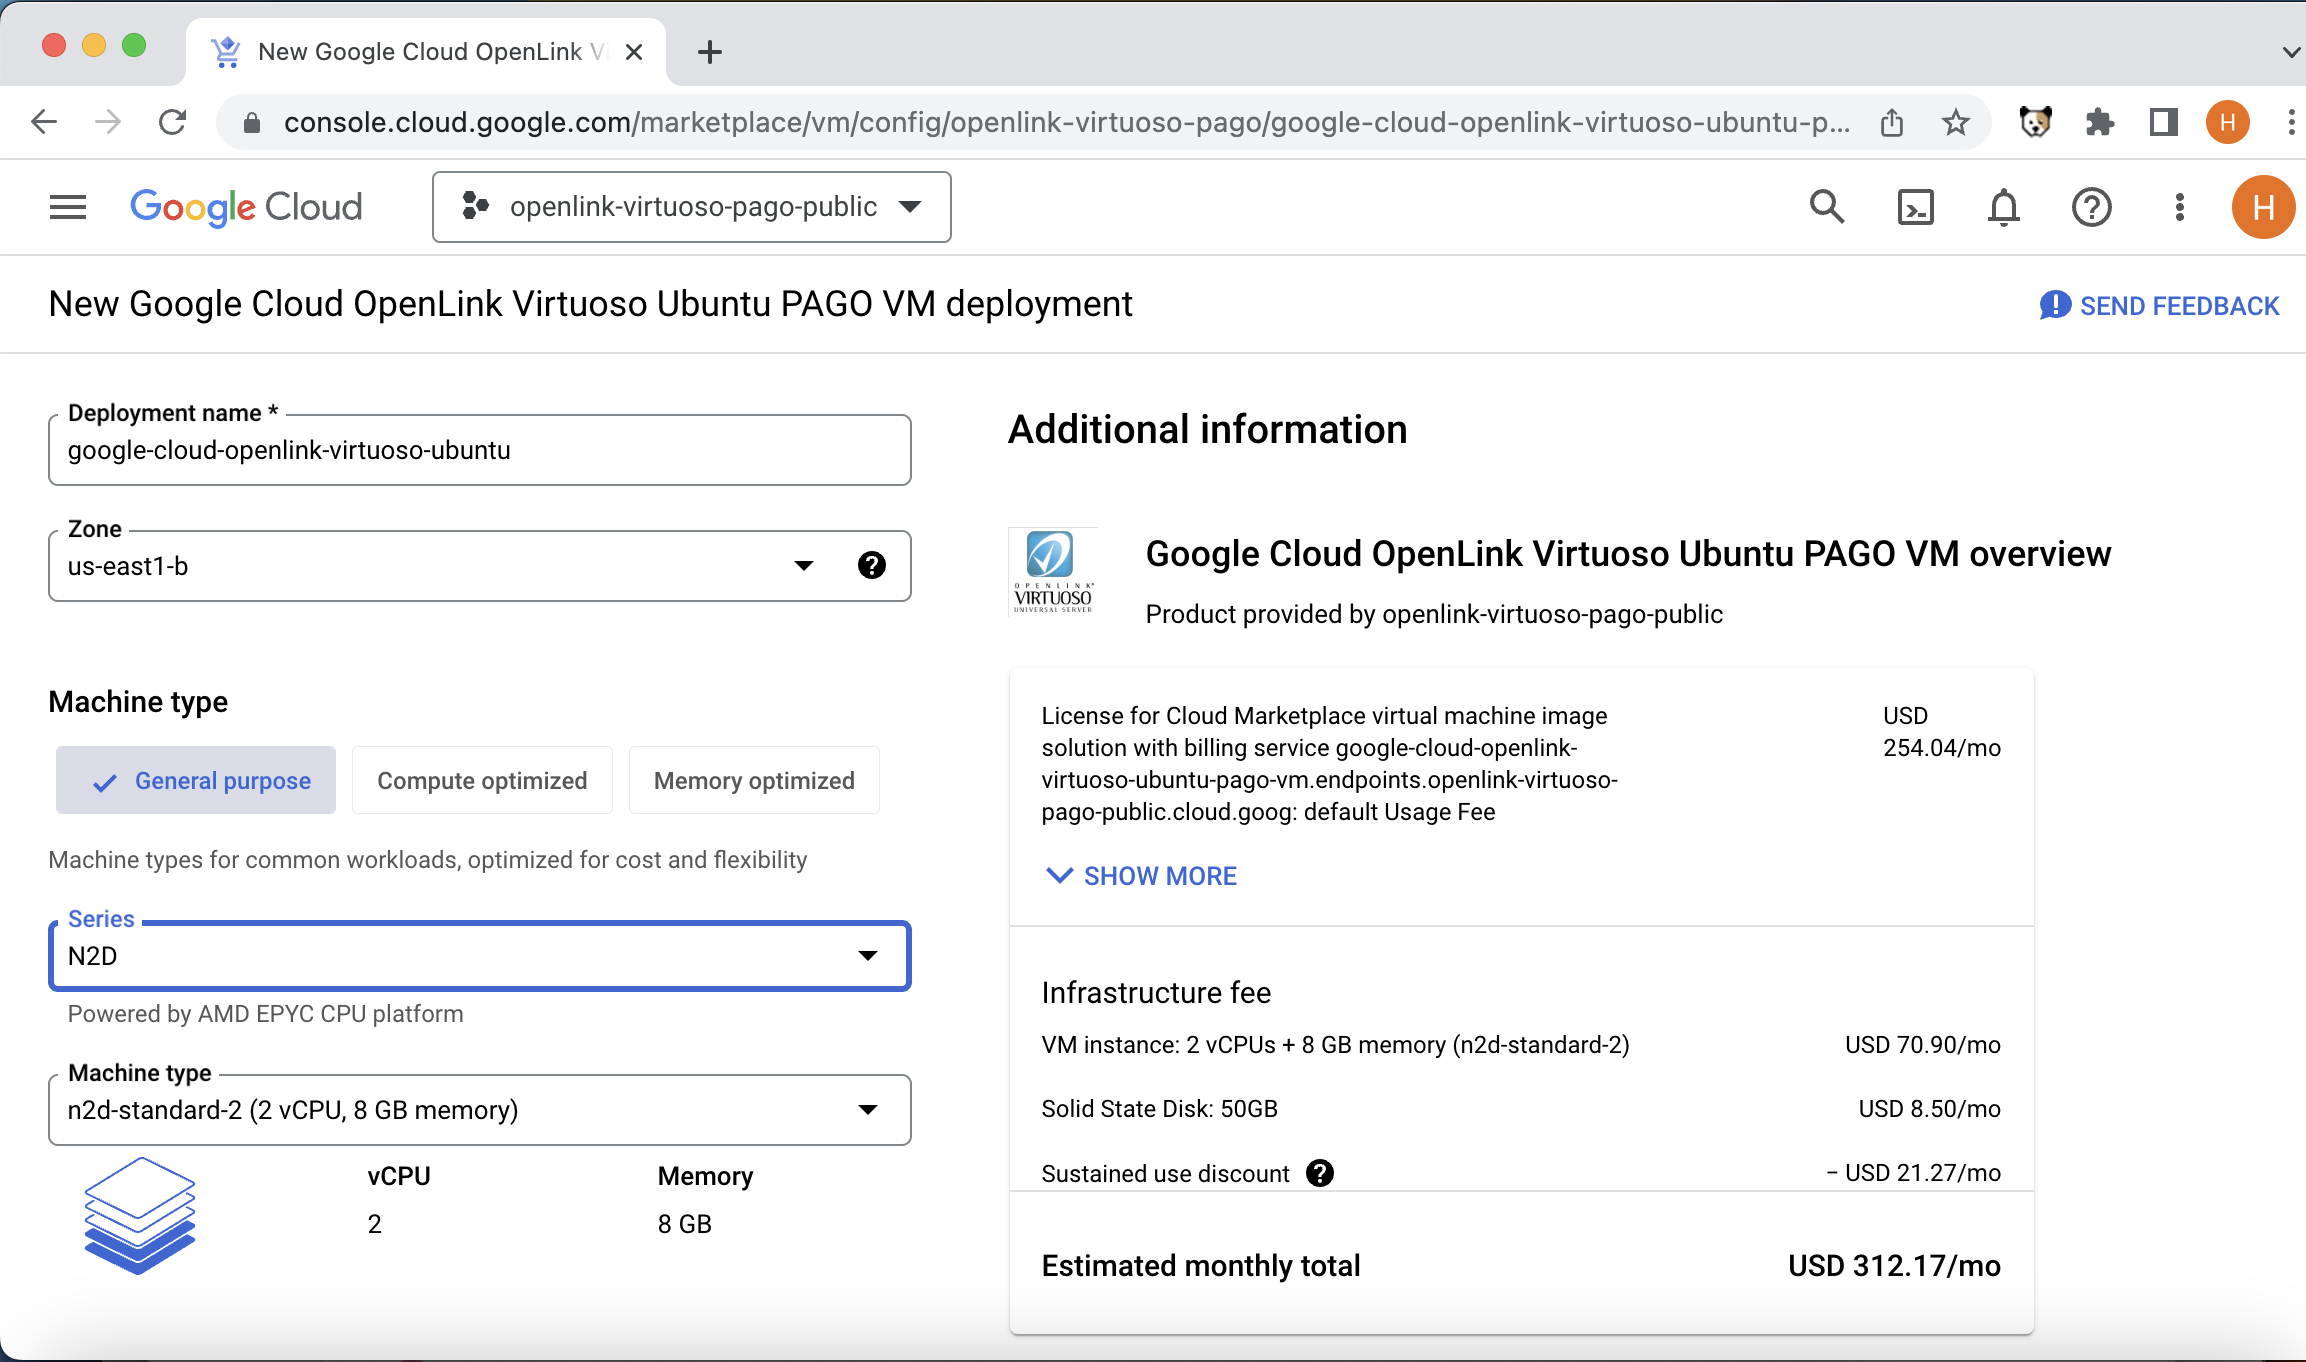
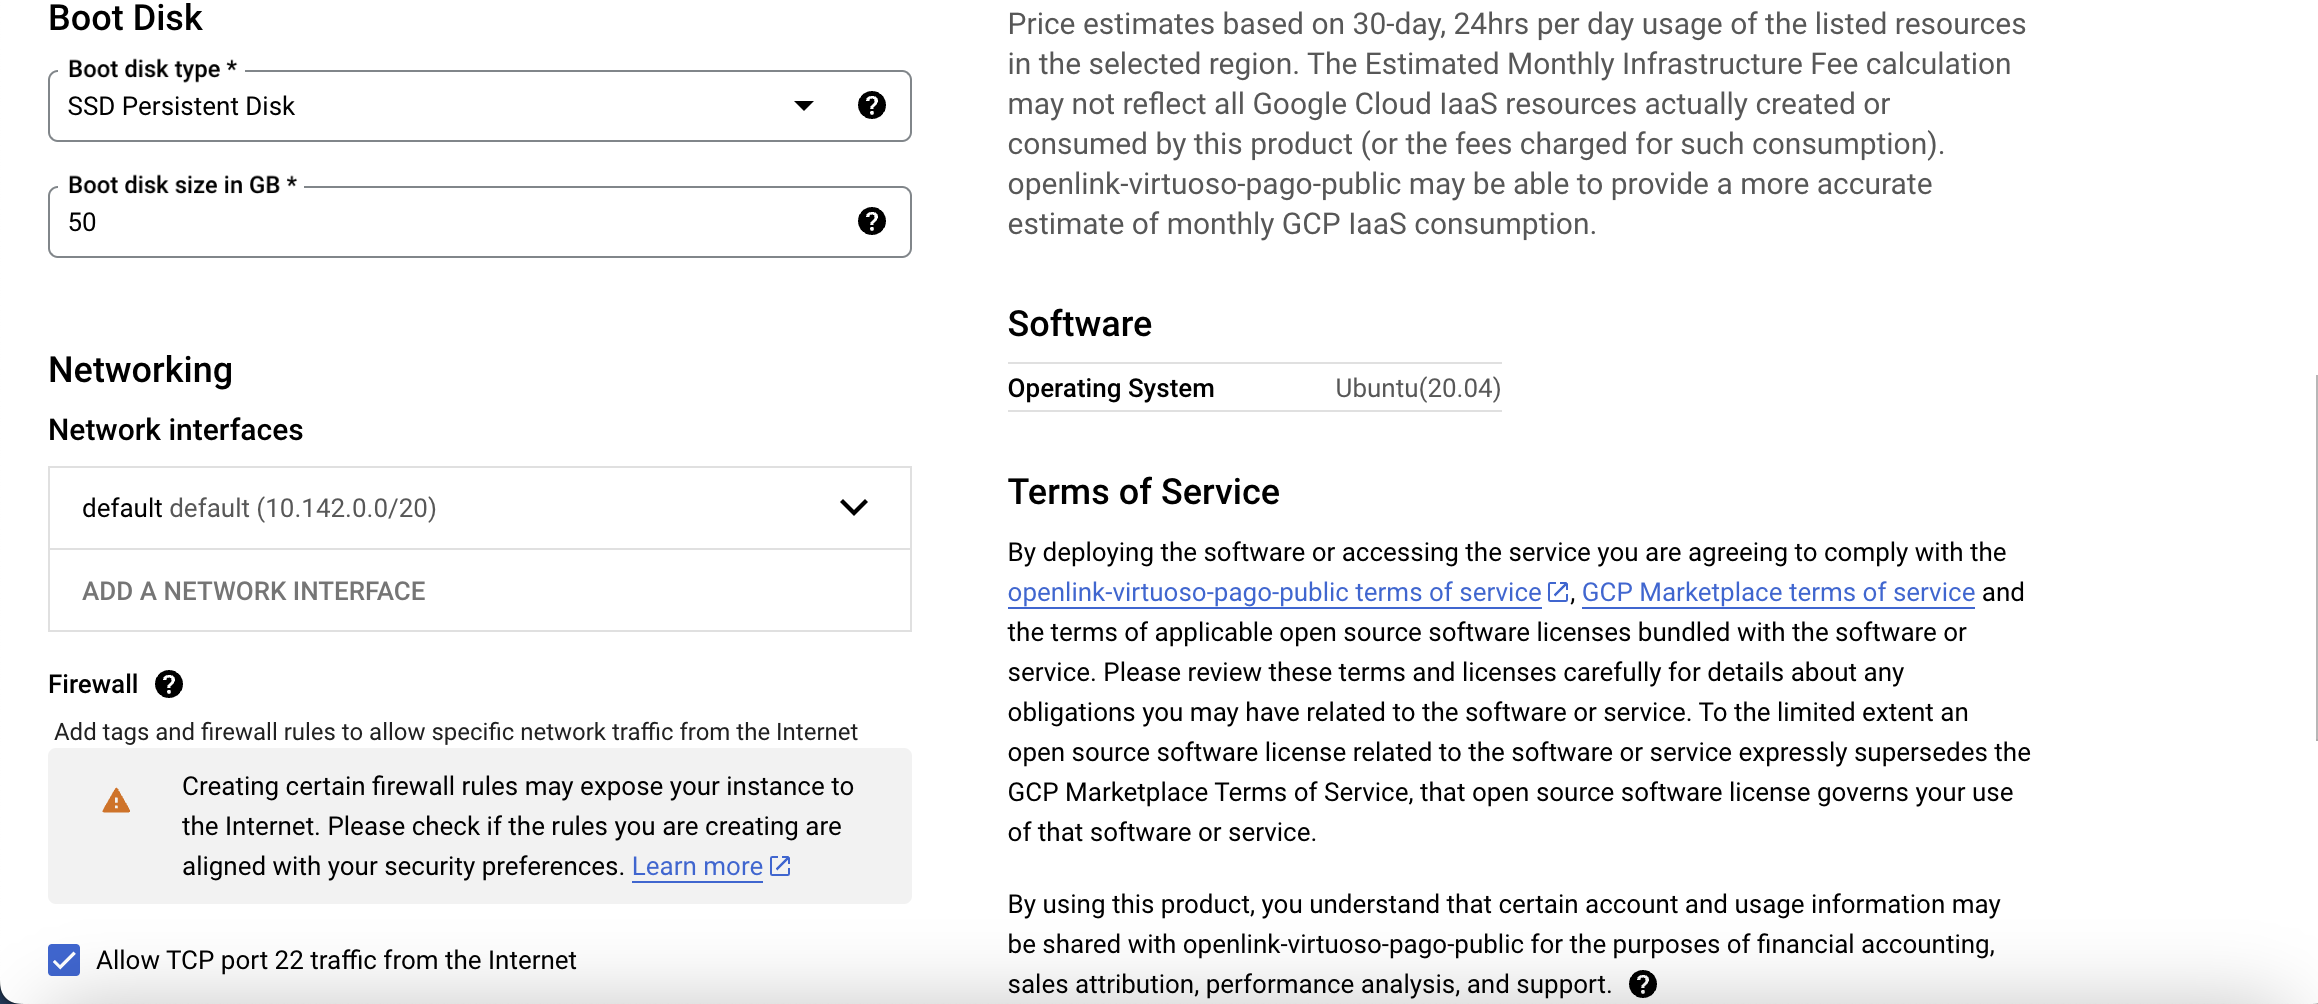
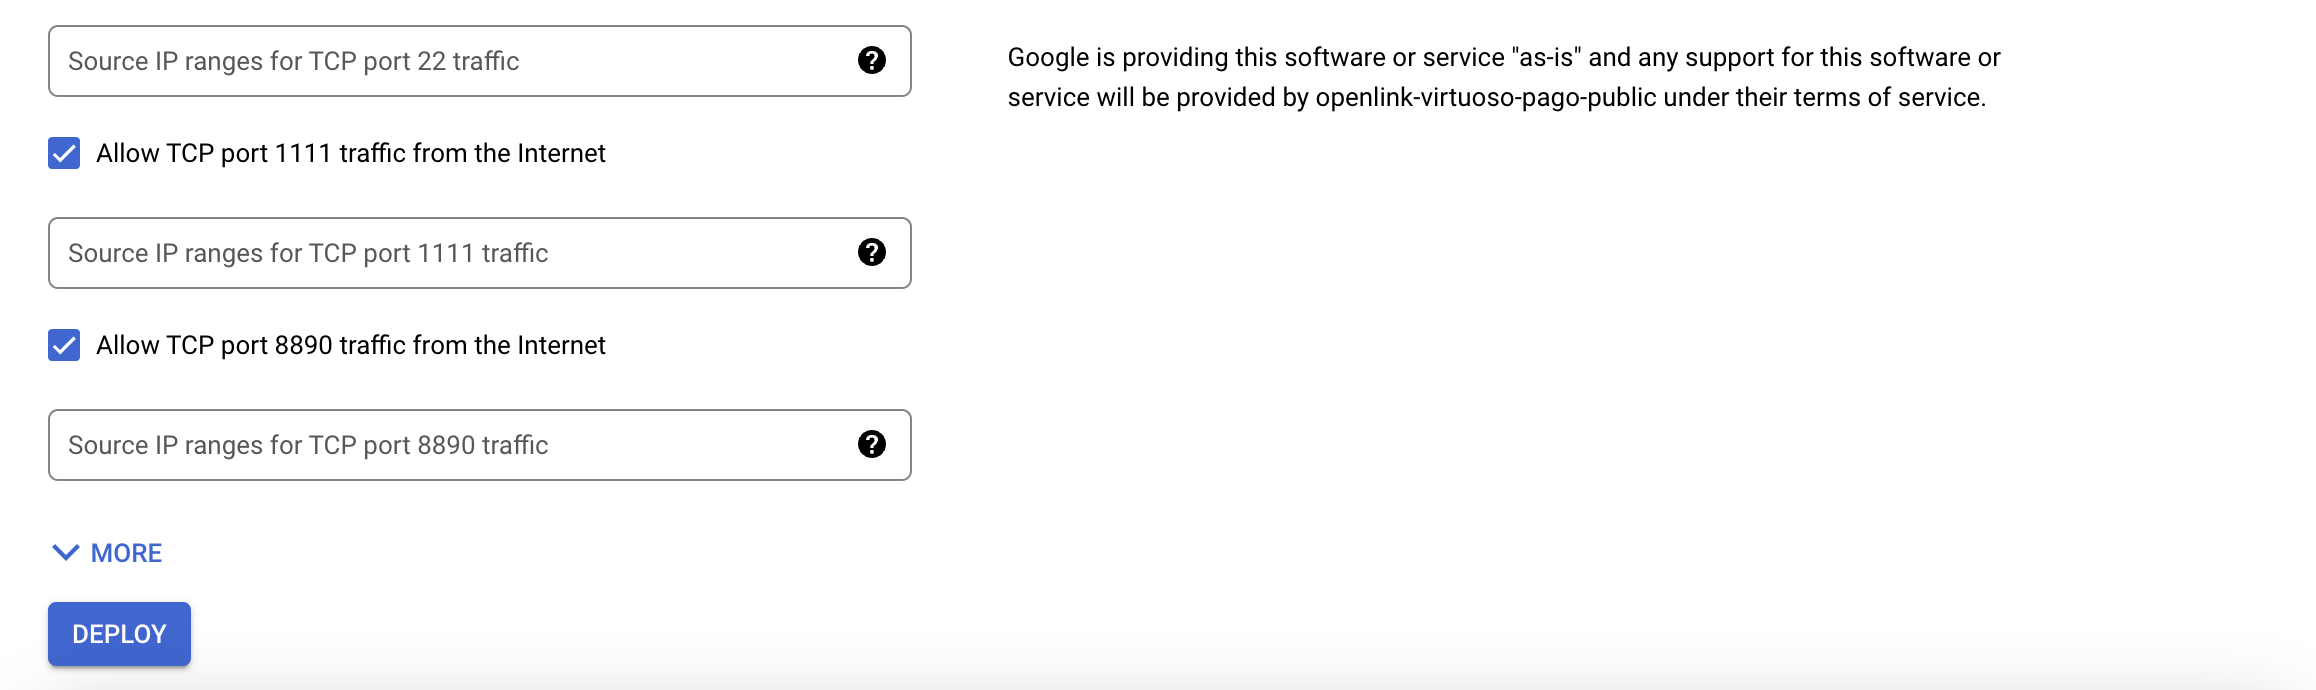
- Set a
Deployment nameand appropriateMachine typefor VM deployment, accept the agreement by selecting the check box and then click on theDEPLOYbutton

- The deployment is in progress:
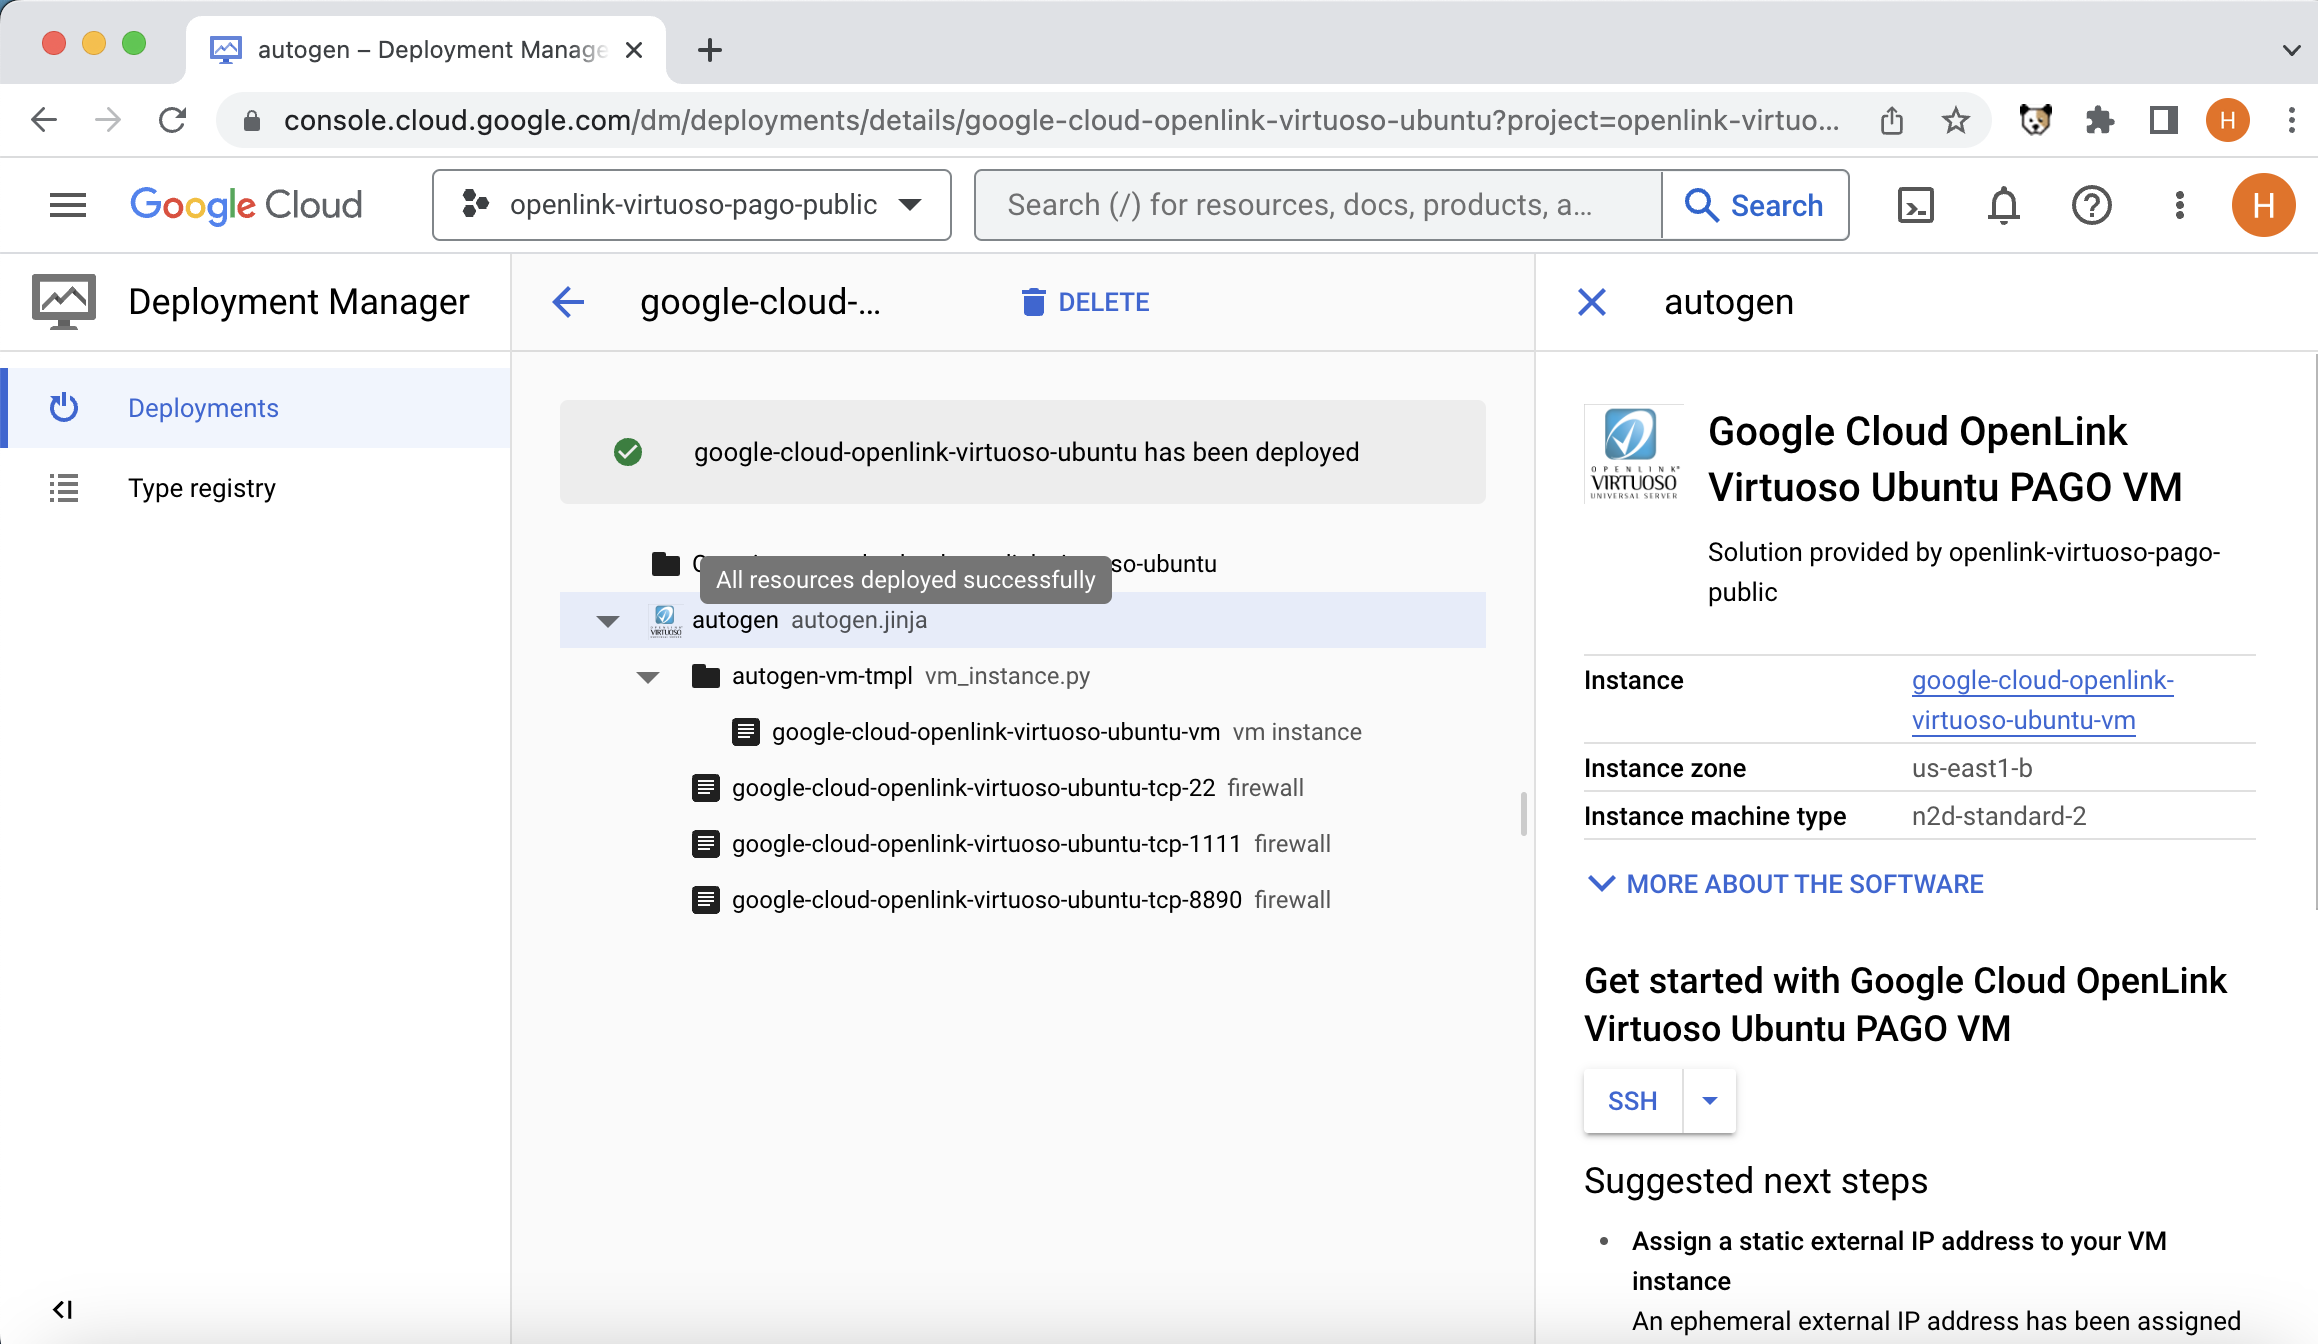
- The following screen is displayed when the deployment is complete:
Administering Virtuoso Instance via SSH
- Click on the
SSHdrop down list box as in the screenshot below:
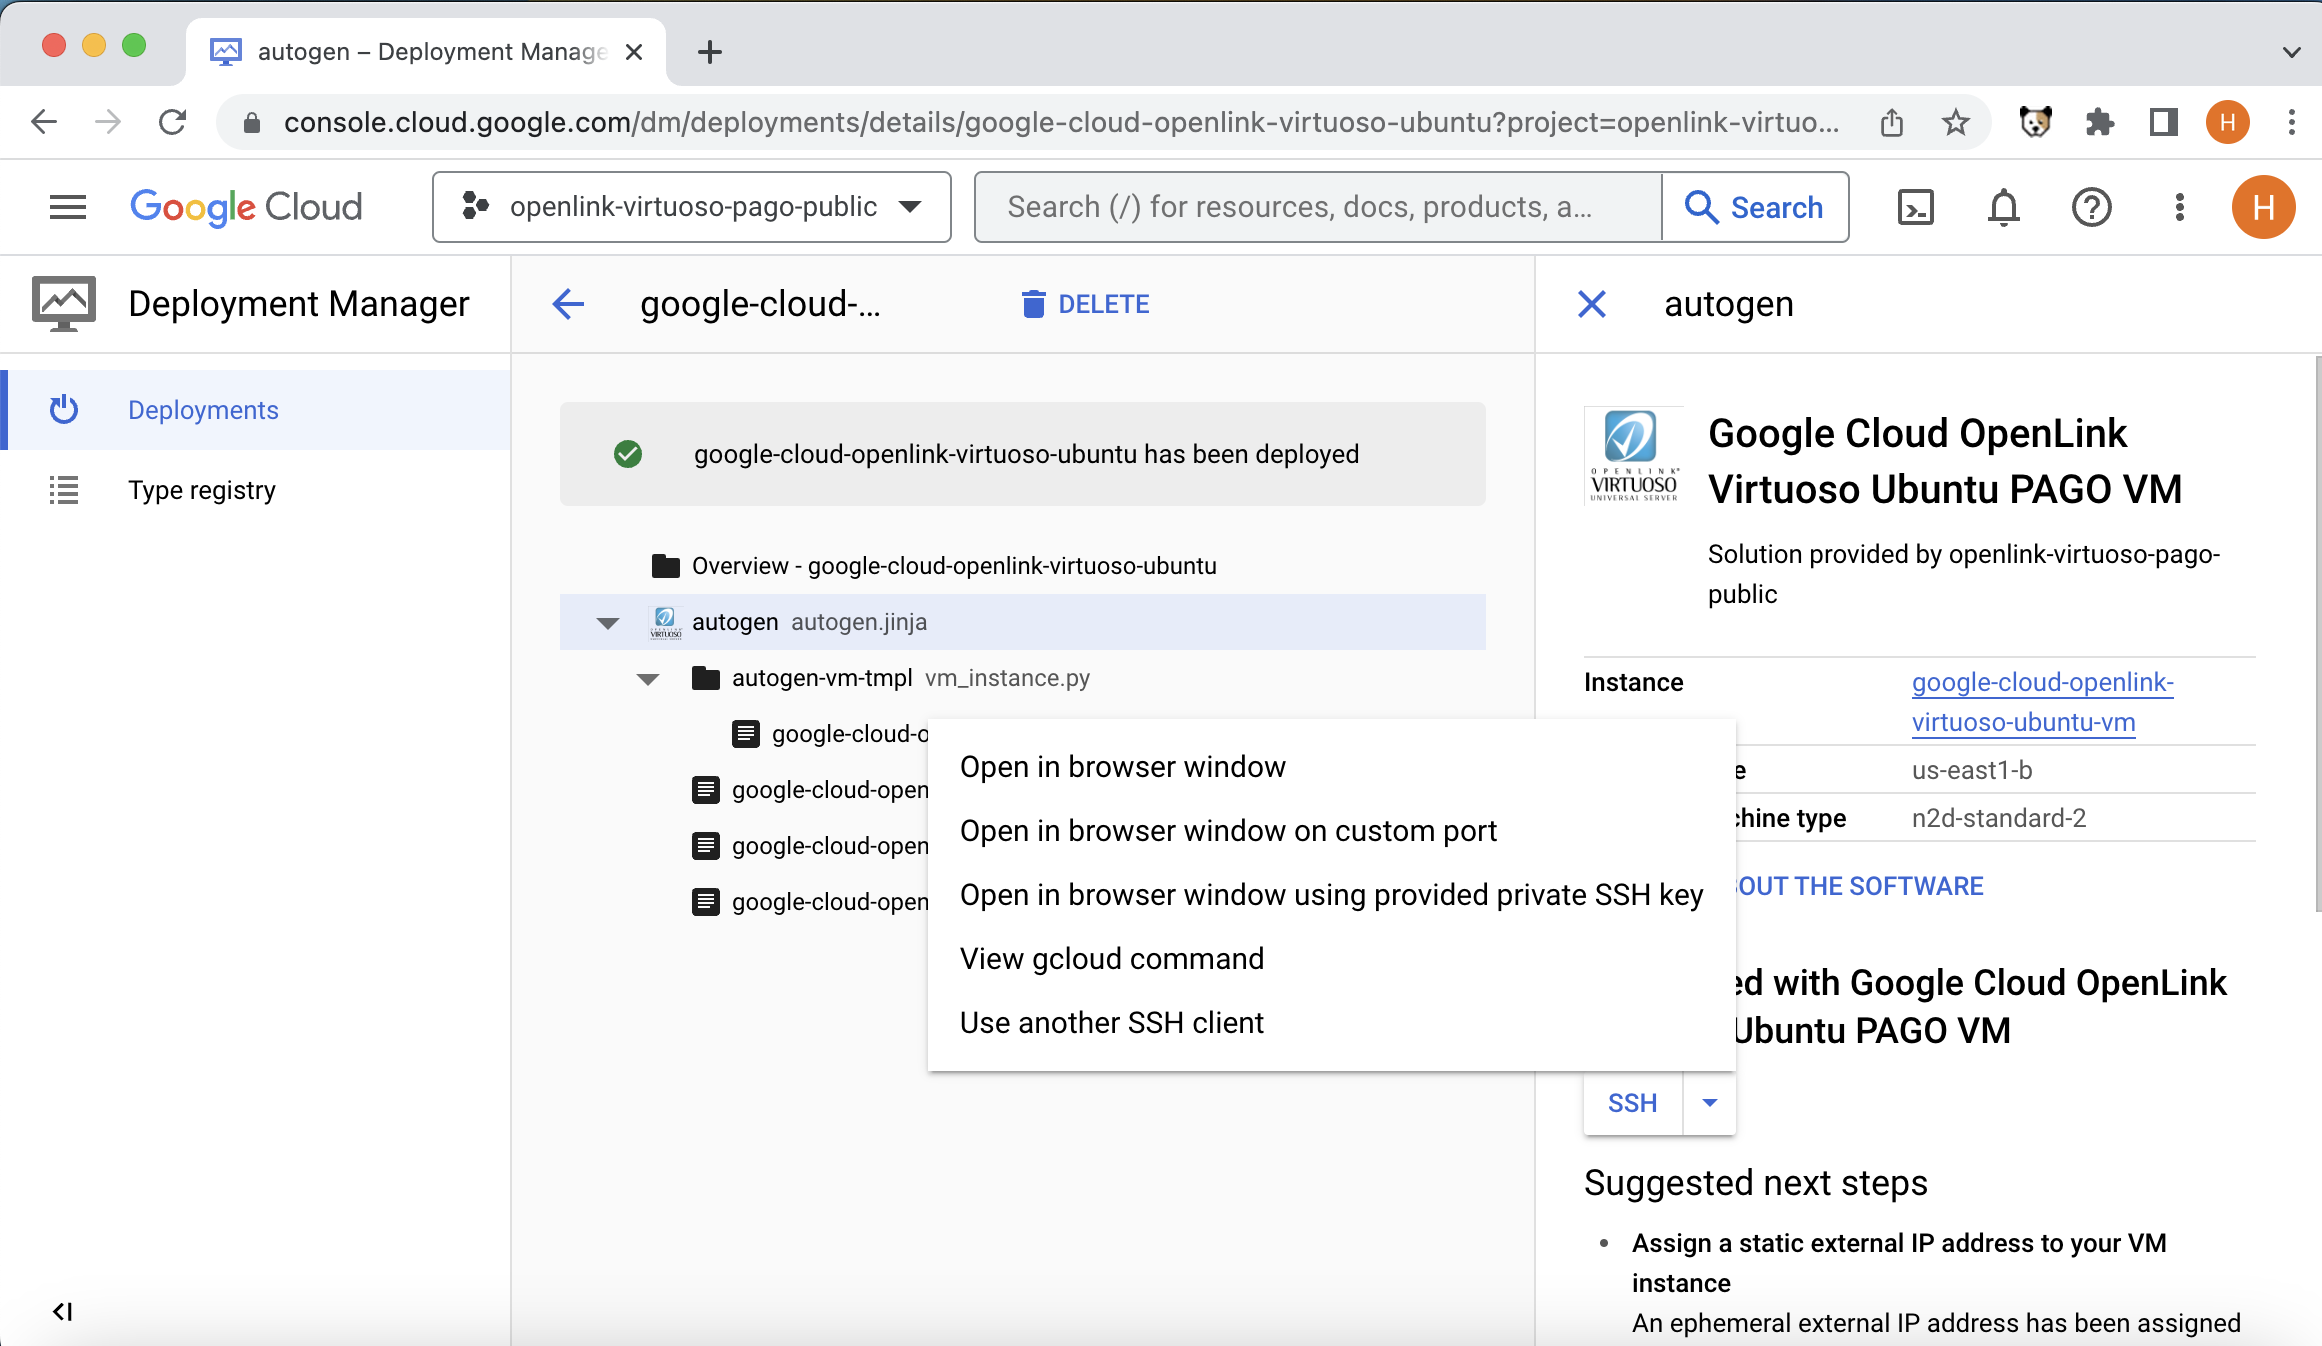
- Select the
Open in browser windowitem from the dropdown list box to start an SSH connection to the VM and click on theAuthorizebutton:
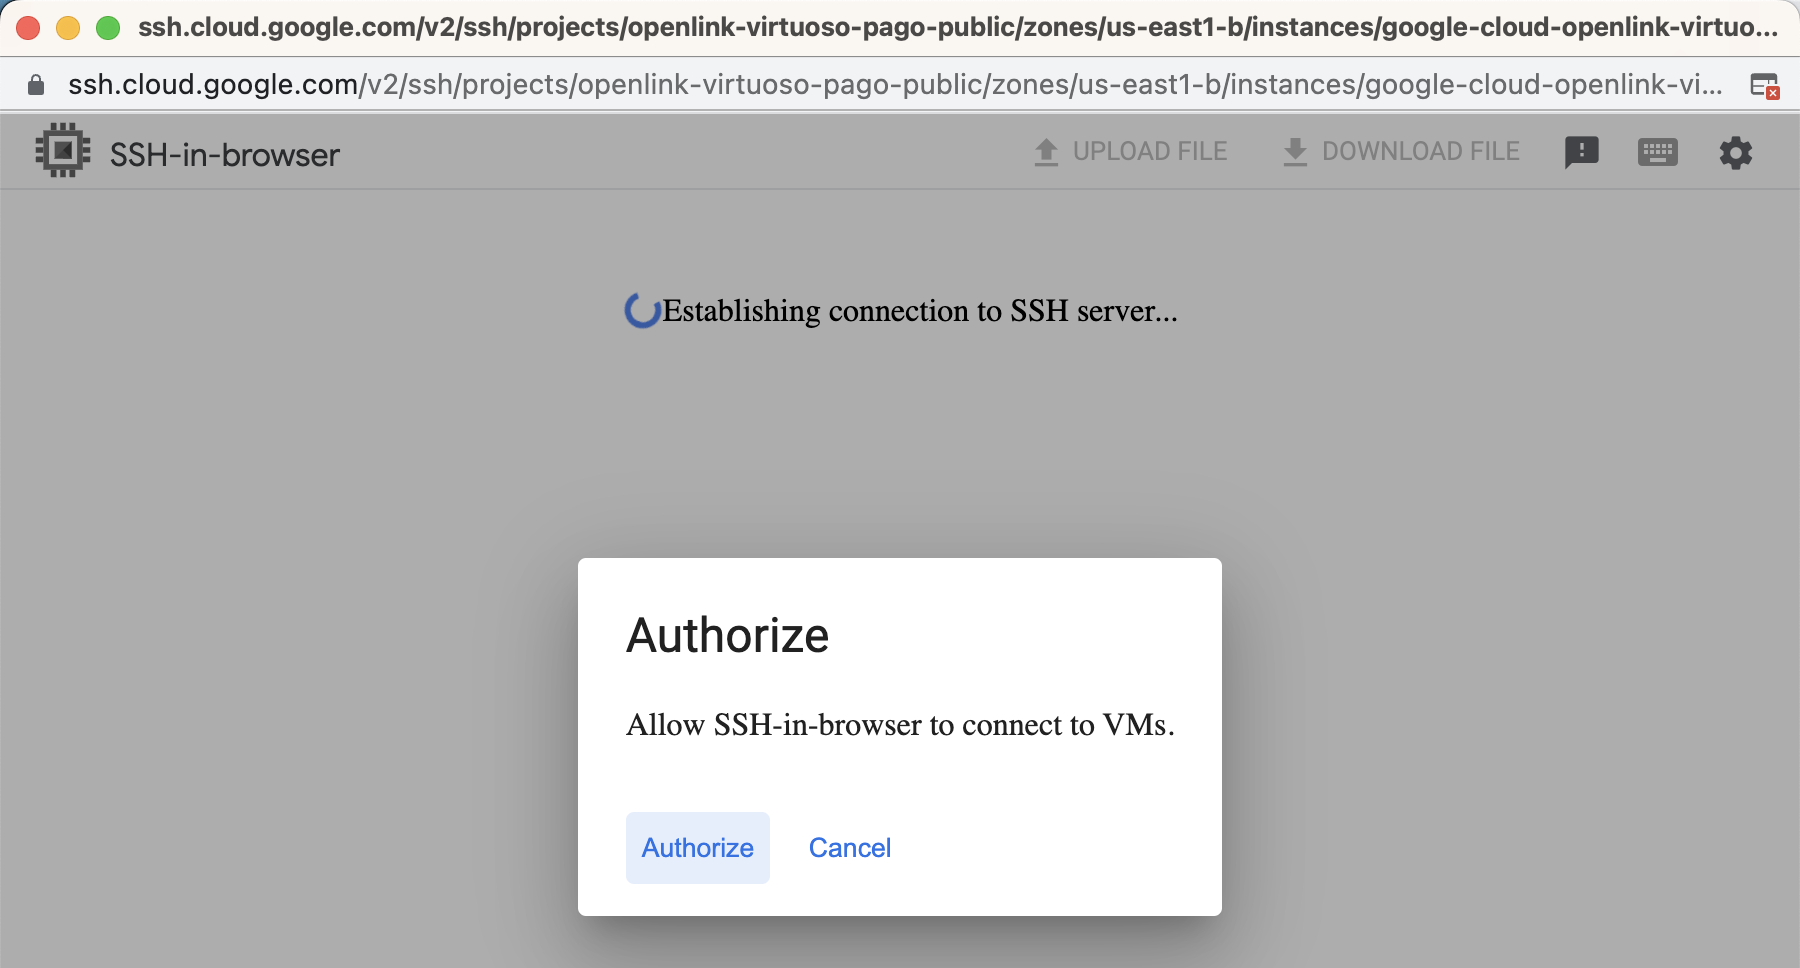
- Authenticate as your google
useraccount:

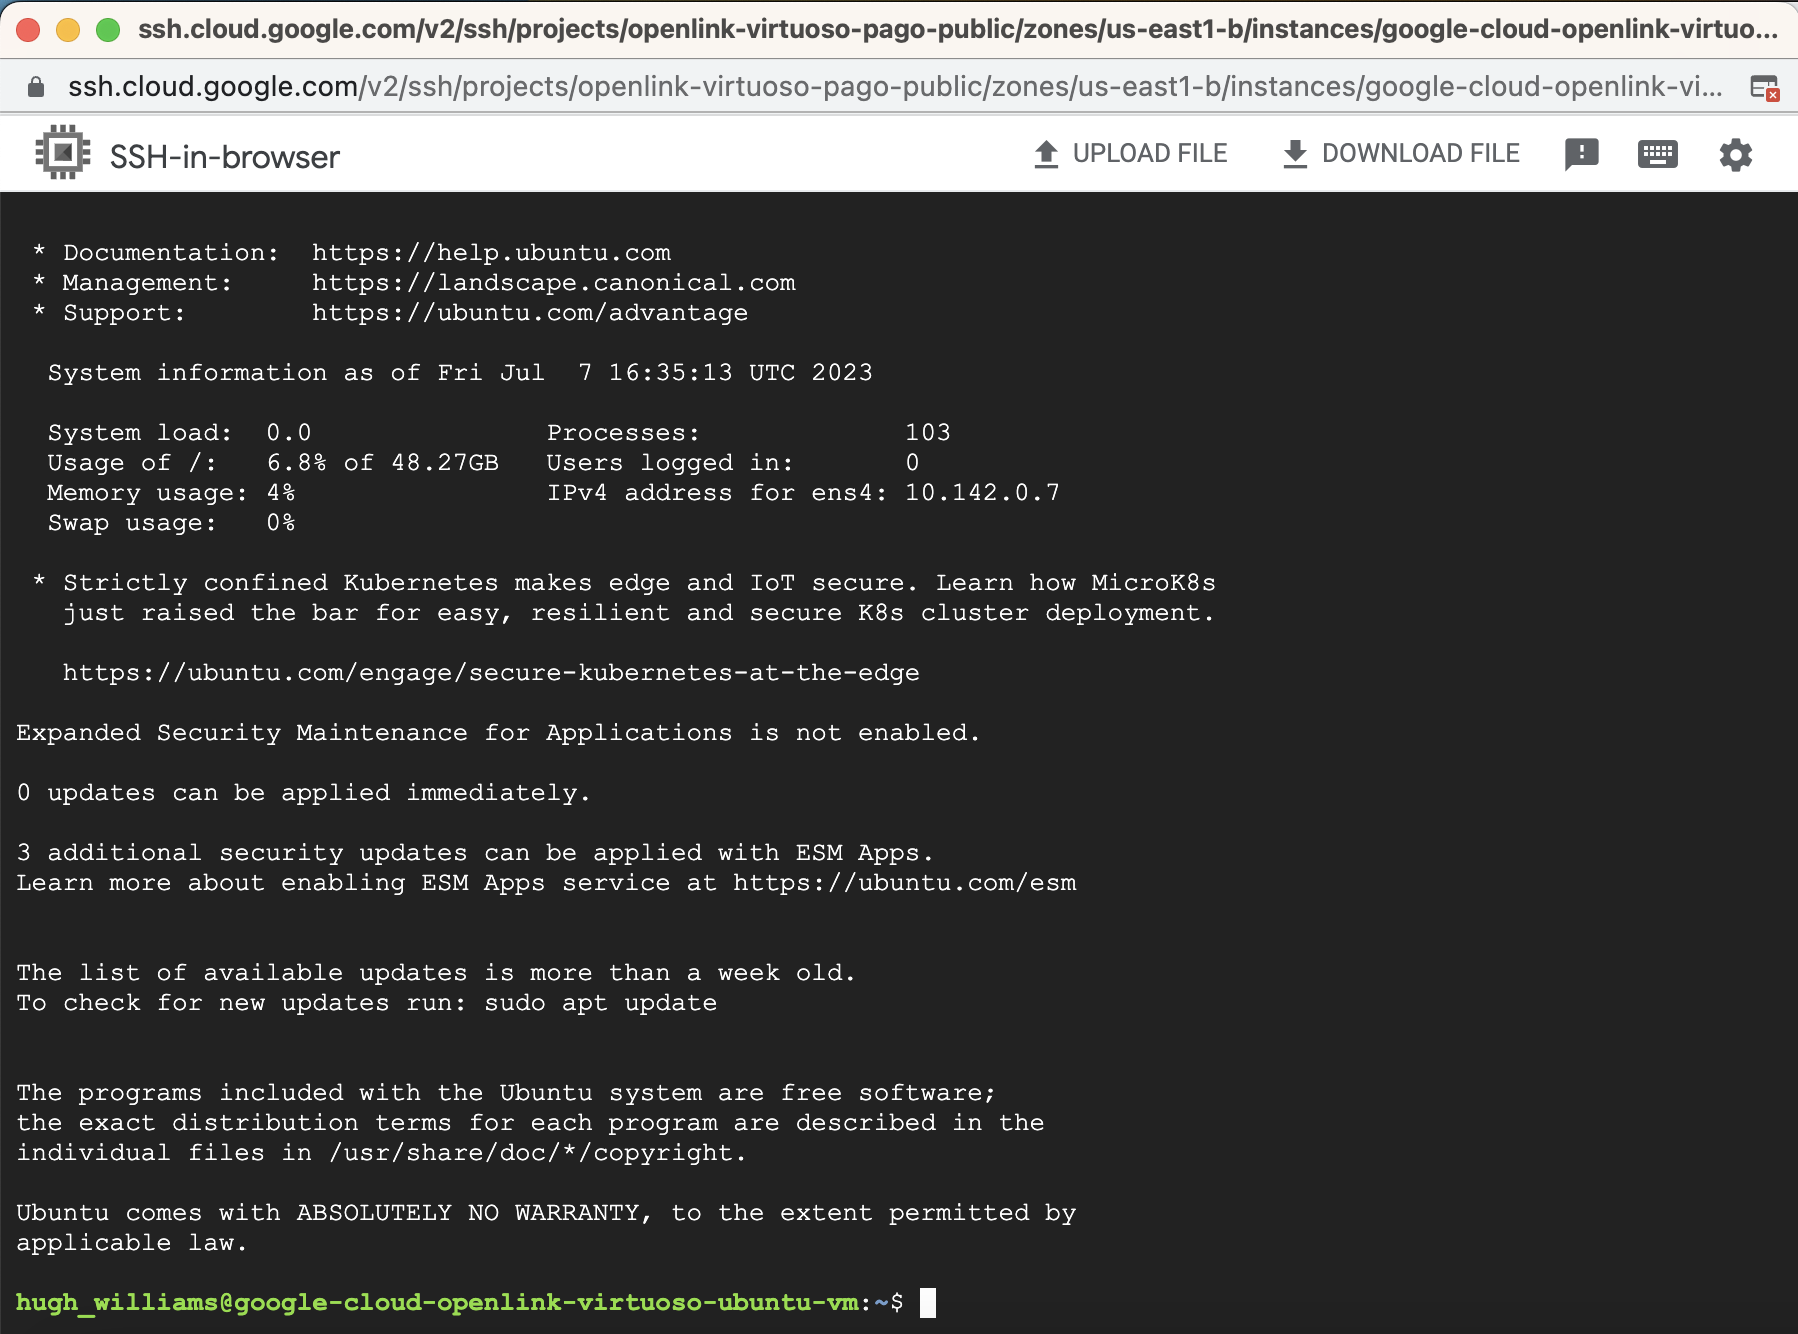
- The
SSHconnection to the VM completes:
- Once connected it is strongly recommended to update the VM to get the latest operating system and Virtuoso updates with the command:
sudo apt-get upgrade
- The Virtuoso server will automatically be started on instantiation and ready for use. The following commands can be used to Administer the Virtuoso server:
- Start the Virtuoso Server:
sudo service virtuoso start
- Stop the Virtuoso Server:
sudo service virtuoso stop
- Restart the Virtuoso Server:
sudo service virtuoso restart
- Check status of Vrtuoso Server:
sudo service virtuoso status
- Check the Virtuoso server is automatically started post deployment with the command:
sudo service virtuoso status
- Determine the random password set for the
dbauser with the command:
sudo cat /opt/virtuoso/database/.initial-password
- A
SQLconnection can then be made to the Virtuoso instance with theisqlcommand line tool on port1111with the command :
isql 1111
Accessing the Virtuoso Instance via HTTP
- Determine the
External IP Addressof the VM from the google cloud console:
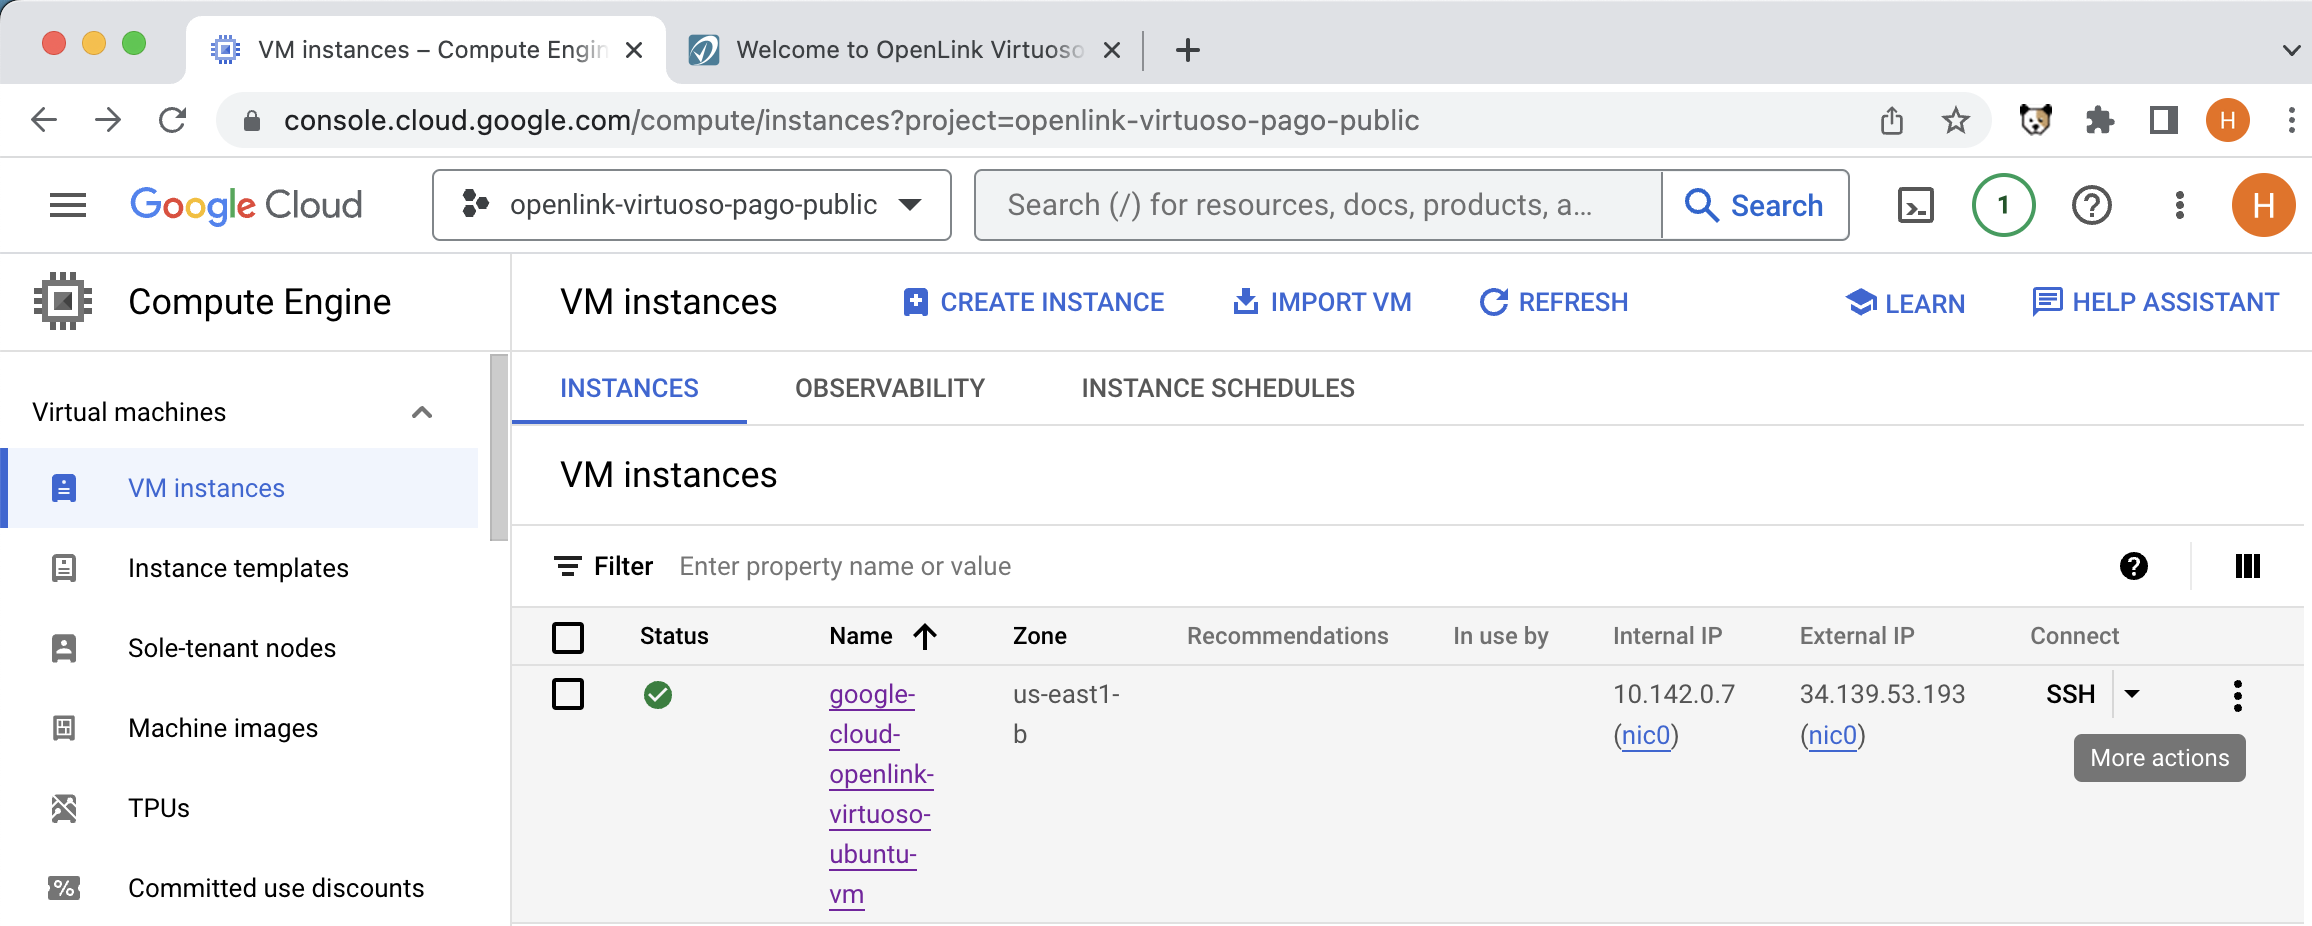
- The Virtuoso HTTP server can then be accessed on
http://{External IP Address}:8890:
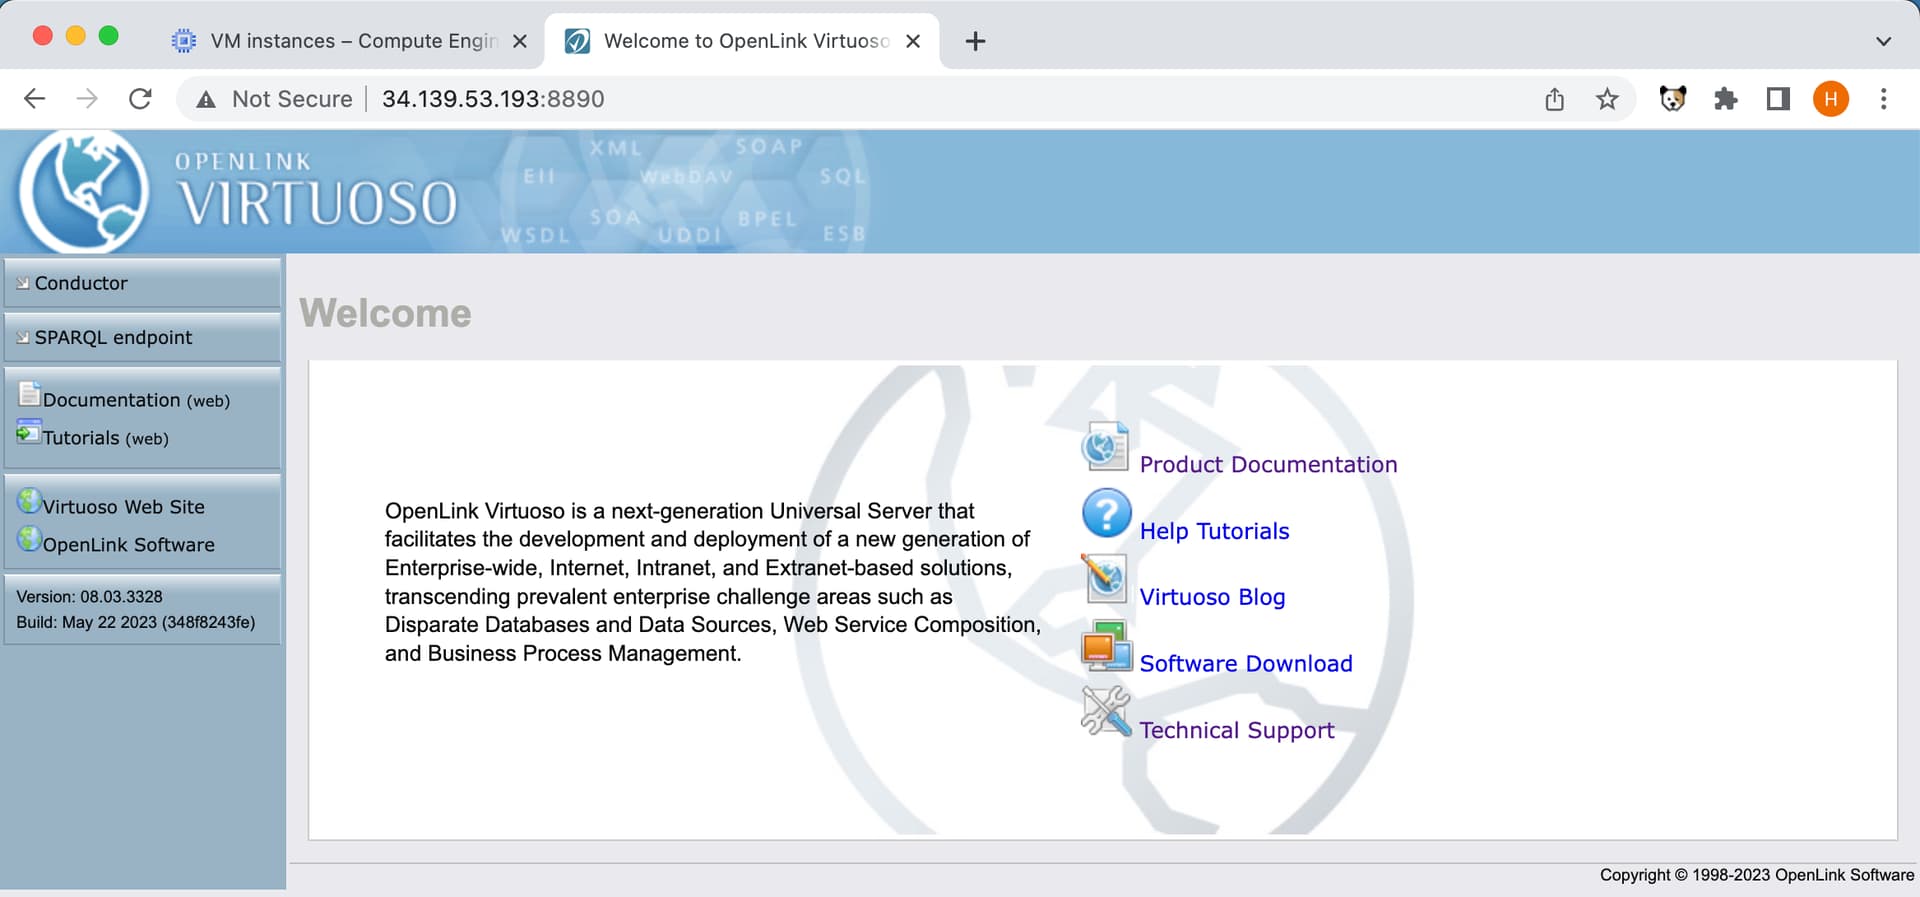
- Click on the
Conductorlink in the left frame to access the Virtuoso Conductor Admin UI.
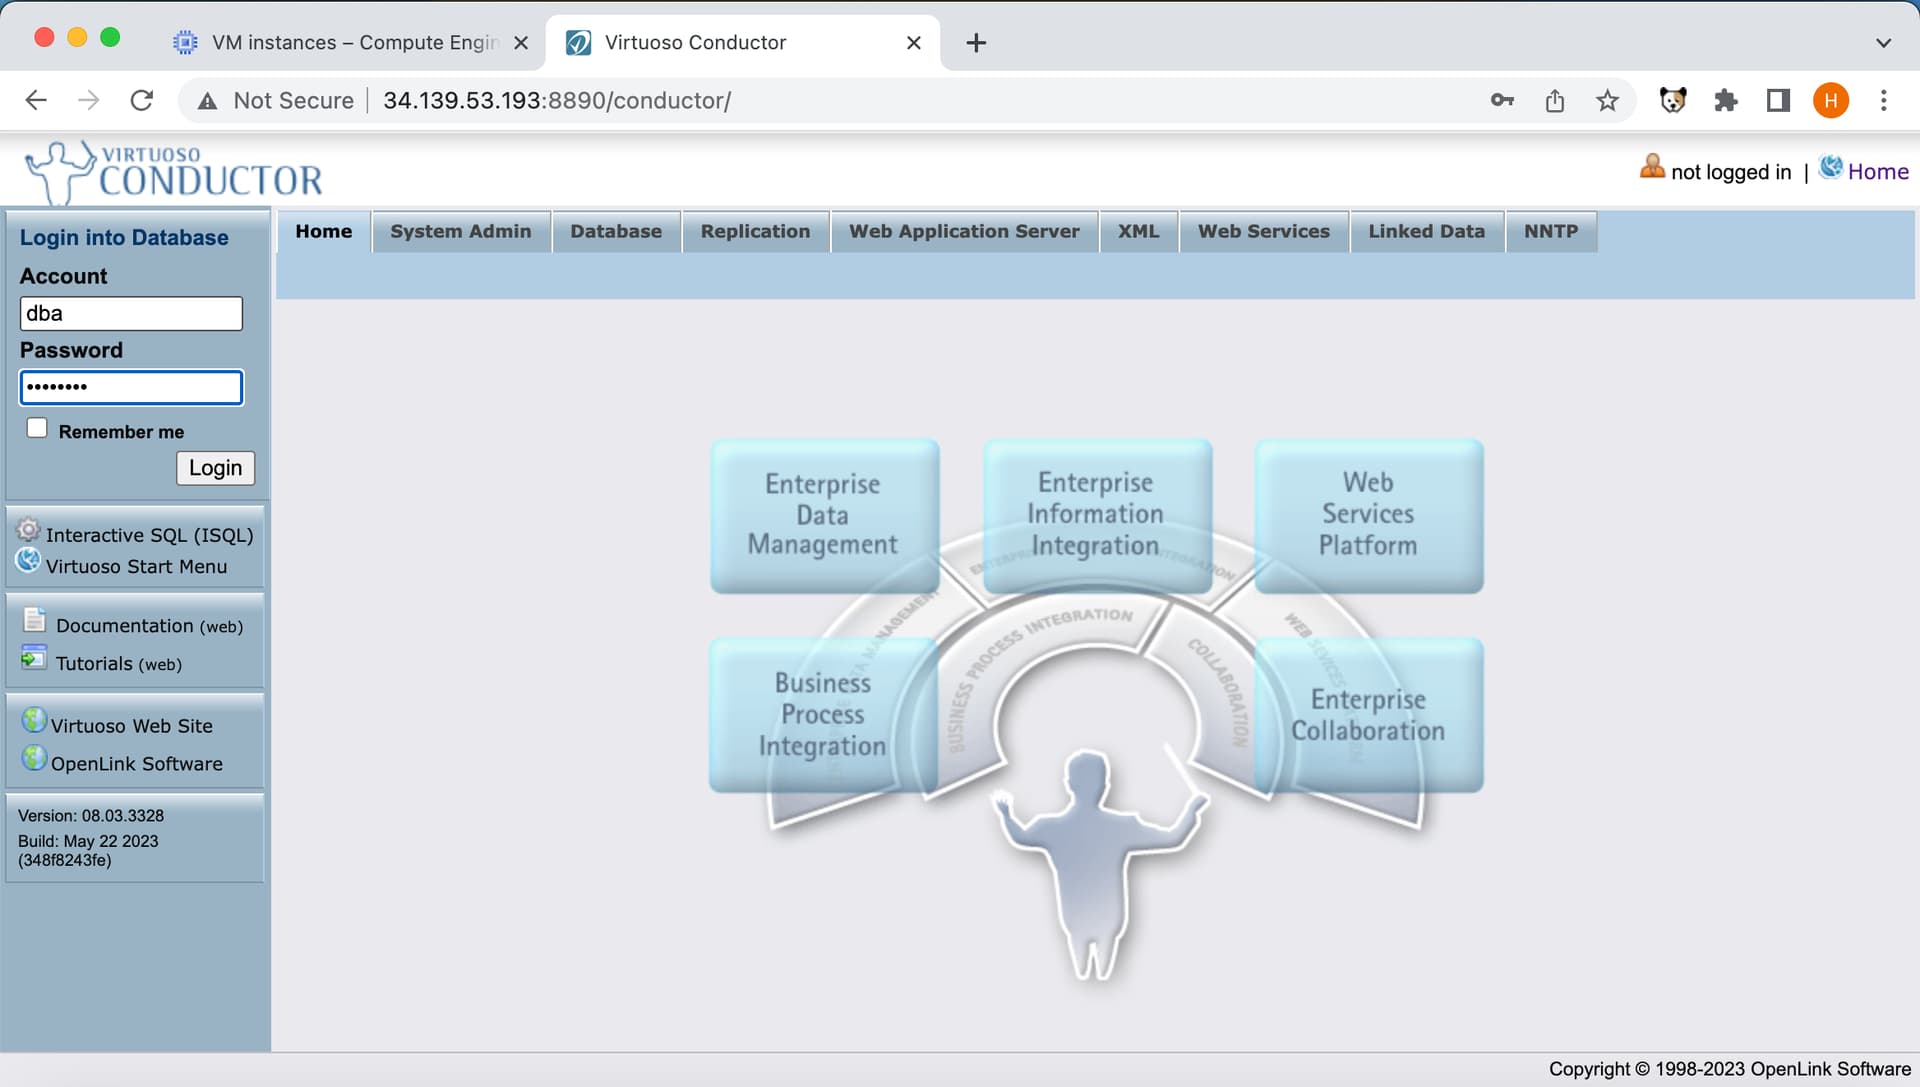
- Use the Virtuoso
dbauser and password determined previously to login to the Conductor

Performance Tuning
There are a range of Google VM instance types with different system memory and CPU combinations. Collectively, the factors above affect the performance of your Virtuoso instance. Thus, use Google VM Instance Type s with more memory and CPU cores for best performance.
Note: This VM is configured to use minimal system memory. For the instance type chosen, the NumberOfBuffer and MaxDirtyBuffers parameters in the /opt/virtuoso/database/virtuoso.ini configuration file should be increased to match the available memory, as detailed in the Virtuoso Performance Tuning Guide, for example –
| VM Instance Type | System RAM | Number Of Buffers | Max Dirty Buffers |
|---|---|---|---|
n2d-standard-2 |
8 GB | 680000 | 500000 |
n2d-standard-4 |
16 GB | 1360000 | 1000000 |
n2d-standard-8 |
32 GB | 2720000 | 2000000 |
n2d-standard-16 |
64 GB | 5450000 | 4000000 |
– and the Virtuoso server restarted as detailed above.
Extrapolate the NumberOfBuffer and MaxDirtyBuffers parameters accordingly for different sized VMs.
Troubleshooting
If the Virtuoso server fails to start:
- Run the command
sudo service virtuoso statusto see if the Virtuoso server is running - Check the
/opt/virtuoso/database/virtuoso.logfile to see why the server might have failed to start - Ensure there file
/opt/virtuoso/database/virtuoso.lckdoes not exist before starting the server - Attempt to start the Virtuoso server with the command
sudo service virtuoso start - Run the command
sudo service virtuoso statusagain to see if the Virtuoso server is running - If it is now running attempt a connect via the
SQLorHTTPinterfaces are detailed above