Situation Analysis
QlikView is a Business Intelligence and Analytics Tool that enables its users to discover deeper insights by building their own rich, guided analytics applications using a flexible, business-ready solution.
Qlik Sense is a self-service data visualization and discovery application designed for individuals, groups, and organizations.
QlikView and Qlik Sense natively support an ODBC data access interface, which provides access to numerous data sources. However, it doesn’t provide access to data sources that are only JDBC-accessible, which leaves this genre of data source inaccessible without appropriate middleware.
Athena , an AWS cloud-hosted Query Service for data saved to Amazon S3 buckets, is an example of a data source that’s only JDBC-accessible.
Challenge
During this era of Digital Transformation, Organizations are increasingly seeking to monitor their KPIs (Key Performance Indicators) on dashboards (produced with tools like QlikView and Qlik Sense) that access data from a couple of system types:
- Systems-of-record oriented data — typically ODBC-accessible, SQL-RDBMS-hosted data
- Systems-of-interaction oriented data — typically activity logs associated with customer and prospect interactions (which is where Athena comes into play, due to broad use of S3 buckets for activity log storage)
Solution
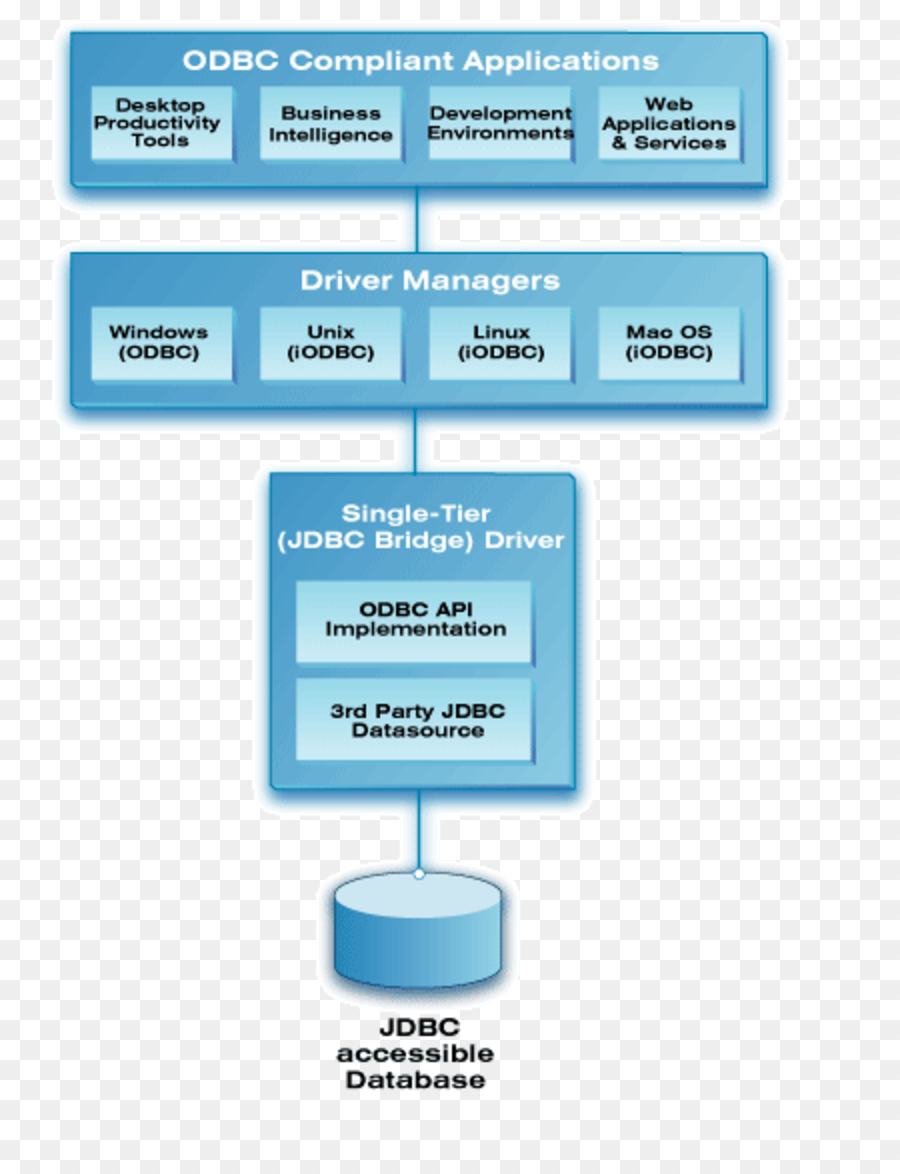
The solution to this challenge is an ODBC-JDBC Bridge Driver — that is, an ODBC Driver for JDBC Data Sources — with a sound understanding of ODBC, which can effectively and transparently translate from there to JDBC.
The rest of this post guides you through the process of using our Lite Edition (Single-Tier) ODBC-JDBC Bridge Driver to provide QlikView and Qlik Sense with ODBC connectivity to Athena data, through the Athena JDBC Driver.
Setting Up & Using the OpenLink Lite Edition ODBC–JDBC Driver
Launch the ODBC administration tool that’s bundled with your host operating system and corresponds to the bitness of your ODBC client application (on Windows, these are the 64-bit %systemdrive%/Windows/System32/odbcad32.exe and the 32-bit %systemdrive%/Windows/SysWoW64/odbcad32.exe ; on macOS, these are the 64-bit /Applications/iODBC/iODBC Administrator64.app and the 32-bit /Applications/iODBC/iODBC Administrator.app ), and start the ODBC Data Source Name (DSN) configuration process.
Select the OpenLink Lite for JDK 1.5 (i.e, the ODBC-JDBC Bridge Driver) on Windows, or the OpenLink JDBC Lite Driver on macOS. Select the driver labeled “ (Unicode) ” only if you’re working with wide character data including Unicode. If working only with 8-bit character data, select the other driver.

Provide a human-friendly name for your new Data Source, e.g., jdbclu-athena .

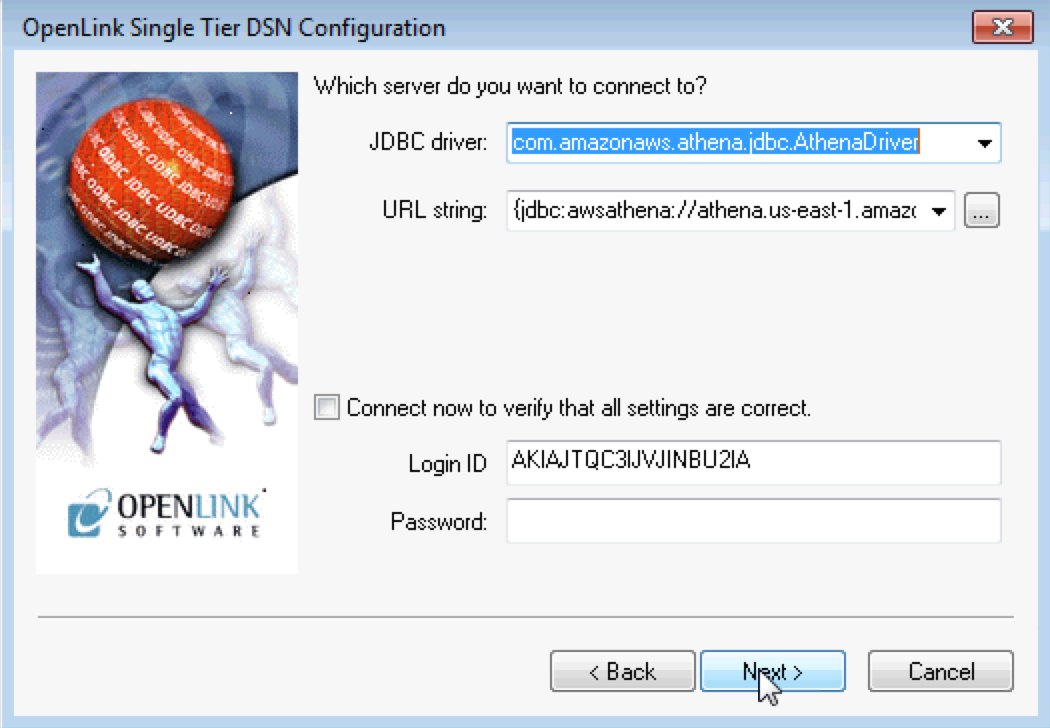
Configure the binding to your JDBC Driver by filling in the JDBC driver textbox with the driver classname and the URL string textbox with the full URL for your connection. To verify connectivity as part of this Data Source Name [DSN] creation process, check the box for Connect now to verify that all settings are correct and fill in the Login ID and Password textboxes.
See our previous post on Creating an ODBC connection to AWS Athena using OpenLink’s ODBC-JDBC Bridge for more information on where to download, and how to configure connections with, the Athena JDBC Driver.
Most of the Additional JDBC specific parameters are optional, but some are necessary for successful connections with some JDBC drivers.
For instance, when connecting with the current Athena JDBC Driver (as of this writing), you must tick the checkbox to Emulate Prepared Statements , because the Athena Driver doesn’t support prepared statement functionality. You should also tick the checkboxes to Drop Catalog name from DatabaseMetaData calls and Drop Schema name from DatabaseMetaData calls to get the correct metadata from the current Athena JDBC Driver.
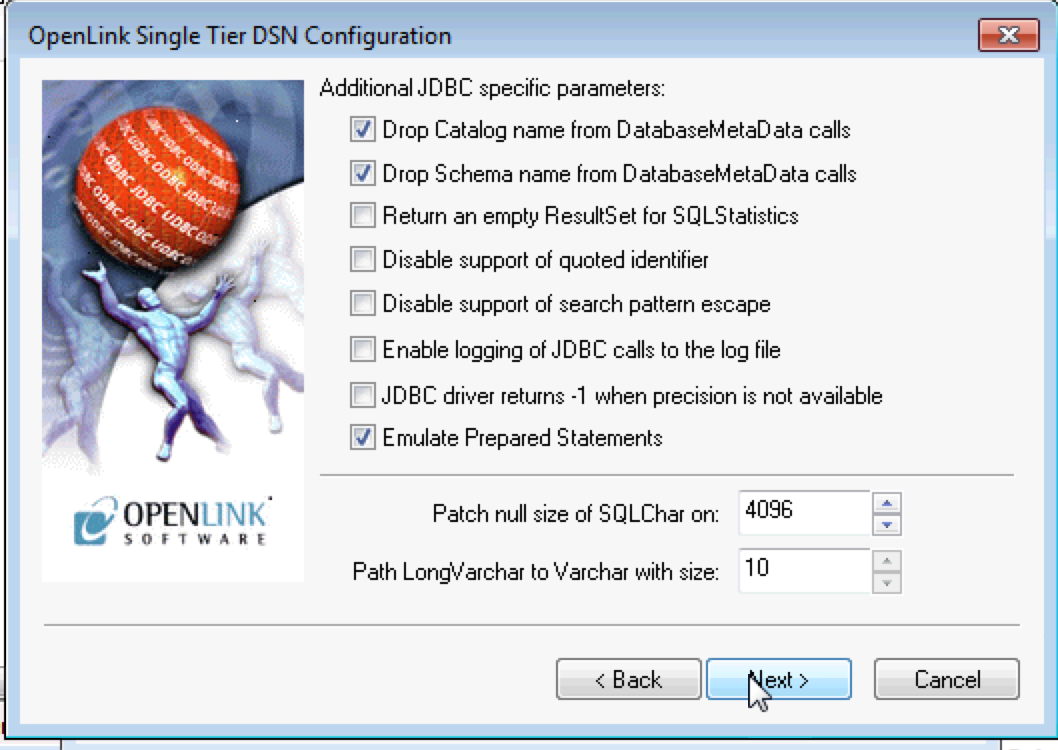
It’s generally best to also tick the checkbox to Always include alltypes in table list option. This is necessary because many ODBC applications do not issue the correct API calls to get full schema information from the back-end.
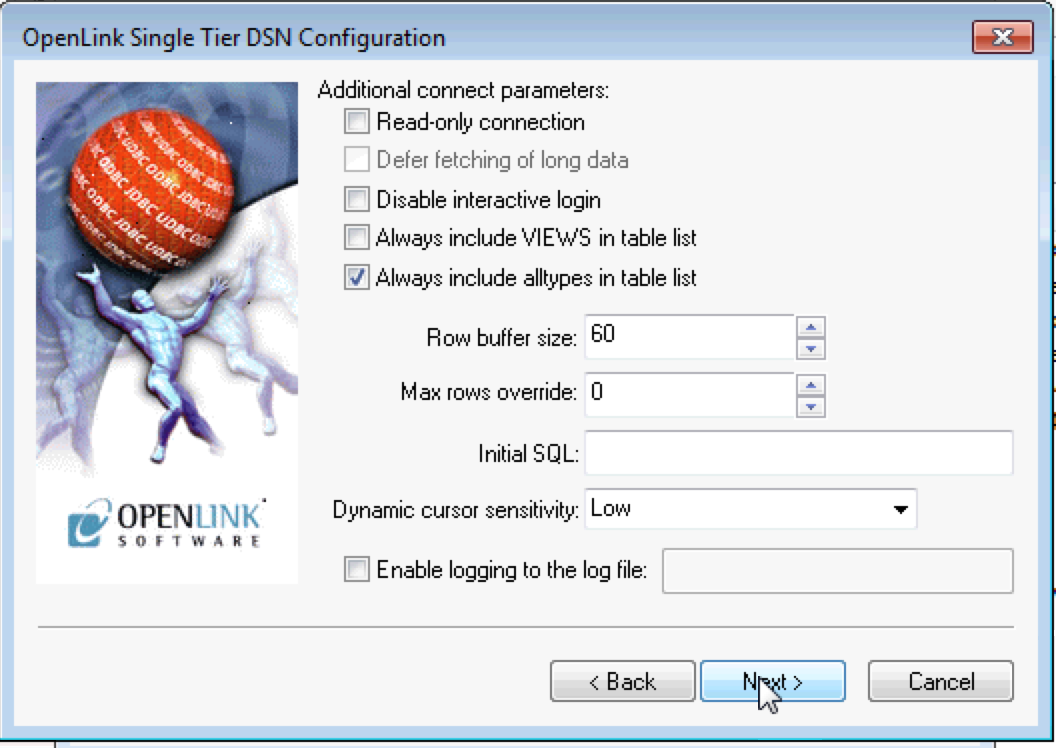
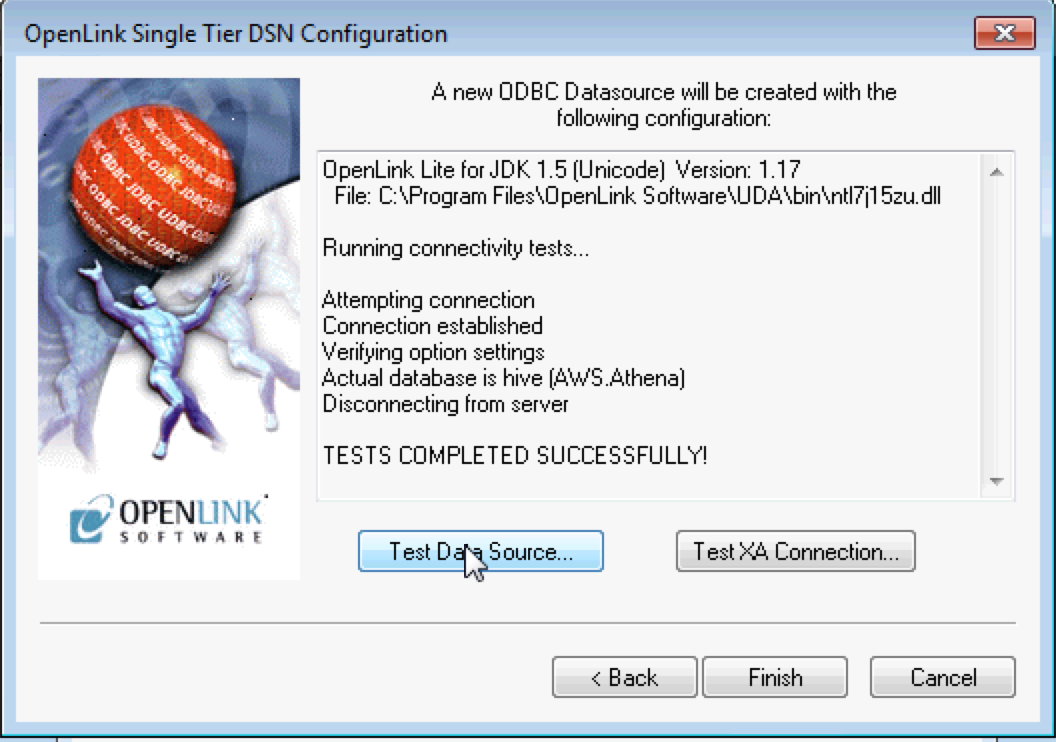
Click the Test Data Source button to verify that your new Data Source is functional.
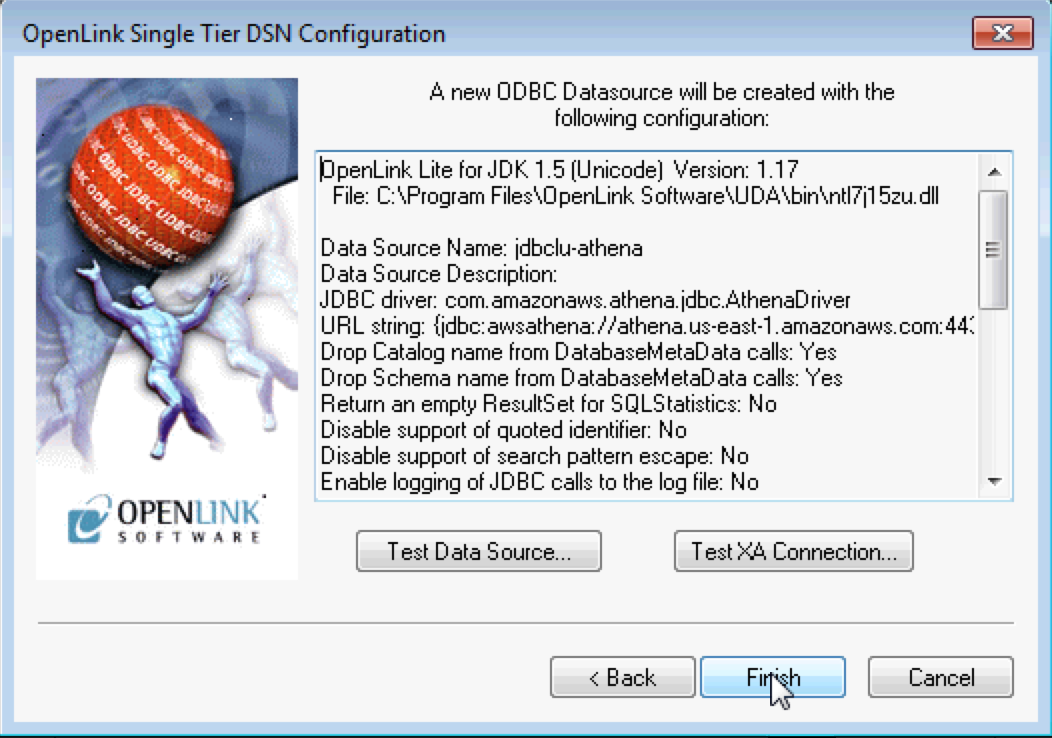
Click the Finish button to save your new Data Source for immediate or later use.
Using QlikView with your OpenLink ODBC-JDBC Bridge DSN
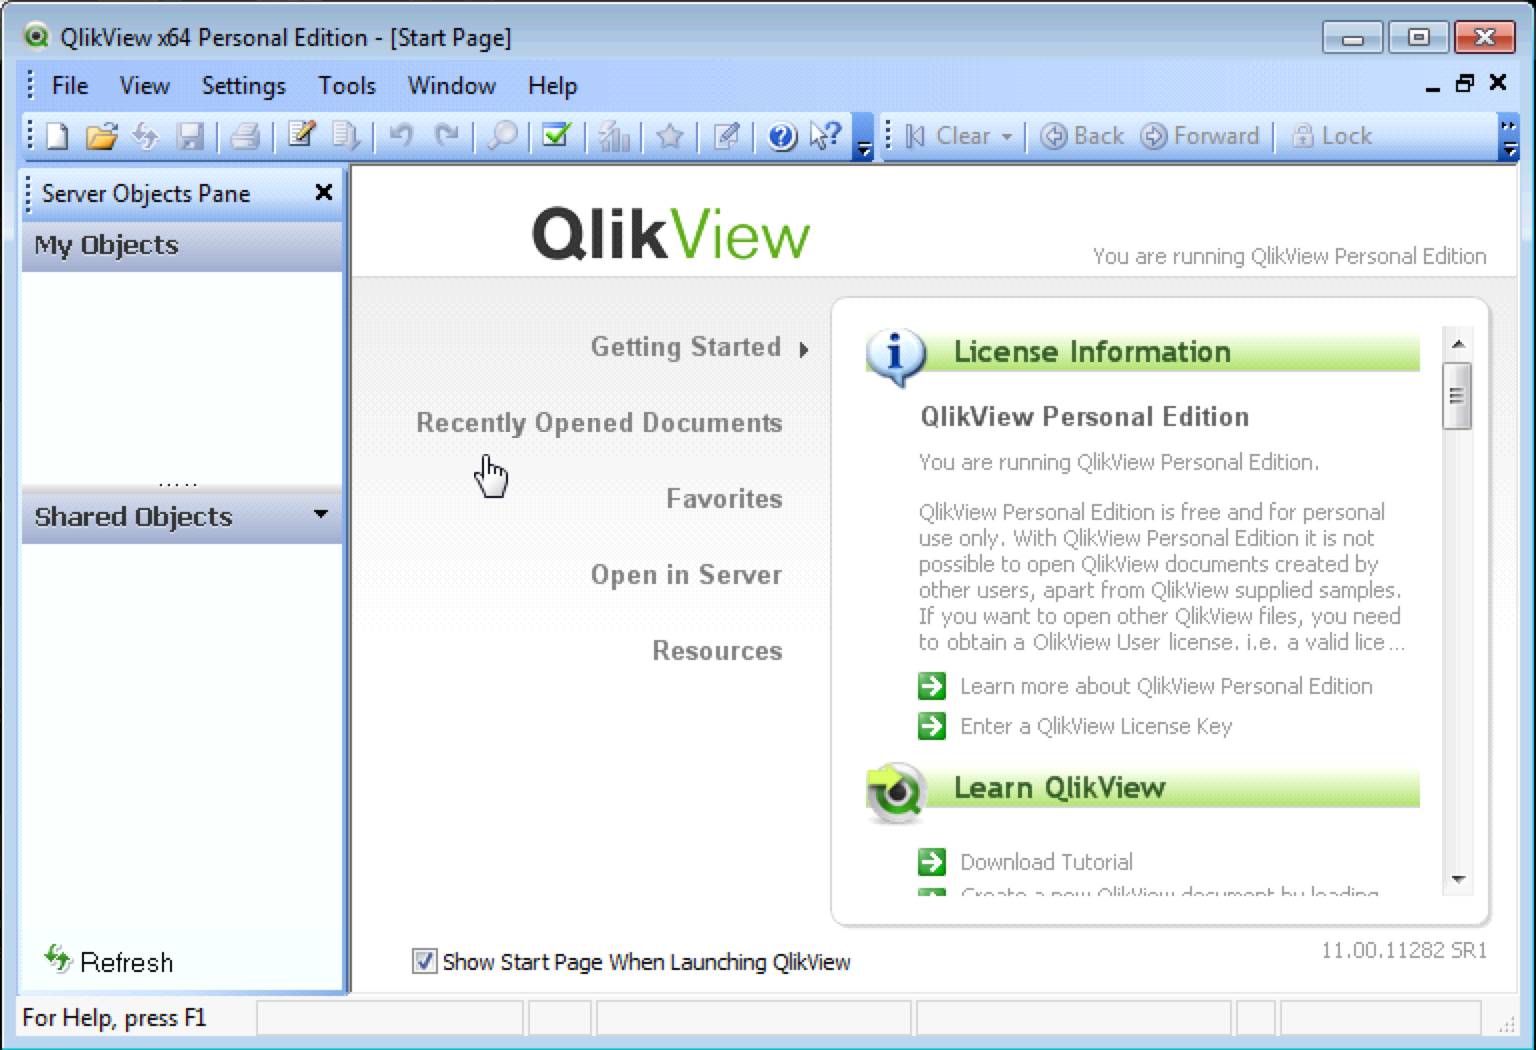
Start QlikView as usual, and then select the File → New menu item option to start a QlikView session.
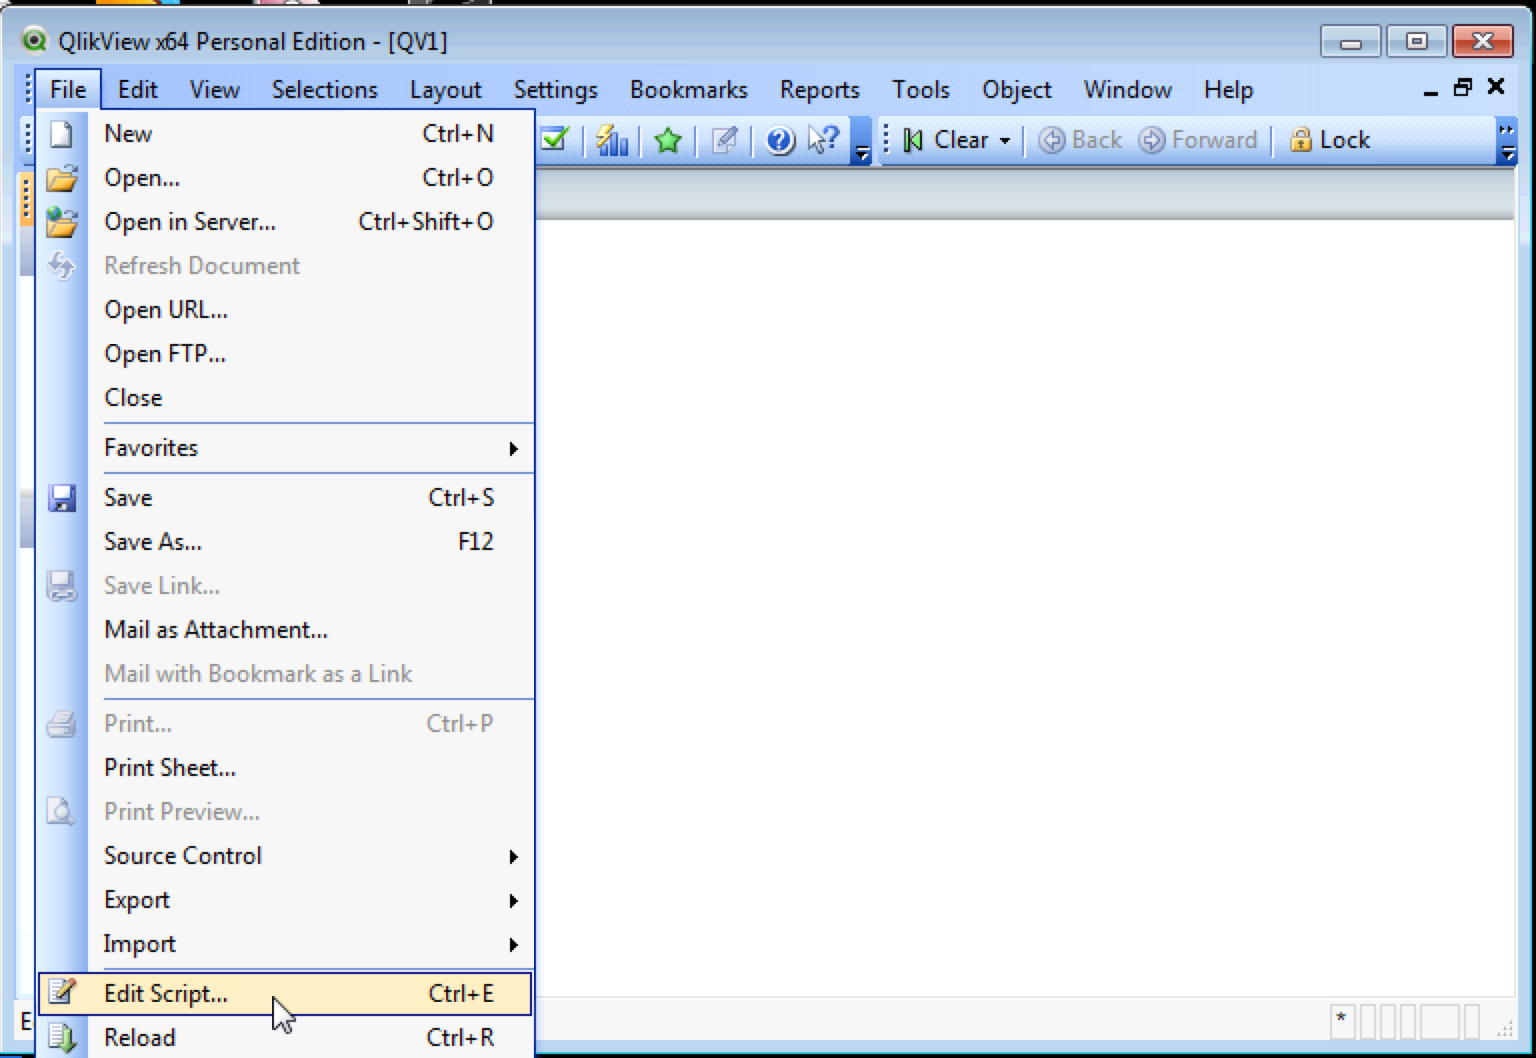
Start the ODBC Connection Setup process by selecting the File → Edit Script… menu item option.
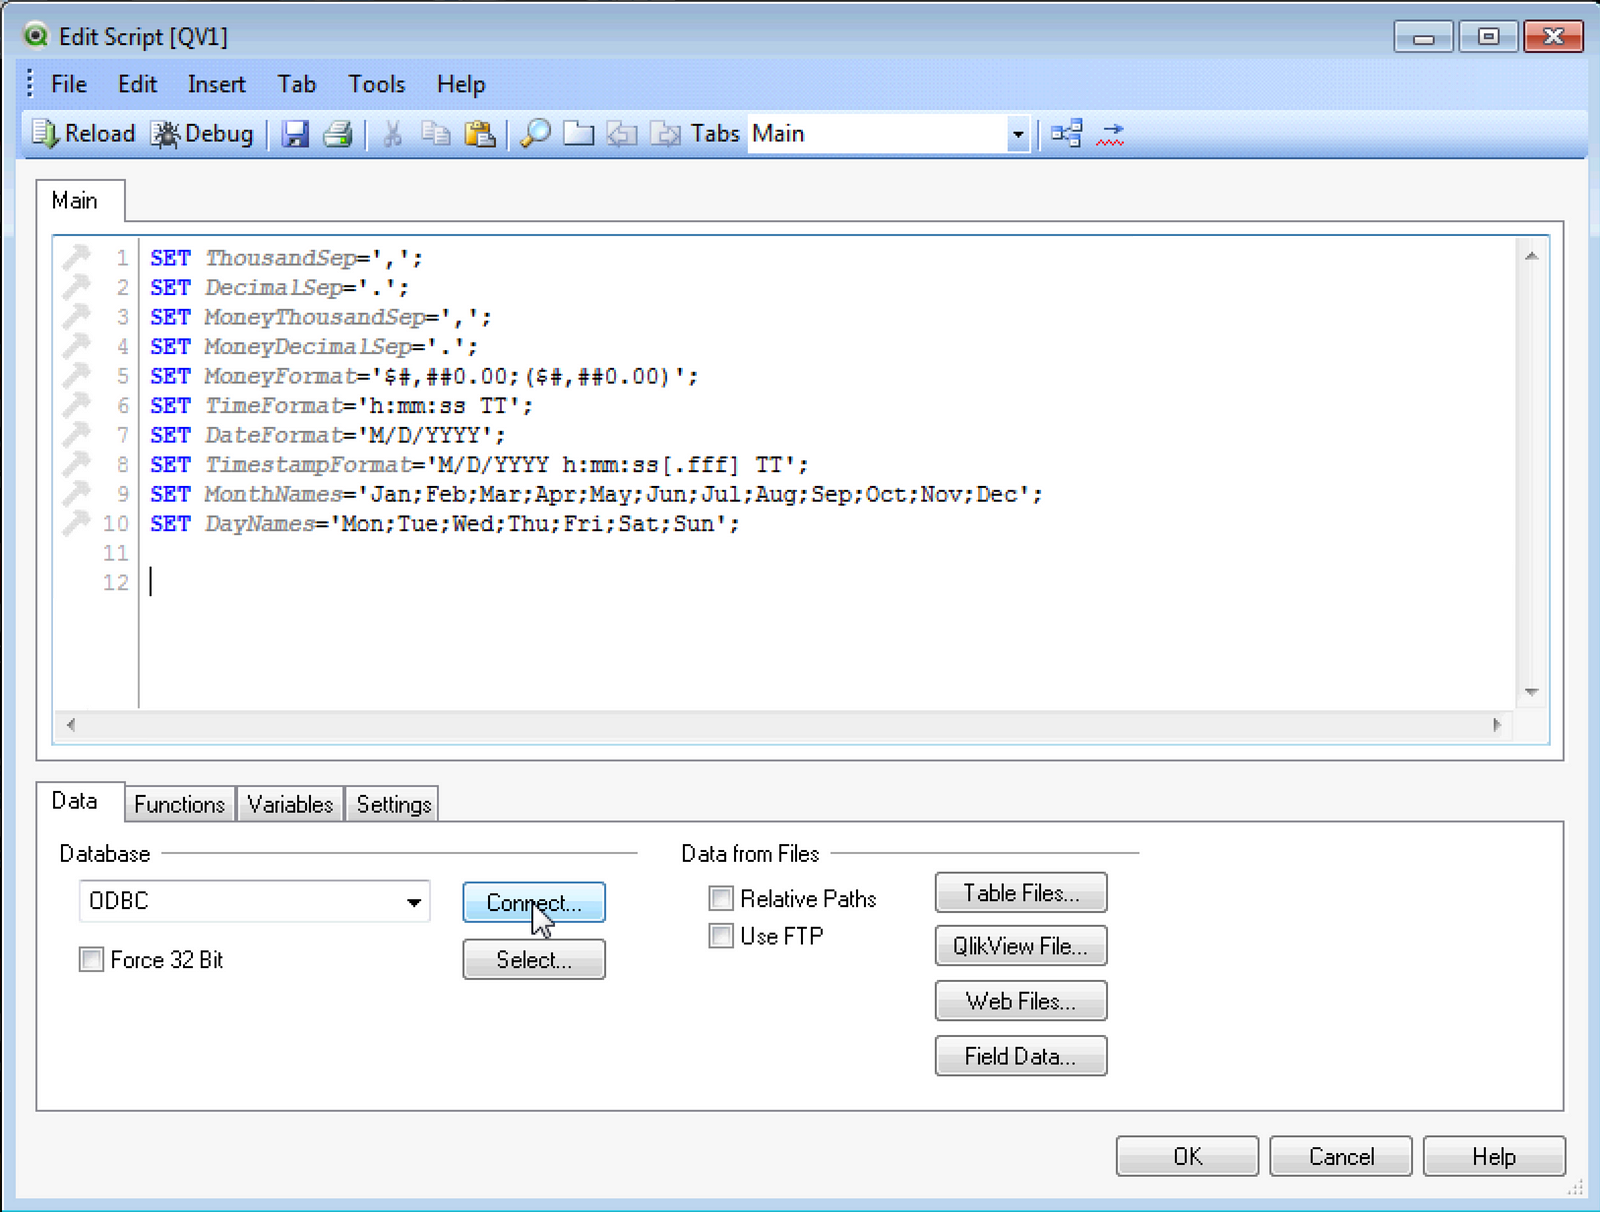
In the Database section of the Data tab, select ODBC in the drop-down menu, and click the Connect… button to initiate the ODBC connection.
Select the ODBC DSN associated with your ODBC-JDBC Bridge configuration for Athena (in our example, jdbclu-athena ).

Select the Table(s) and Column(s) from Athena for use in your report or dashboard, and click the OK button.
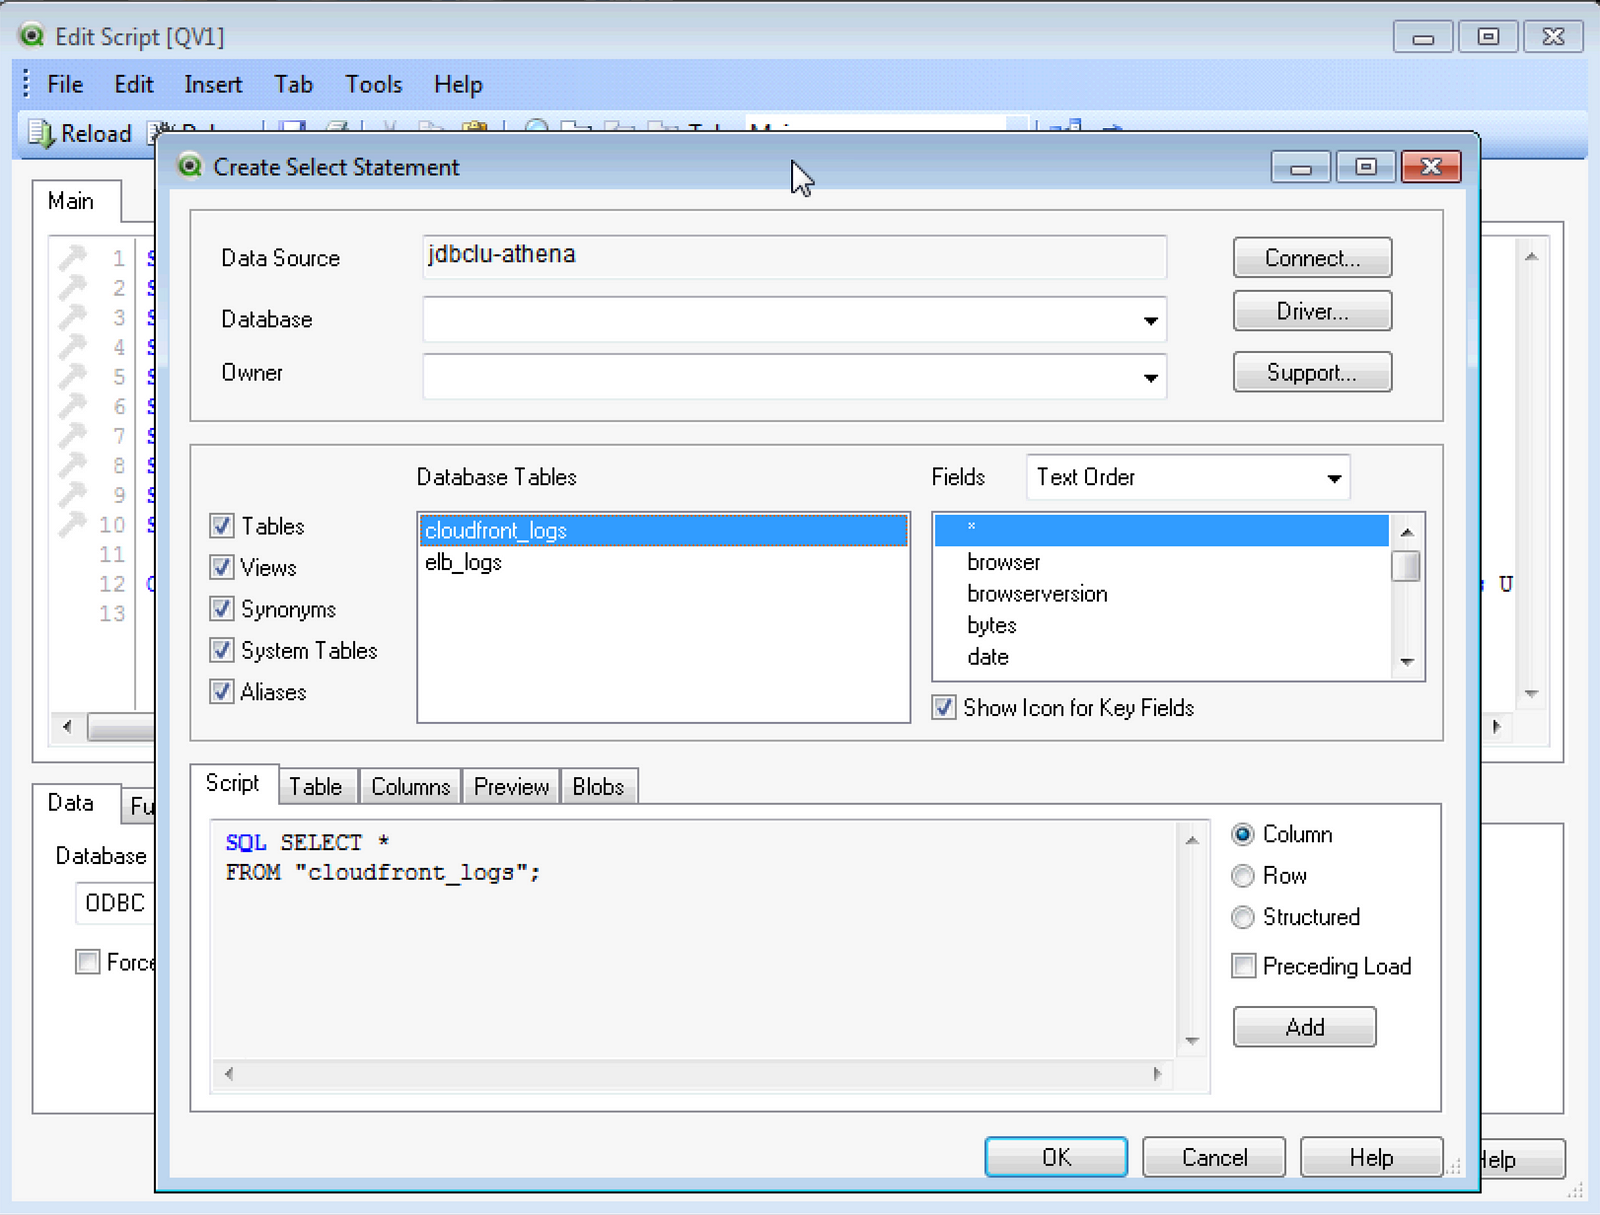
The SQL query will automatically be added to the Edit Script for the selected ODBC Data Source.
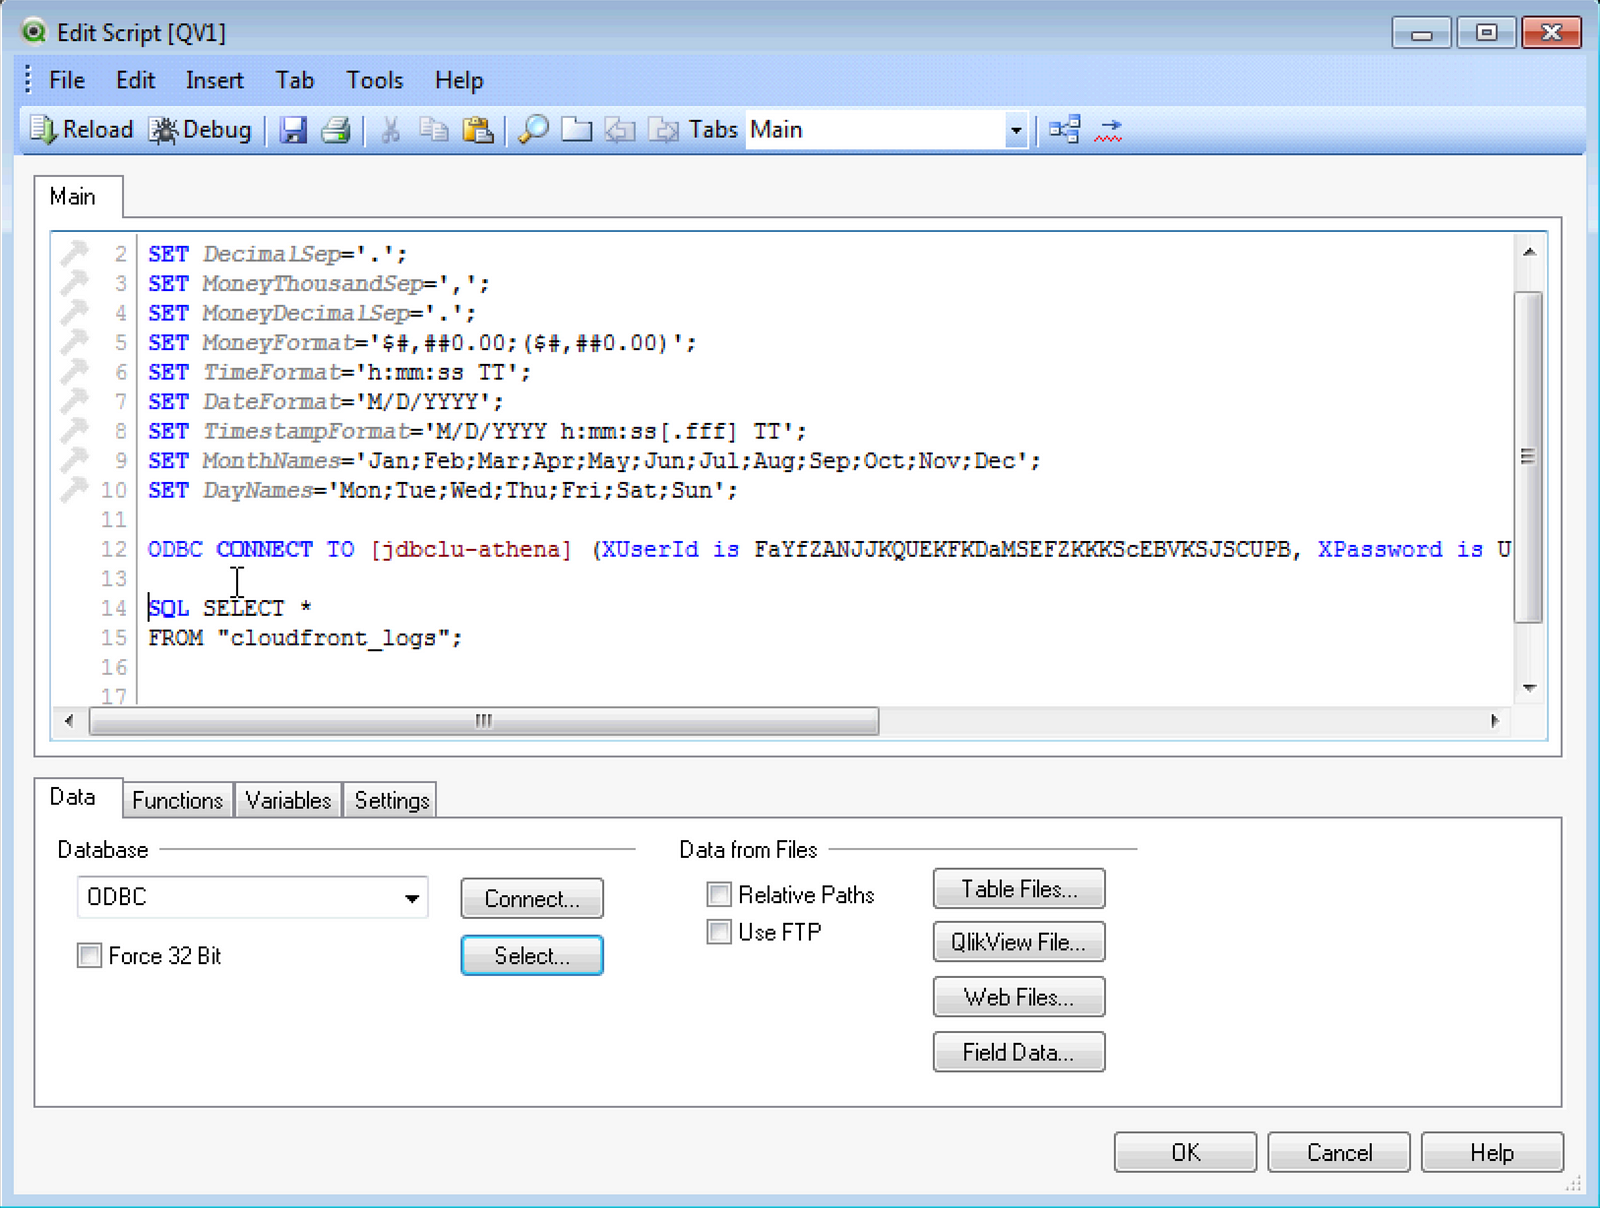
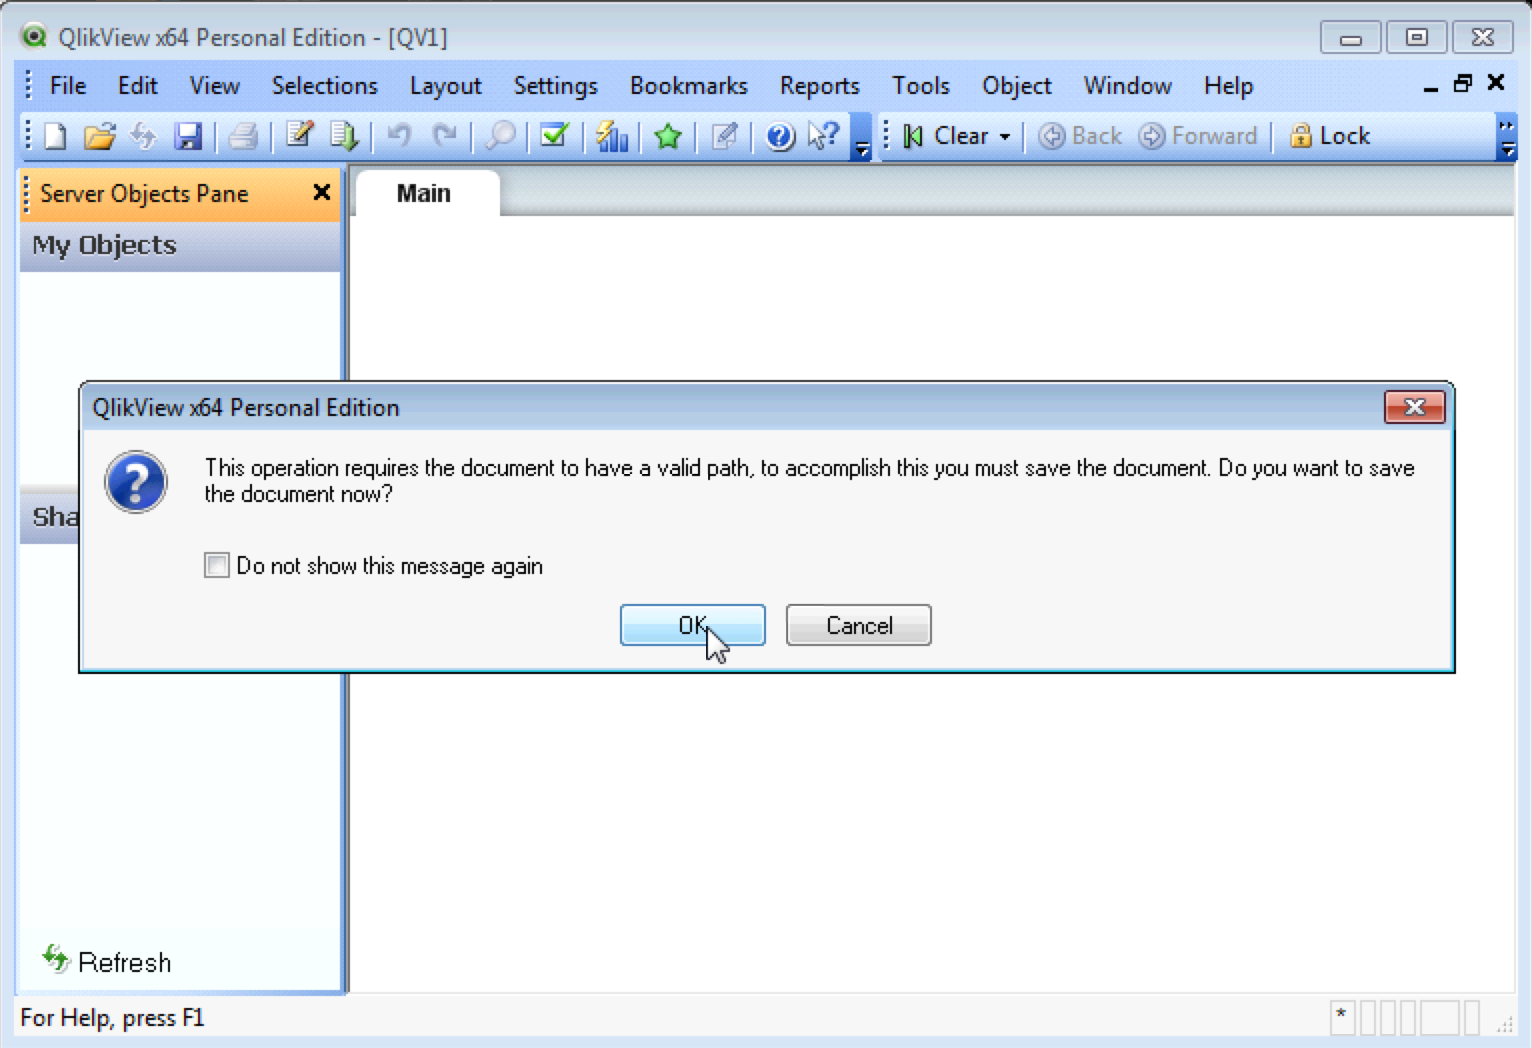
Click on the Select… button to execute the query, at which point an option will be presented to save the script to disk (we recommend you do so), after which the results will be returned to the dashboard.
Select the desired fields from the SQL Table for your dashboard report.
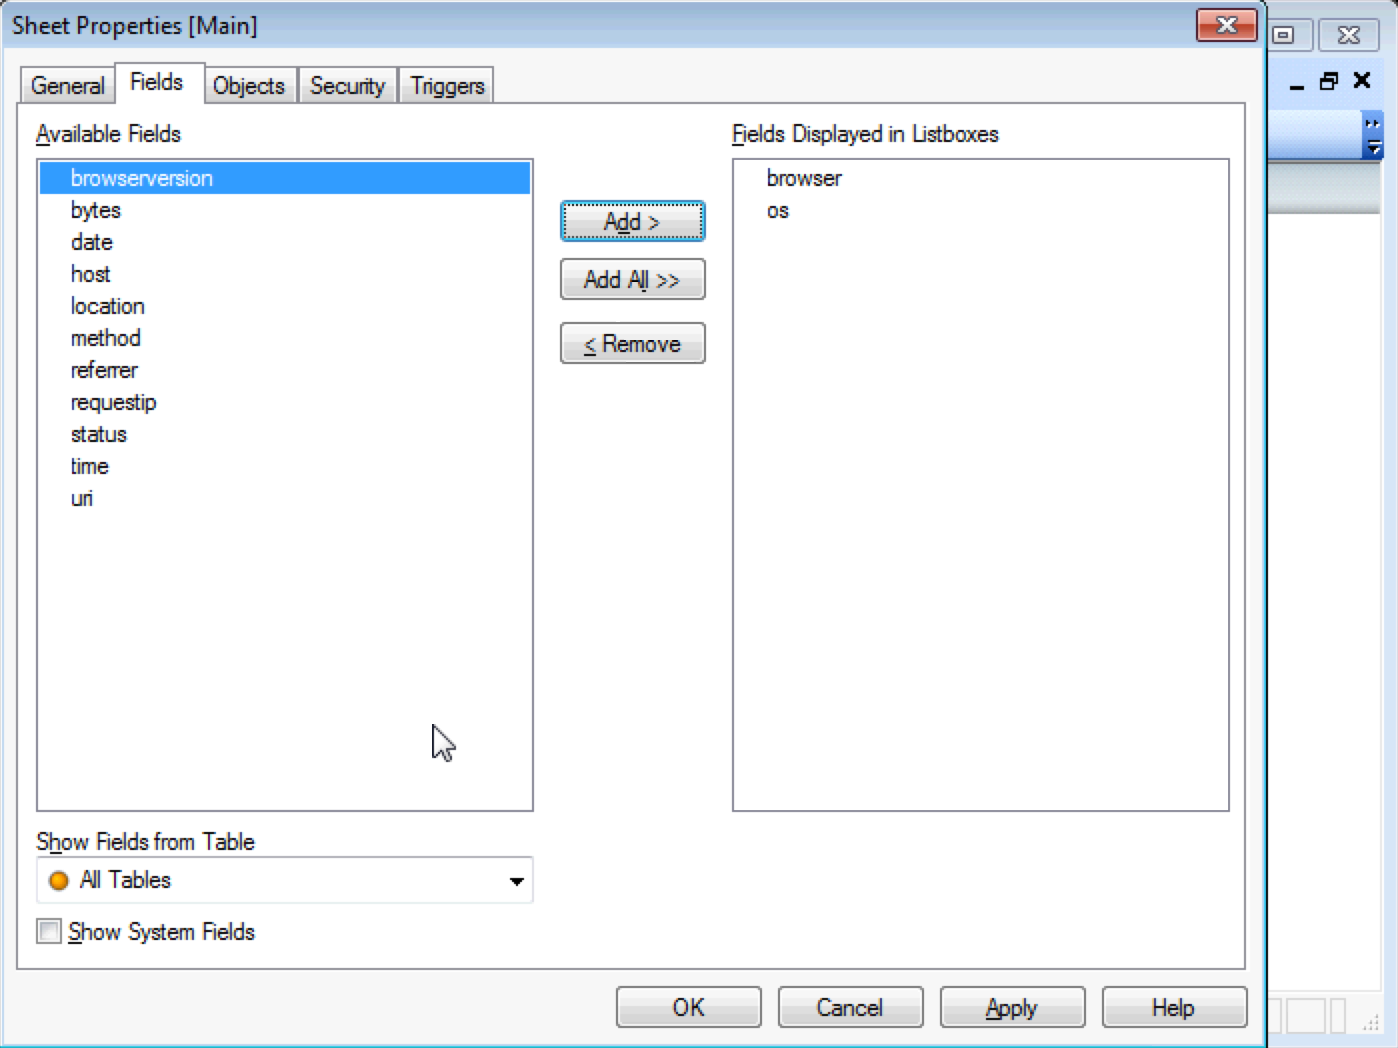
Click OK when you are done selecting fields, and you will be presented with a simple query result based on your selections.

Using Qlik Sense Desktop with your OpenLink ODBC-JDBC Bridge DSN
You can achieve similar connectivity to Athena from Qlik Sense Desktop, using the same ODBC-JDBC Bridge DSN from the prior exercise.
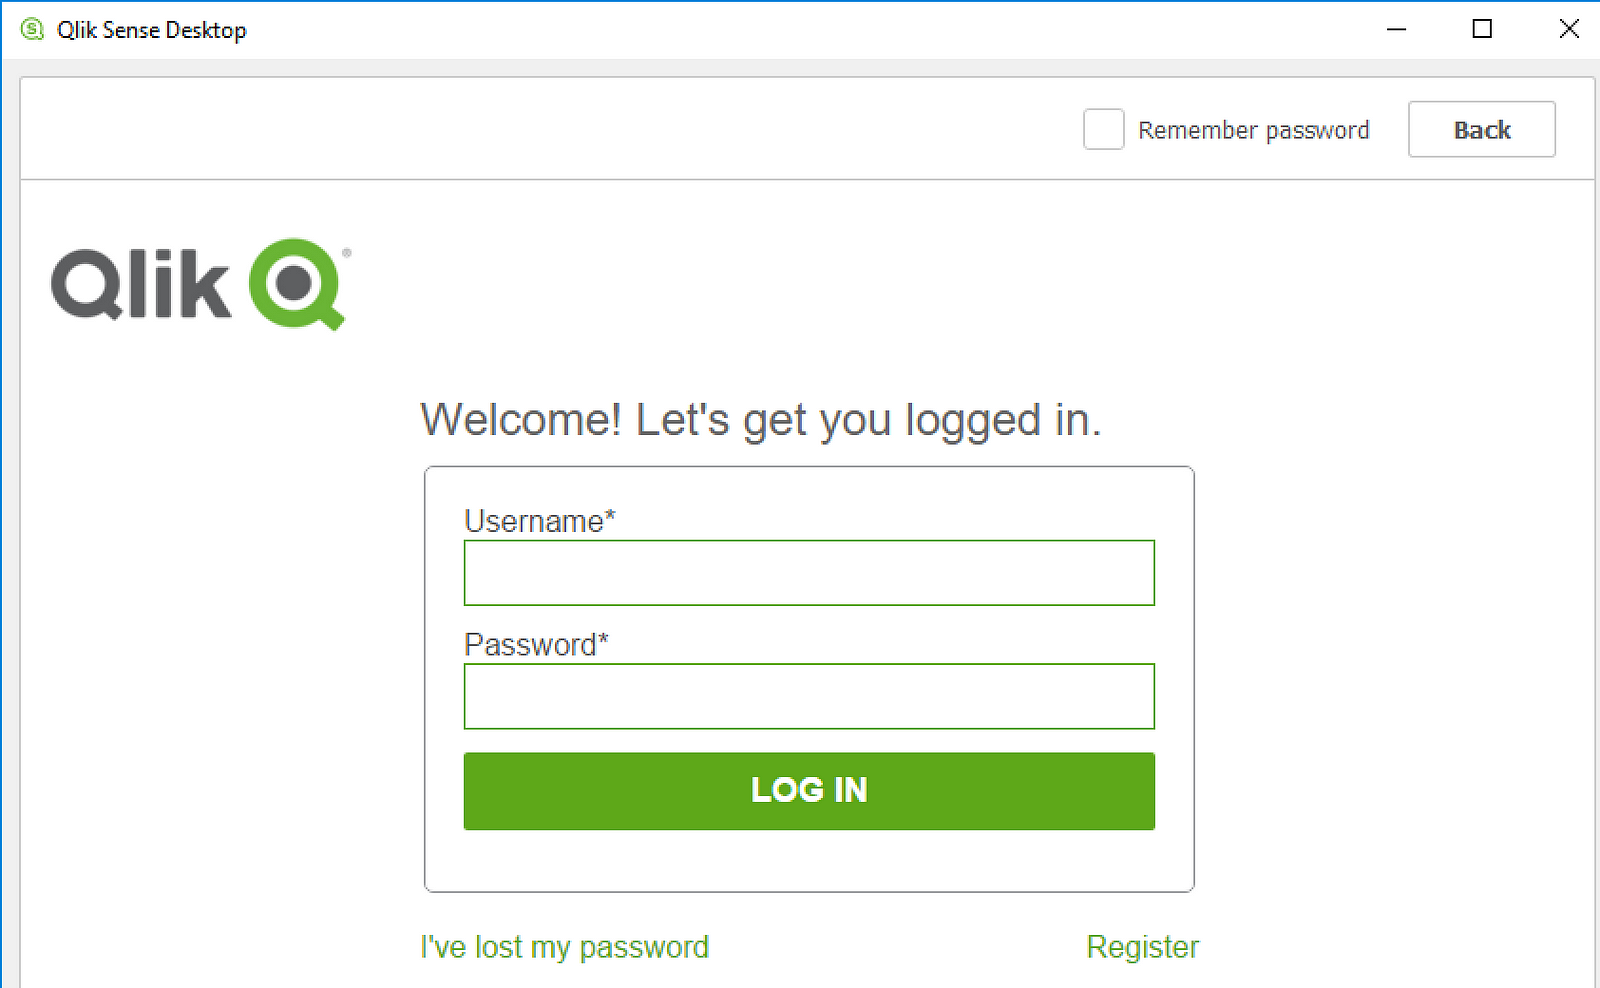
Start Qlik Sense as usual, and you will be prompted to log in (if an account already exists) or register a new user account.
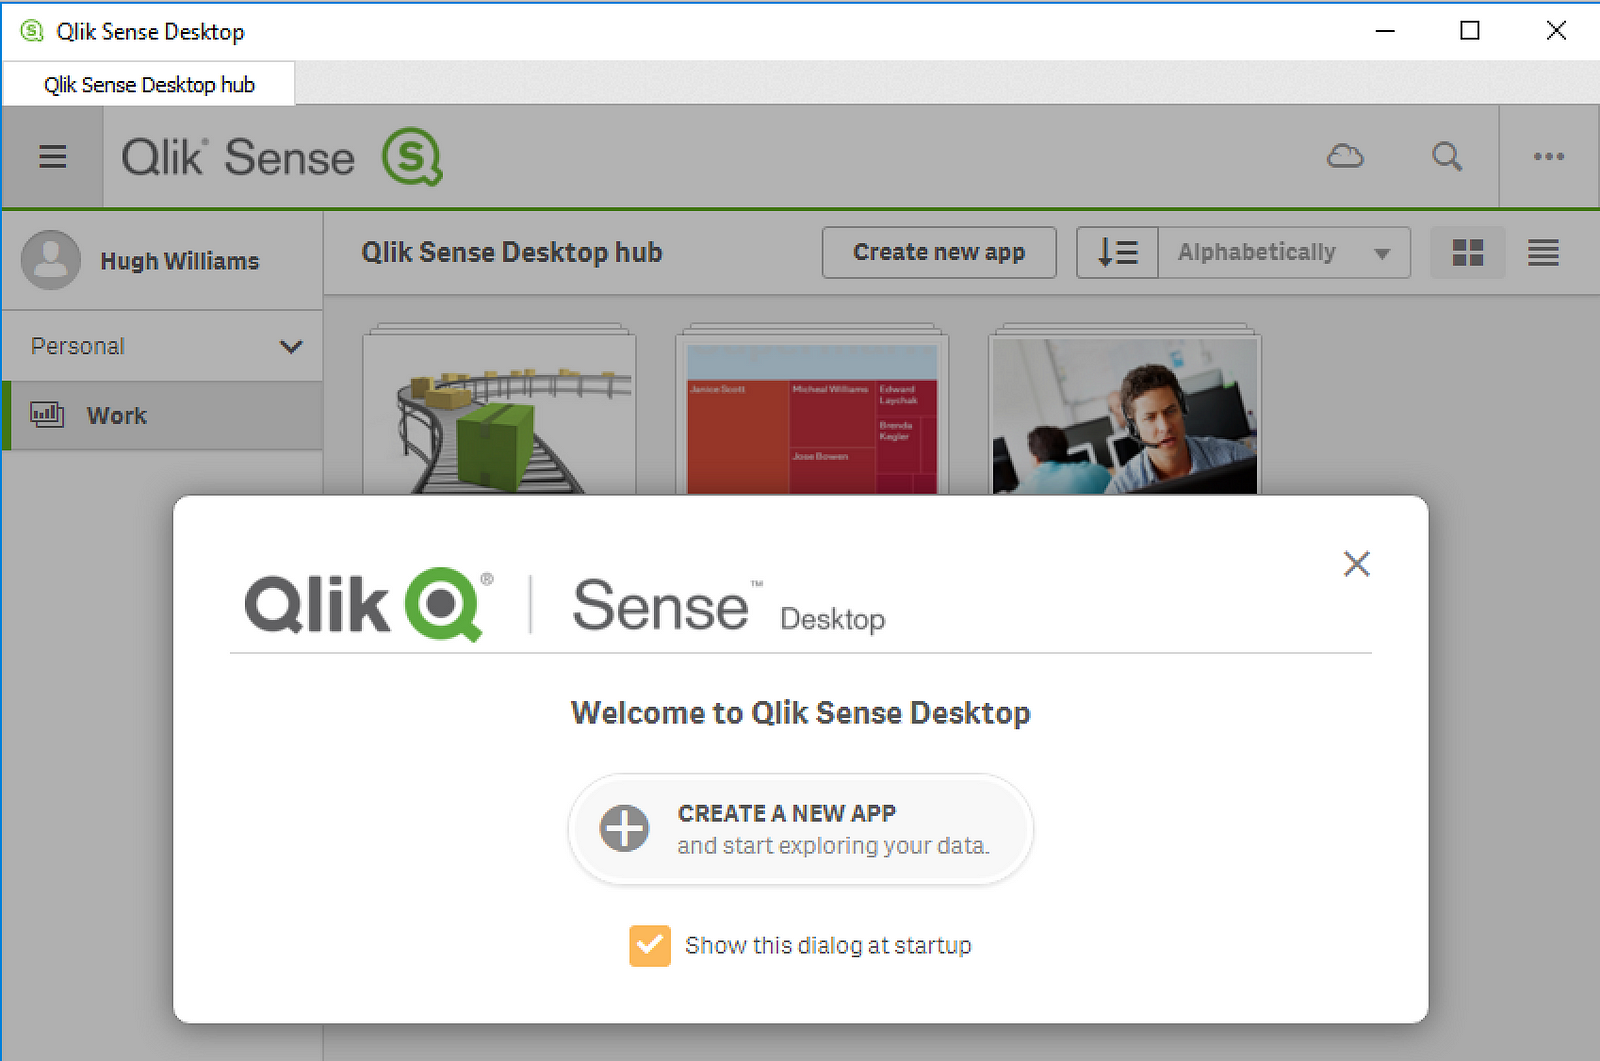
Once logged in the option to Create a new app is automatically presented.
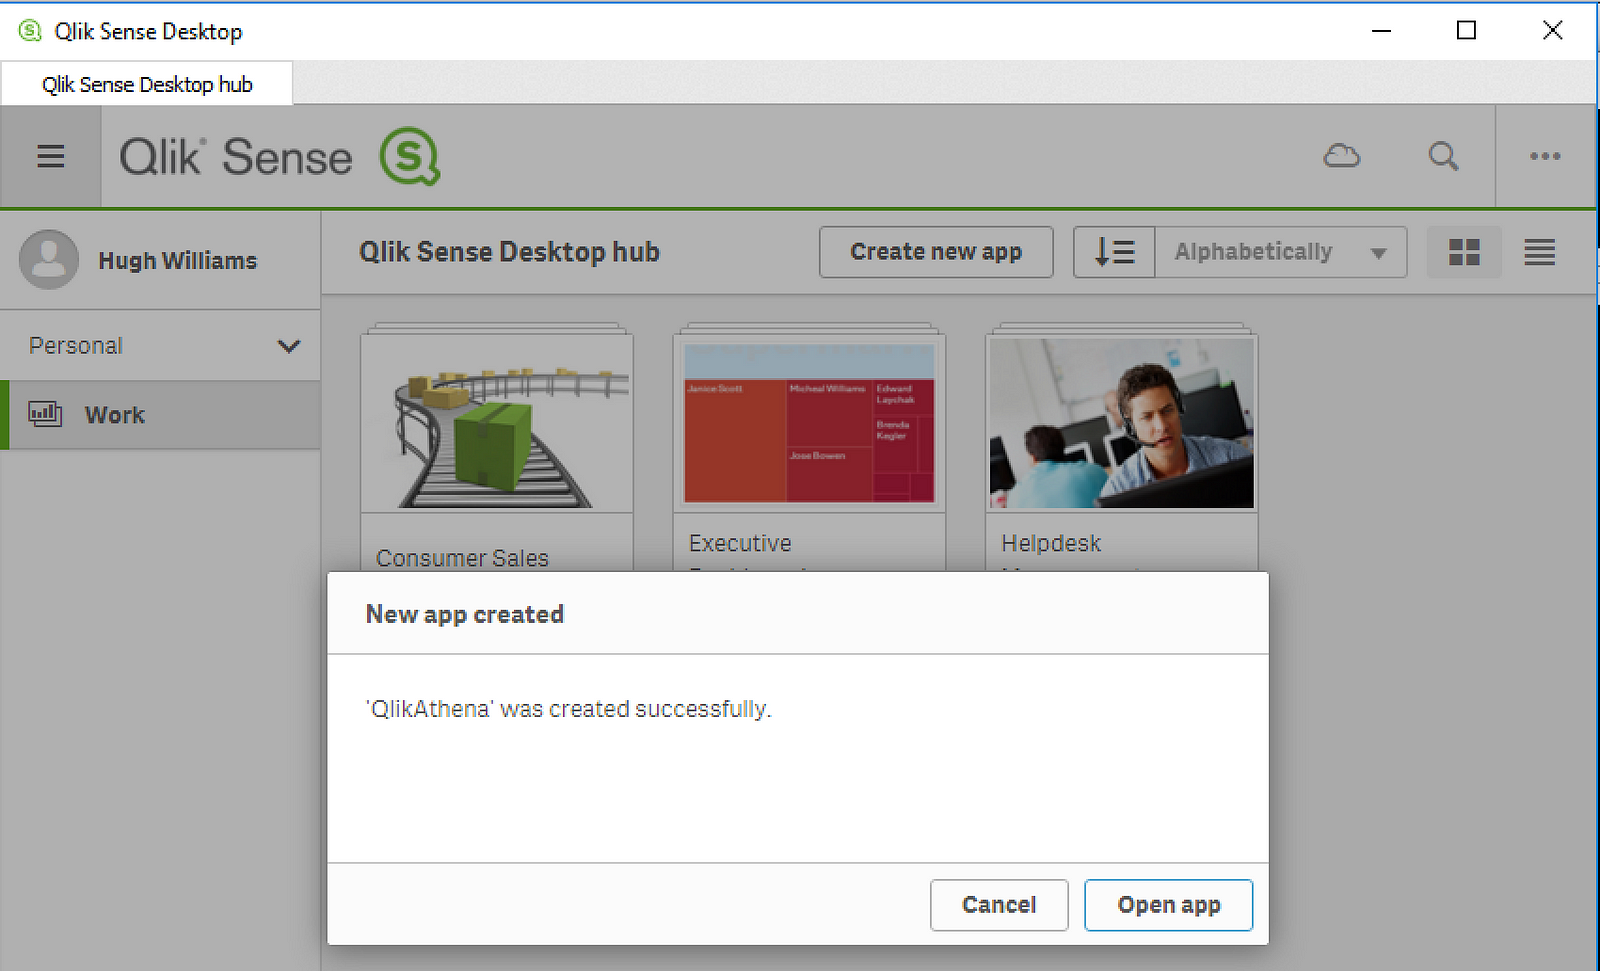
Input a name for your new app, here QlikAthena, and click Create .

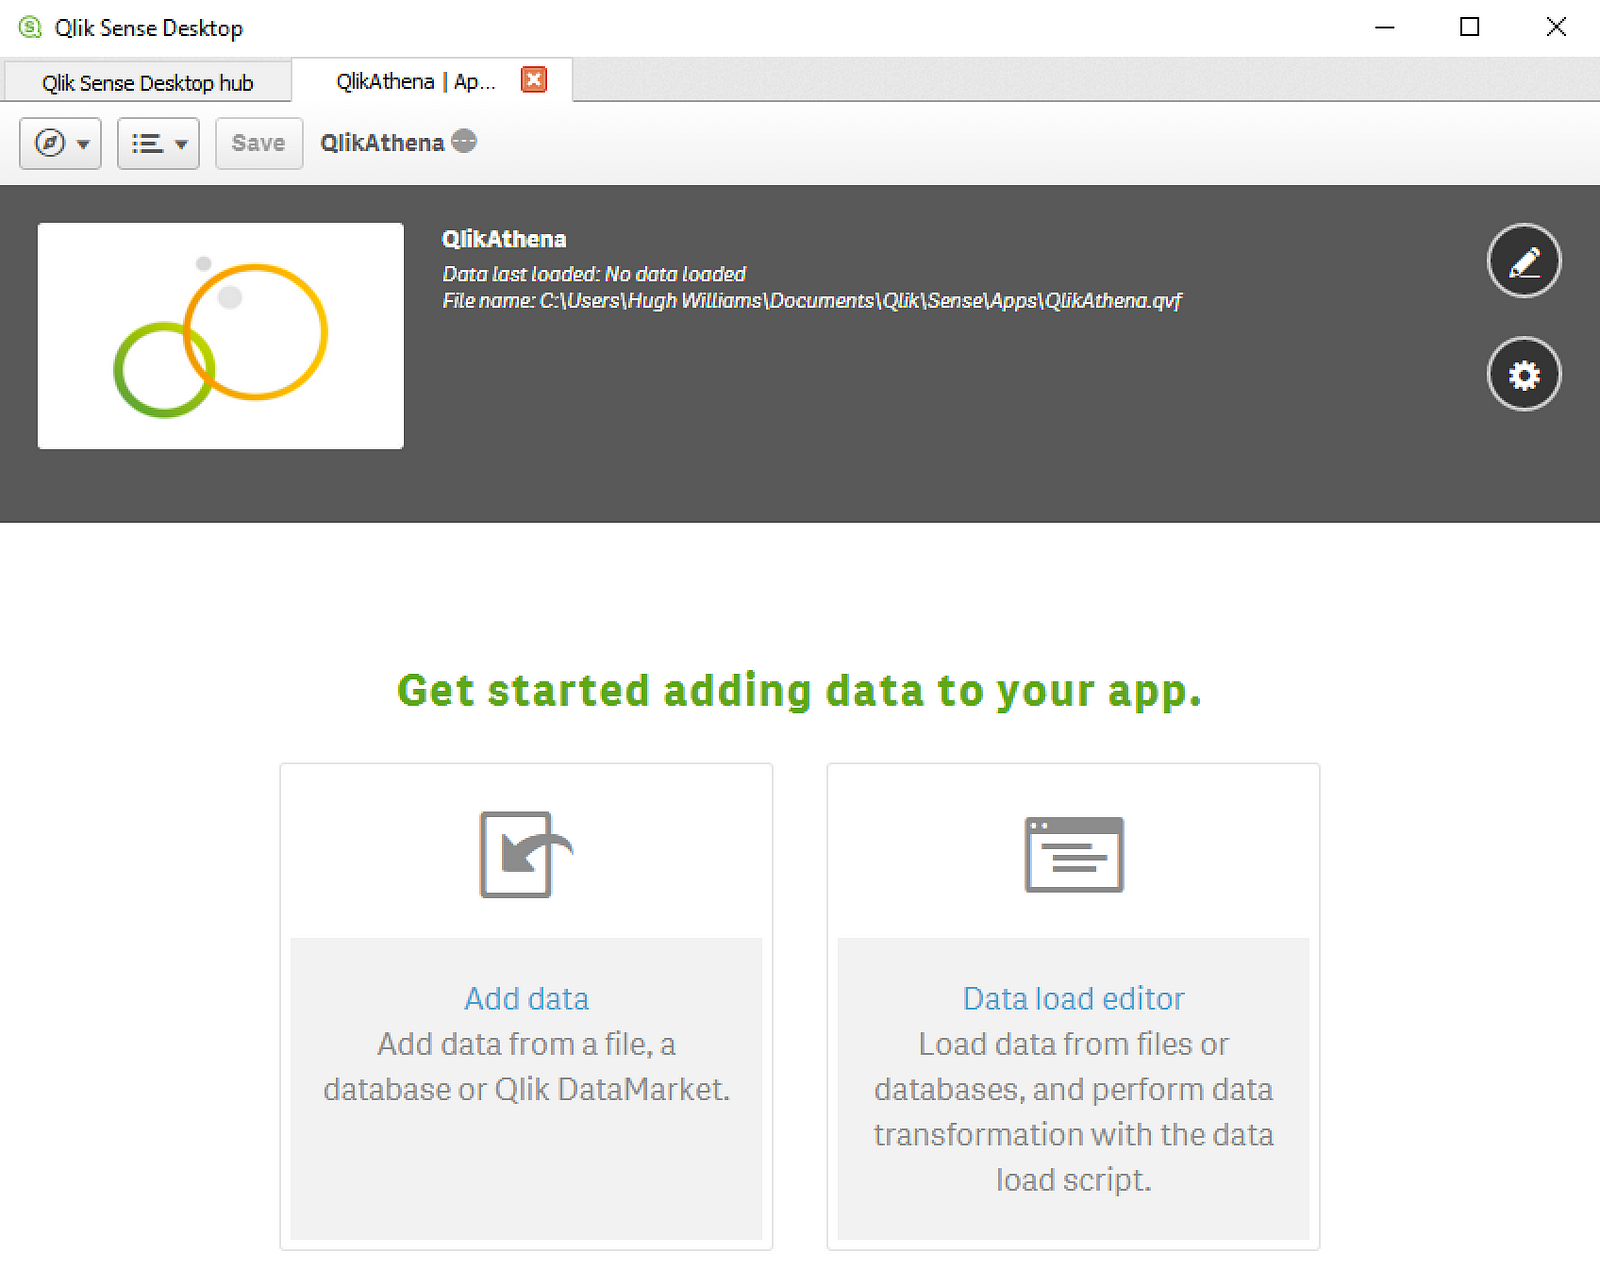
Click Open app to start your newly created app.
Click Add Data to start the process of connecting the app to an ODBC DSN.
Select ODBC from the list of available data source connectors.

Select your ODBC DSN from the list, and click on the greater-than ( “ > ” ) button to continue.

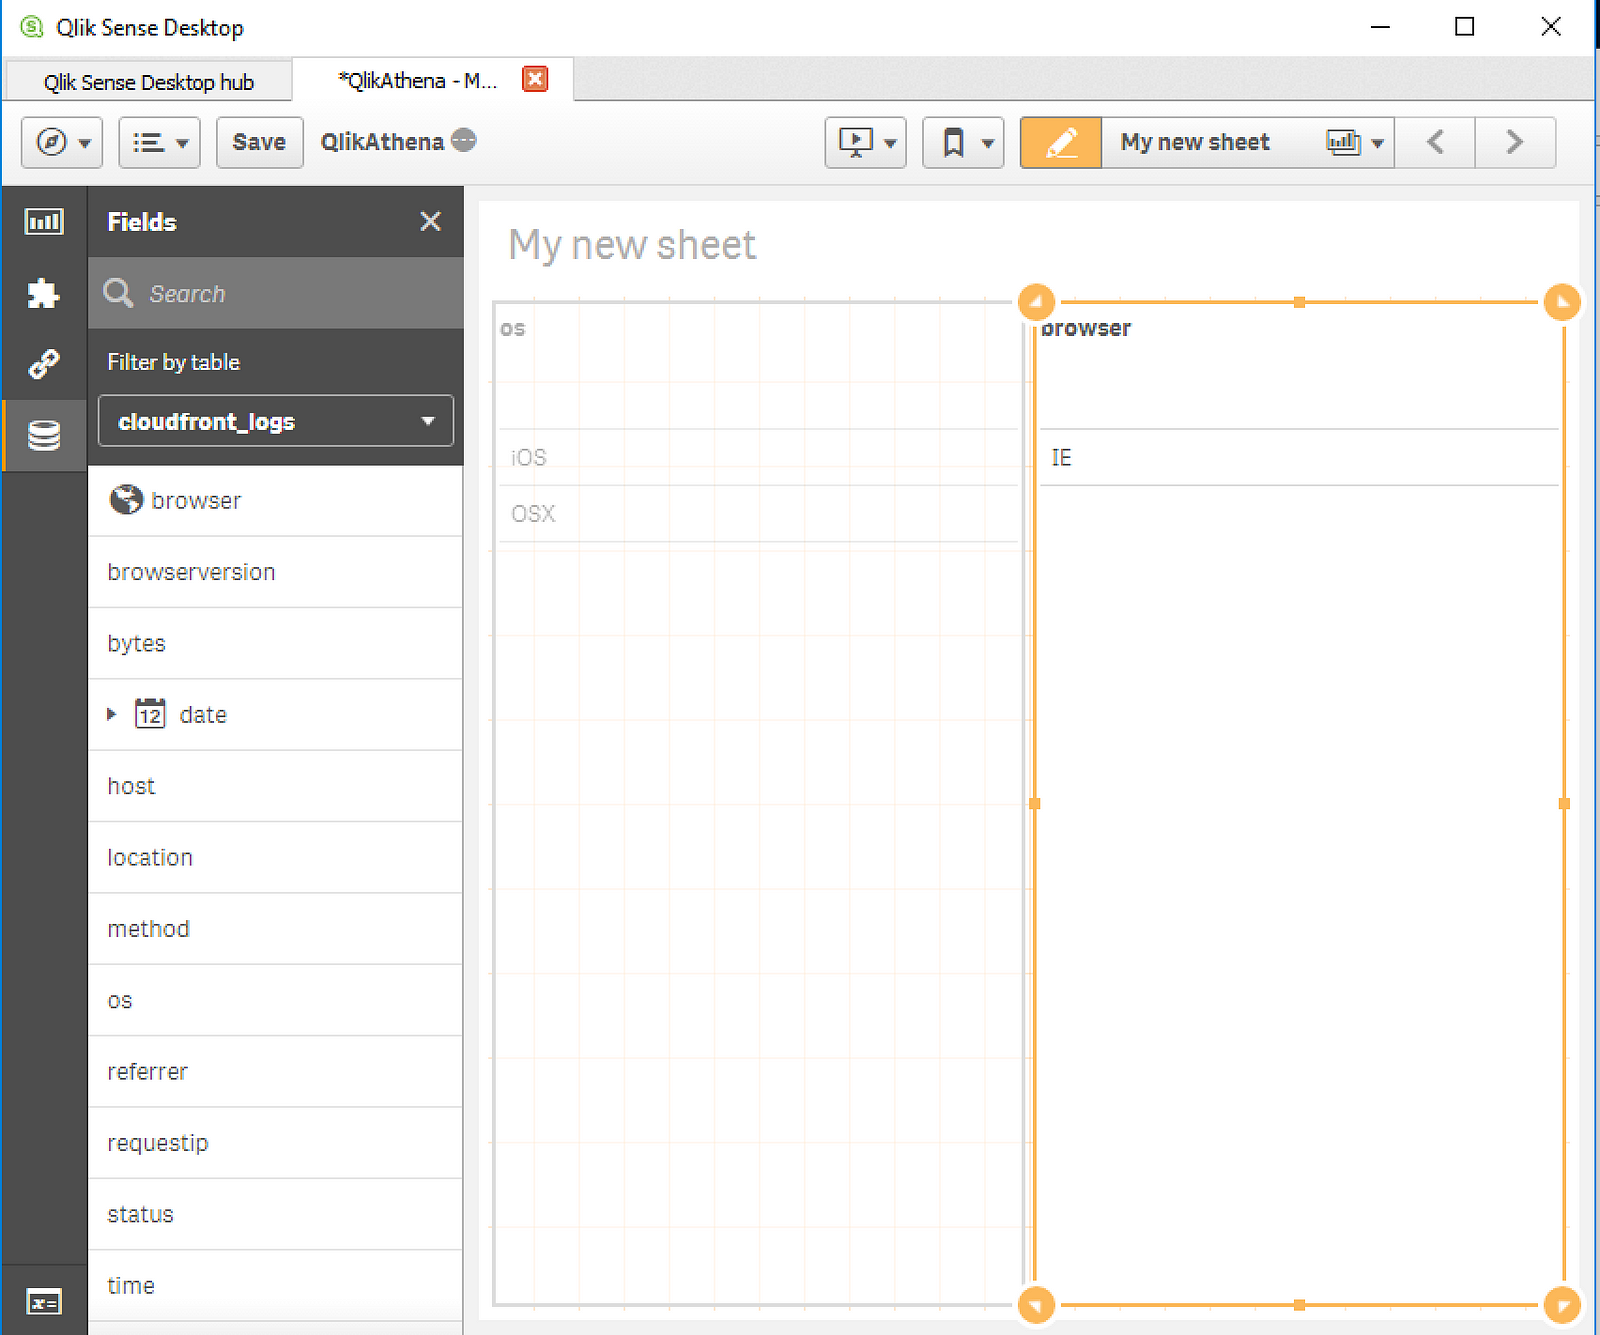
The list of tables available through the ODBC data source will be presented, and their data and metadata can now be previewed.
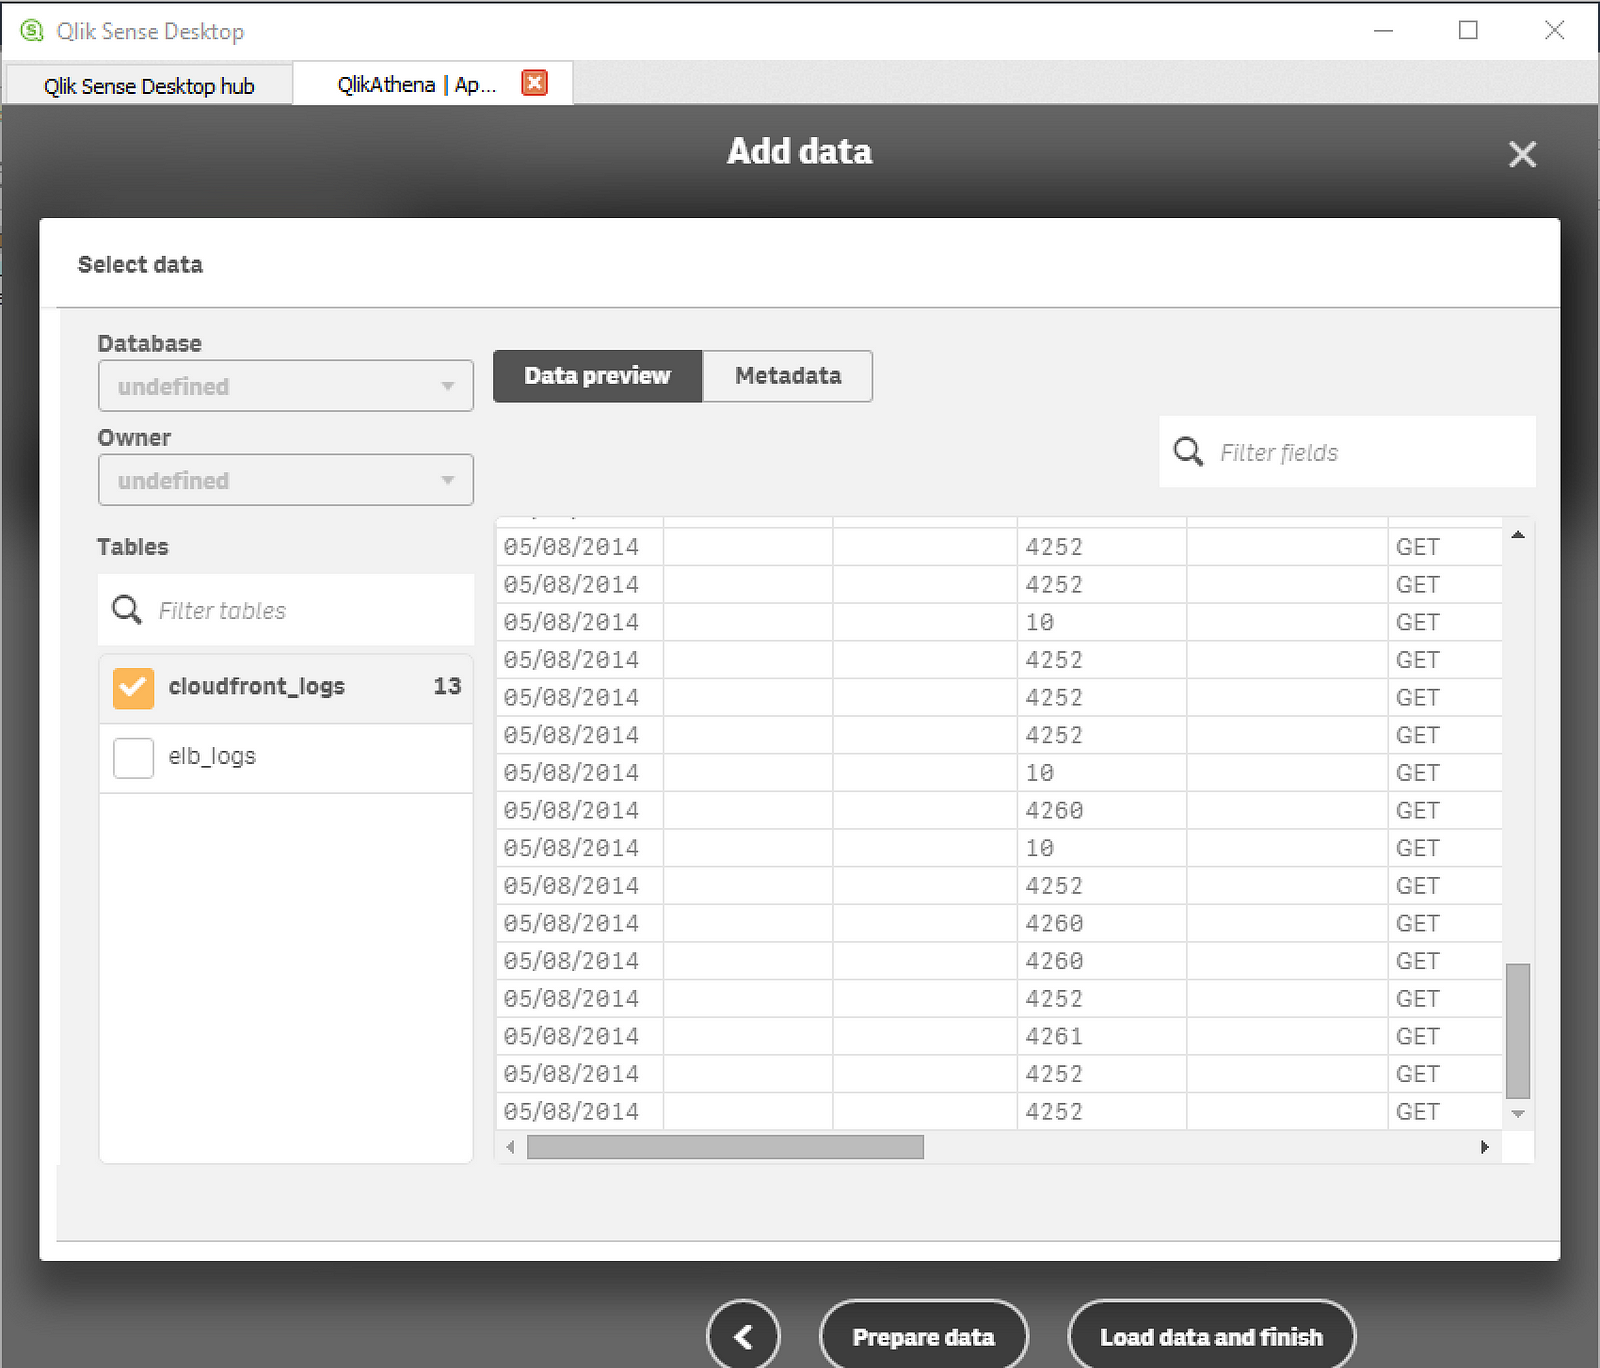
Click the Prepare data or Load data and finish buttons to load the data into the app.
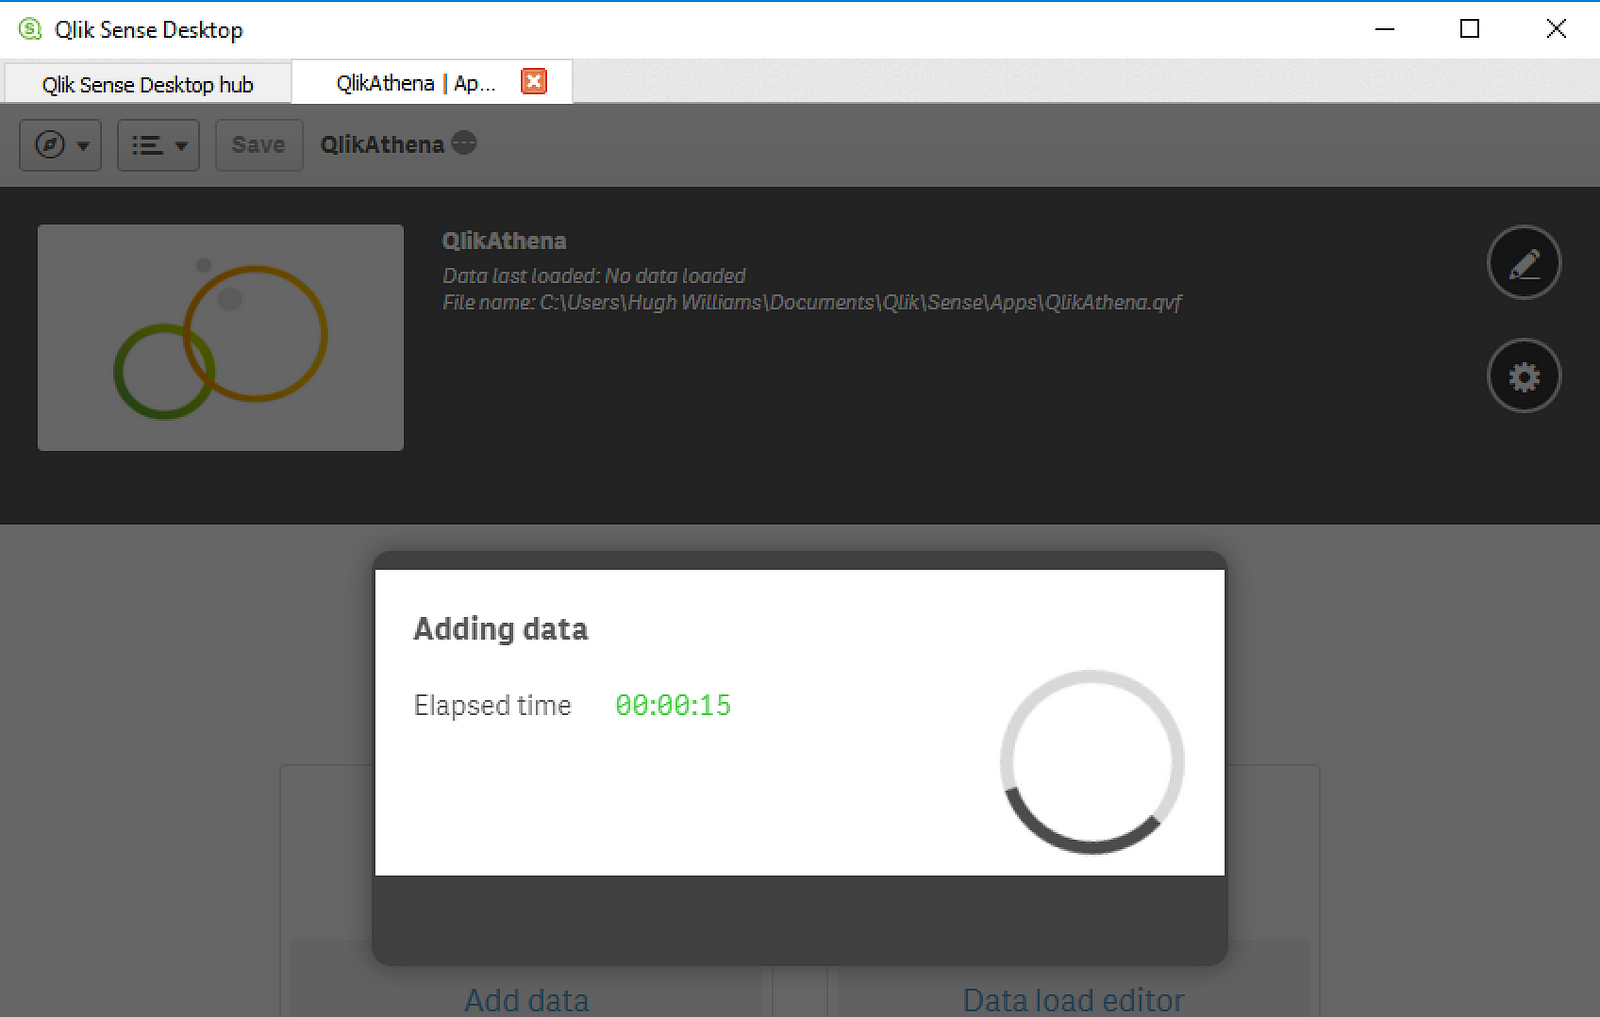
Build your report or dashboard using the data now prepared/loaded into your app.

Your finished report using data from Athena should now be available.