Pre-Installation Requirements
DBMS Requirements
-
Your target data source must be SQL compliant.
-
You must possess enough knowledge to establish a JDBC connection to this database using third-party or native JDBC drivers.
Software Requirements
-
You must possess third-party or native JDBC drivers that connect to your target data source. A client portion of these drivers must be installed on the same machine as the Single-Tier “Lite” Edition ODBC Driver for JDBC Data Sources.
-
The JDBC driver jar file (or a symbolic link to it) must be included in the active CLASSPATH.
-
Supporting Java libraries (or links to them) may also need to be included in this variable value.
-
Directories containing other supporting libraries may need to be included in one of the other shared library environment variables (e.g., LD_LIBRARY_PATH, LIBPATH, SHLIB_PATH).
-
-
You must have a Java Runtime Environment (JRE) that is compatible with the Single-Tier “Lite” Edition ODBC Driver for JDBC Data Sources.
-
Generally, the latest JVM from http://java.com/ is the best choice.
-
If using a 64-bit ODBC Driver, you must have a 64-bit JVM.
-
Configuration Requirements
-
You must be able to connect to the target database using the JDBC driver. OpenLink Product Support can provide minimal assistance in this area.
-
You must know the driver class name of the JDBC driver.
-
You must know the full details of the JDBC connection URL that connects to your target database.
-
If there are any special JVM java command line arguments to be passed to the JDBC Driver on connect, the OpenLink
OPL_JVM_OPTSenvironment variable can be used to provide list of such arguments.
Installation
- Login to your Unix or Linux client machine.
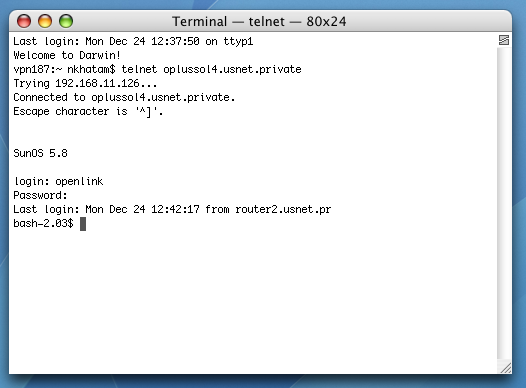
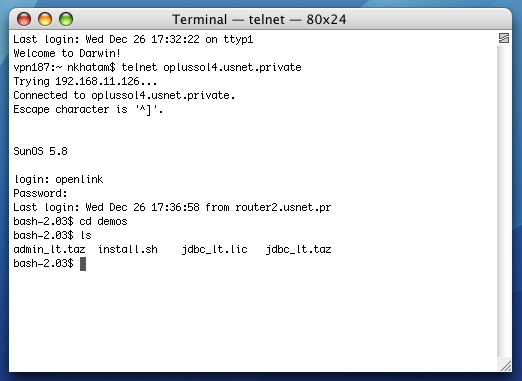
- cd into the installation directory.

- The installation files ship as an installation shell script, a driver and admin .taz file, and a license .lic file. The installation shell script should be ftp’d in ascii. The rest of the files should be ftp’d in binary, where applicable.
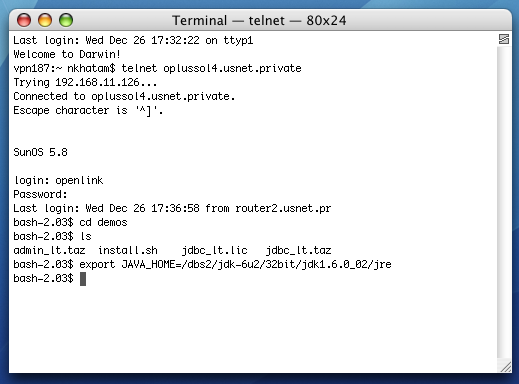
- Use the set and/or export commands to ensure that a JAVA_HOME environment variable points to the root of your JAVA installation.
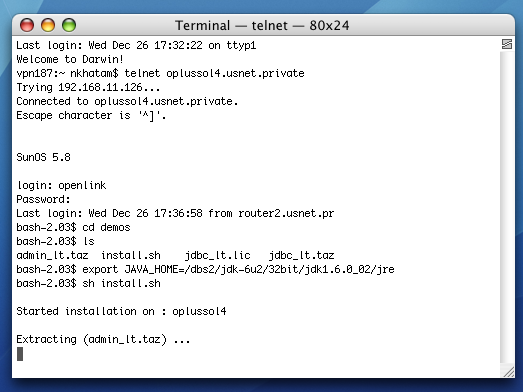
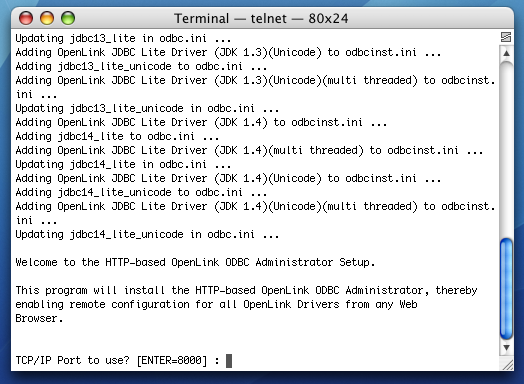
- Run the following command to start the installation: sh install.sh
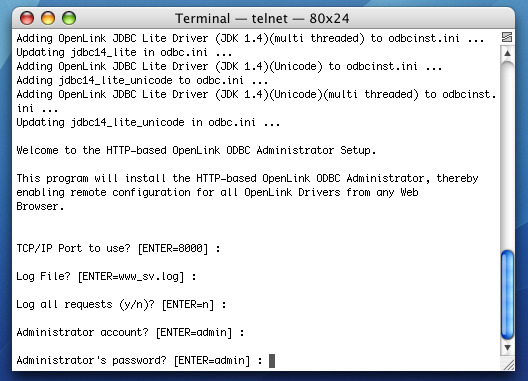
- You must choose a TCP port on which to run your HTTP-based iODBC Data Sources Administrator. The default is 8000. You will need to know this port number and your local machine’s IP address or hostname to access your Admistrator in a Web browser. This is how you call it: http://machine:portnumber
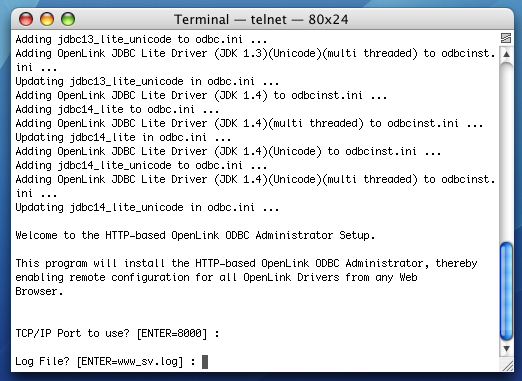
- Log File? enables you to rename and relocate your Administrative Assistant’s log file. It is best to go with the default.
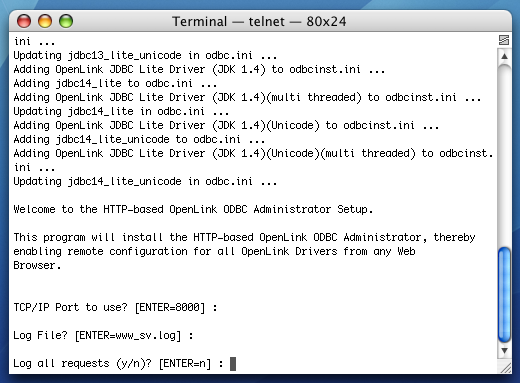
- You can choose to log all requests. This is not diagnostic-level odbc tracing or connection logging. The default is no.
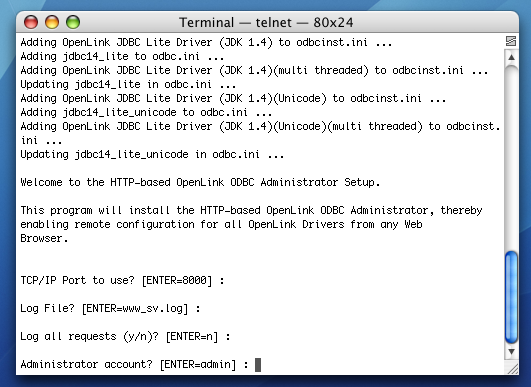
- You can change the iODBC Data Source Administrator’s default username from “admin.” This is the name that you will need to login to OpenLink’s HTTP-based iODBC Data Sources Administrator.
- You can change the iODBC Data Source Administrator’s default password from “admin.”
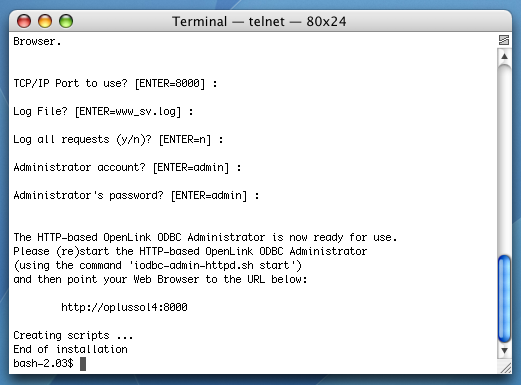
- The installation is complete.
Configuration
Experts only may manually configure their DSN, based on the detailed descriptions below. Manually Configure ODBC-JDBC Connectivity
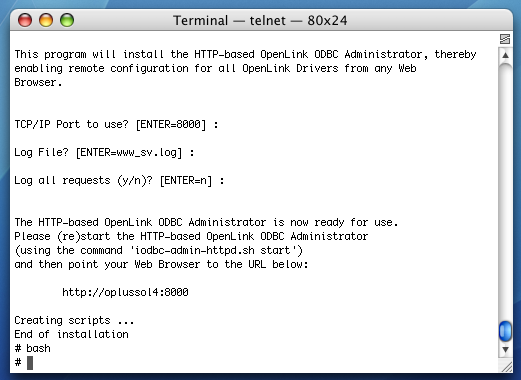
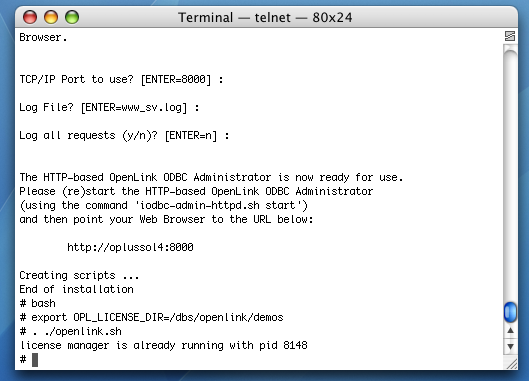
- Execute the bash command to open a bash shell. If you do not have have the bash shell, substitute the sh command for the bash command. This will open the bourne shell.
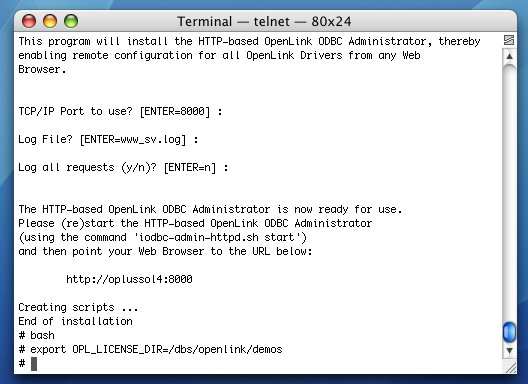
- Use the export command to set an OPL_LICENSE_DIR variable that points to the directory that contains your OpenLink license. This is typically the bin sub-directory of the OpenLink installation. However, you can put your license files in /etc/, the root of the installation, or virtually anywhere else.
- Run the following command to set your ODBC environment variables: . ./openlink.sh
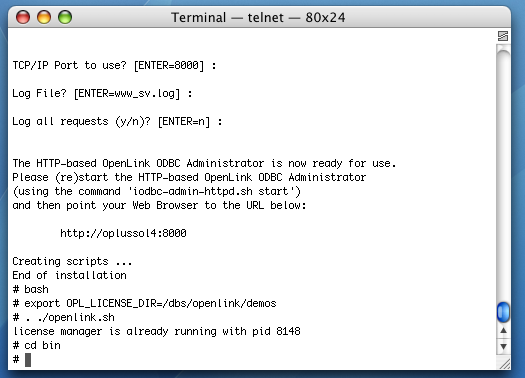
- cd into the bin sub-directory of your OpenLink installation.
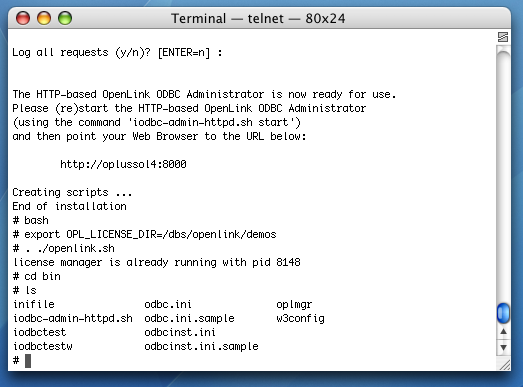
- Use the ls command to display your files.
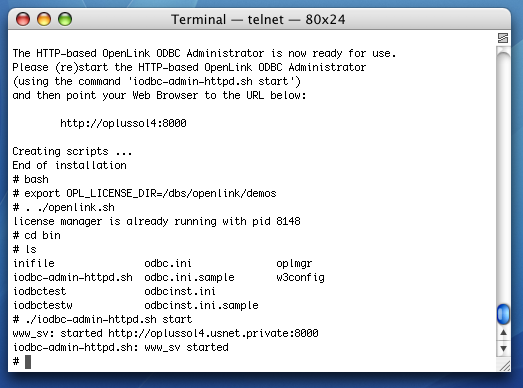
- Run the following command to start your HTTP-based iODBC Data Sources Administrator: ./iodbc-admin-httpd.sh start
- Open a Web browser on any computer and type the URL for your administrator in the address bar.
- Click the Client Components Administration link in the left hand side navigation bar.
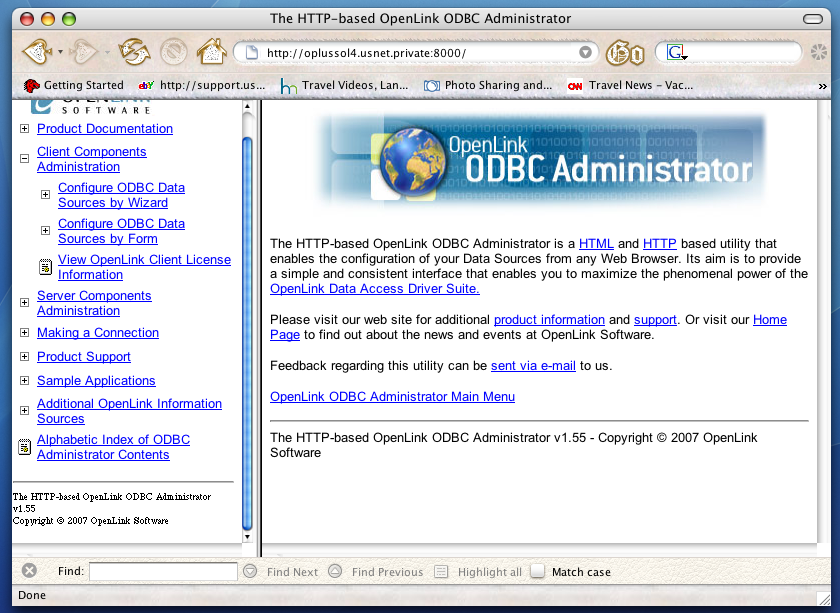
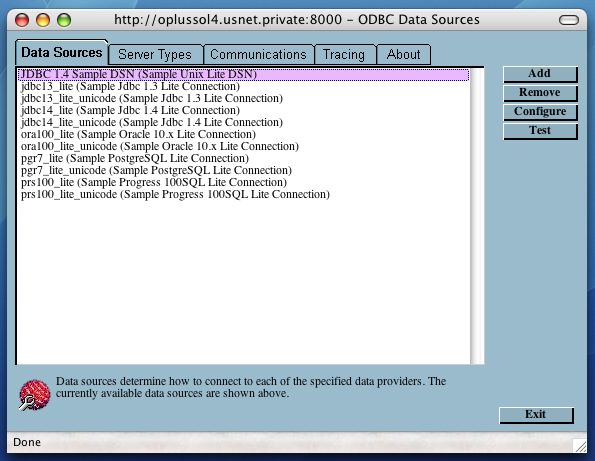
- Click the Configure ODBC Data Sources link in the left hand side navigation bar. Then, login with your username and password.

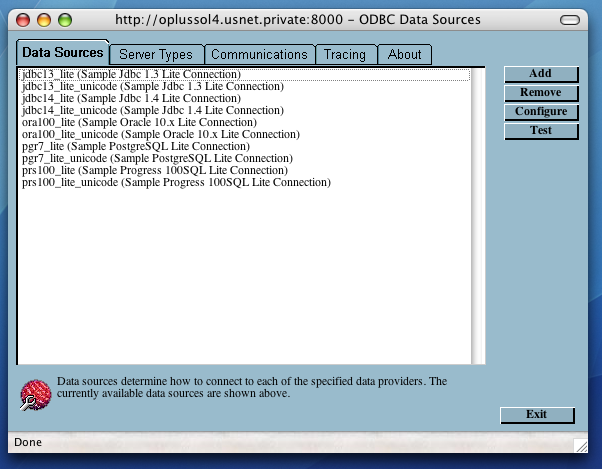
- Click the Add button.
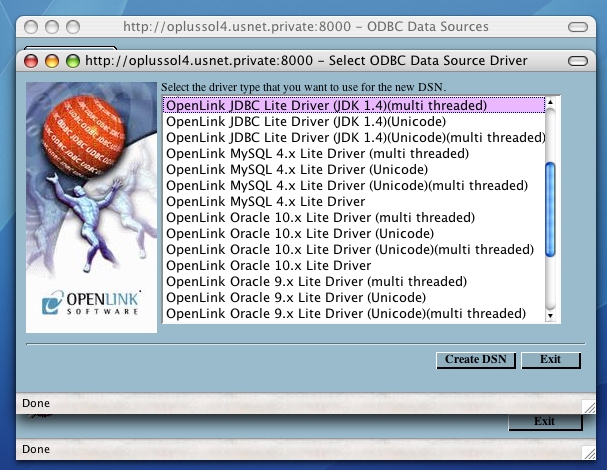
- Click the OpenLink ODBC to JDBC Bridge Driver (multi-threaded). Then, click Create DSN.
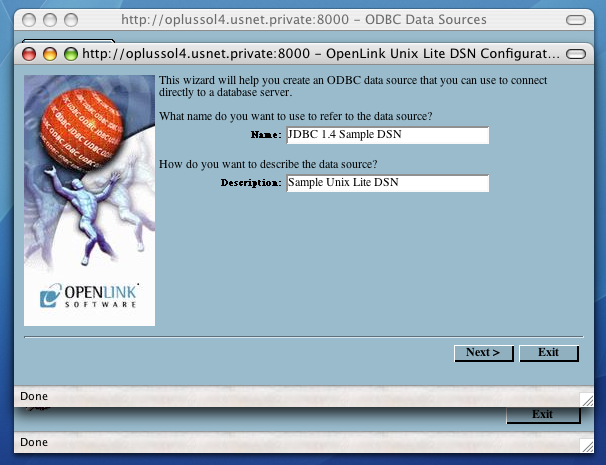
- Provide a descriptive name and optional description for your DSN. Then, click Next.
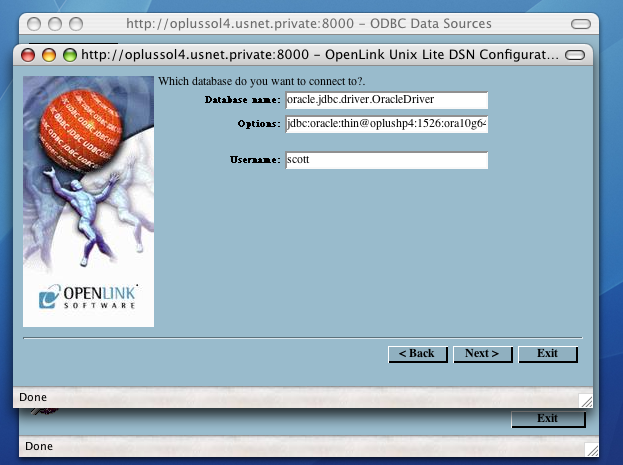
- Pass the following values in the next dialog:
-
Database Name - A third-party JDBC driver class name
-
Options - A functional, third-party JDBC connection URL
-
Username - Your JDBC Database User ID
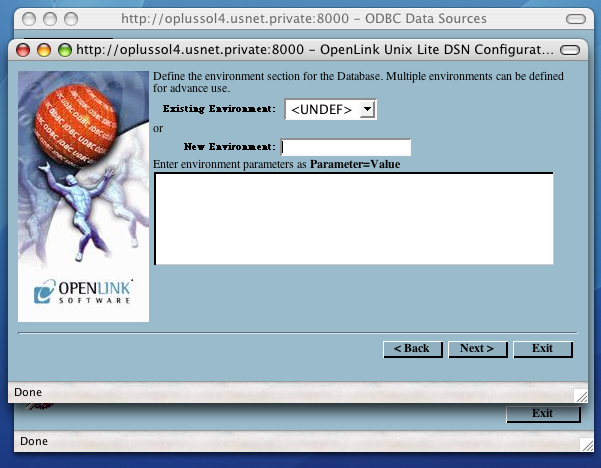
- Click Next. The next dialog allows you to set environment variables to instantiate for your connection. You should not need to set variables for a basic ODBC to JDBC Bridge connection:
-
Existing Environment - This arbitrary heading for a collection of DBMS-related environment variables usually corresponds with the DBMS version
-
New Environment - You can choose a new heading
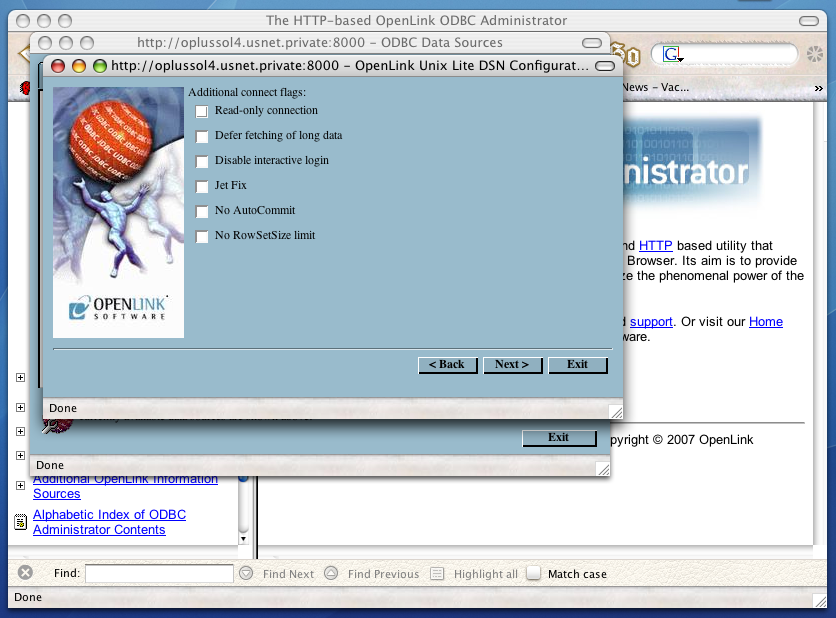
- Click Next. You can set the following, optional values on the fourth dialog:
-
Read-only connection - Specifies whether the connection is “Read-only.” Make sure the checkbox is unchecked to request a “Read/Write” connection.
-
Defer fetching of long data - Defers fetching of LONG (BINARY, BLOB etc.) data unless explicitly requested in a query. This provides significant performance increases when fields in query do not include LONG data fields.
-
Disable interactive login - Suppresses the ODBC “Username” and “Password” login dialog boxes when interacting with your ODBC DSN from within an ODBC compliant application.
-
Jet fix - This option facilitates translation of certain datatypes by the Microsoft Jet Engine. If you utilize MS applications, and you notice that money and other datatypes are mishandled, test with Jet fix enabled.
-
No AutoCommit - Changes the default commit behaviour of the OpenLink driver. The default mode is AutoCommit (box unchecked).
-
No RowSetSize limit - Disables a limitation enforced by the cursor library. This limitation is enforced by default. It prevents the driver from claiming all available memory in the event that a resultset generated from an erroneous query is very large. The limit is normally never reached.
- Click Next. Additional, optional parameters appear on the fifth, and final dialog:
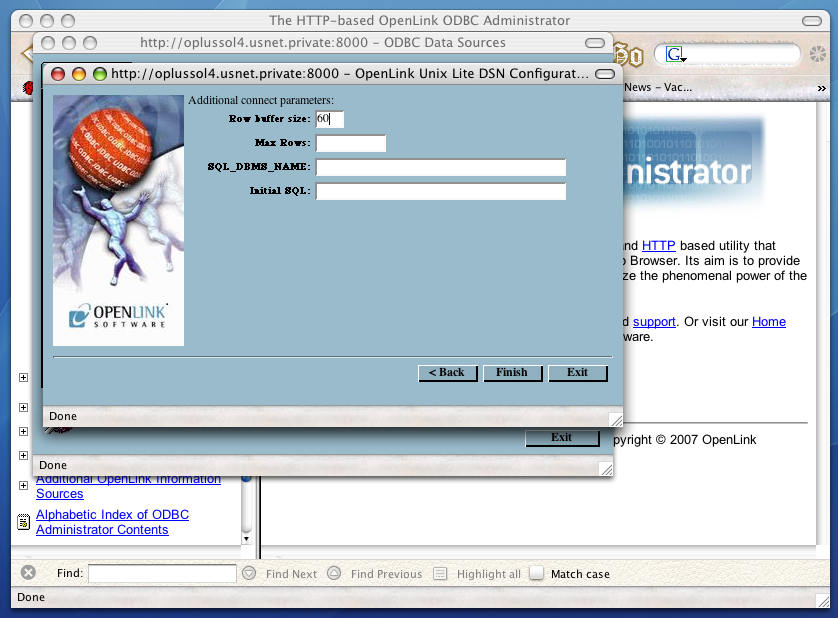
-
Row buffer size - This attribute specifies the number of records to be transported over the network in a single network hop. Values can range from 1 to 99.
-
Max Rows - Allows you to define a limit on the maximum number of rows to be returned from a query. The default value of 0 means no limit.
-
SQL_DBMS_Name - Manually overrides the SQLGetInfo(SQL_DBMS_NAME) response returned by the driver. This is required for products like Microsoft InfoPath for which the return the value should be “SQL Server”.
-
Initial SQL - Lets you specify a file containing SQL statements that will be run automatically against the database upon connection.
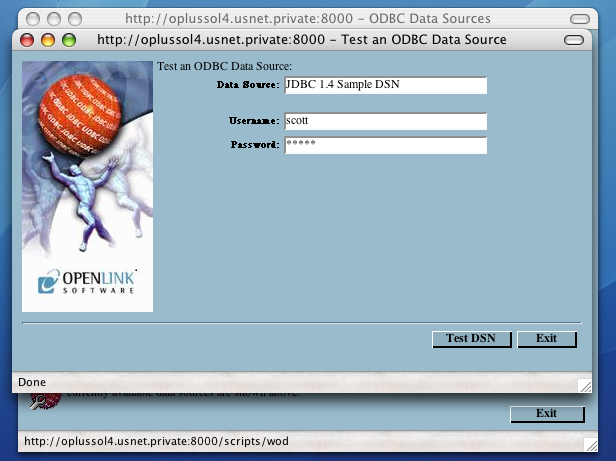
- Click Next. Your new DSN is highlighted and persisted on the the Data Sources tab. Click the Test tab.
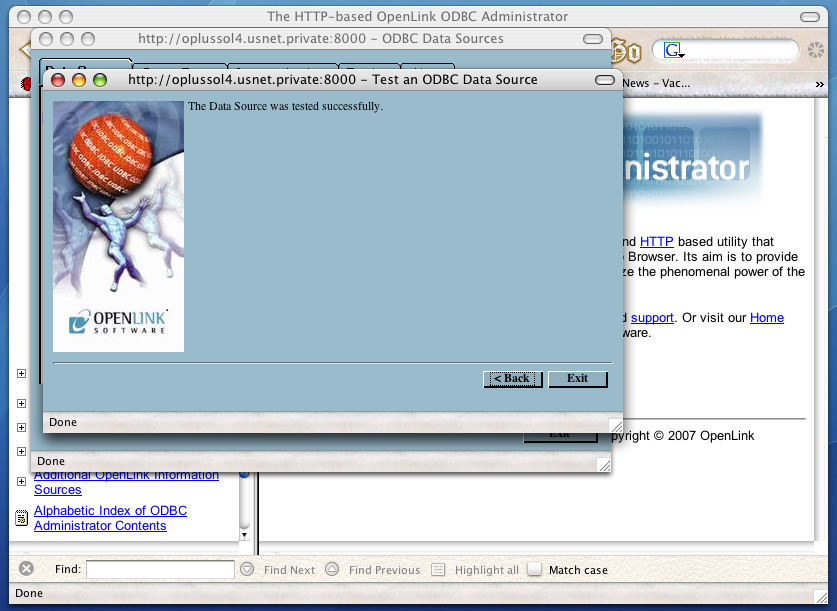
- Type your password in the password field and click test.
- You have established a connection.
Proceed to Commercial Licensing Documentation
Should you decide to purchase a commercial license at the end of your evaluation period, be sure to consult our documentation which explains the placement and uptake of commercial license files and the use of our OpenLink License Manager technology: License Technology & Application