This installation guide walks you through installation of the OpenLink Lite (Single-Tier) Edition ODBC to ODBC Bridge Driver to a Personal or Application Server host functioning as a client to a database that’s accessible via its native ODBC Driver.

Step 1: Download the Installer Archive
- Visit the OpenLink ODBC Lite Edition Driver Download Page to download the appropriate ODBC to ODBC Bridge Driver.
- Alternatively,
curlcan be used to download the installer archives andinstall.shscript directly:
curl -O https://download3.openlinksw.com/uda/components/8.0/x86_64-generic-win-64/wal8odbc.msi
Step 2: Pre-Installation Configuration
- You must possess third-party or native ODBC drivers that connect to your target data source. A client portion of these drivers must be installed on the same machine as the Multi-Tier “Enterprise” Edition Request Broker and Bridge Agent(s) for ODBC Data Sources.
- You must know whether the local ODBC components are 32-bit or 64-bit. The Multi-Tier server components must match the bit format of the local ODBC components, not the OS.
- A system ODBC DSN must be created for the third-party or native ODBC driver.
Step 3: Installation
- Log onto the target machine for the installation
- Copy or downloaded the windows MSI installers to the target machine, which is the wal8odbc.msi MSI file.
- Run the MSI installer to install the Lite Single-Tier ODBC-ODBC Bridge.
- Take care to enter correct information when prompted pertaining to ports, passwords, etc and ensure that you note these down for future use.
- The installation should complete without error.
Step 4: Configuration
- The installer would have setup all the environment variables etc required to use the OpenLink drivers.
- Place the License file (
odbc_lt.lic) either purchased or obtain during the evaluation download process in the{OPENLINK_INSTALL}/bindirectory.
Step 5: Create Data Source Name (DSN)
- Open the ODBC Data Source Administrator program.
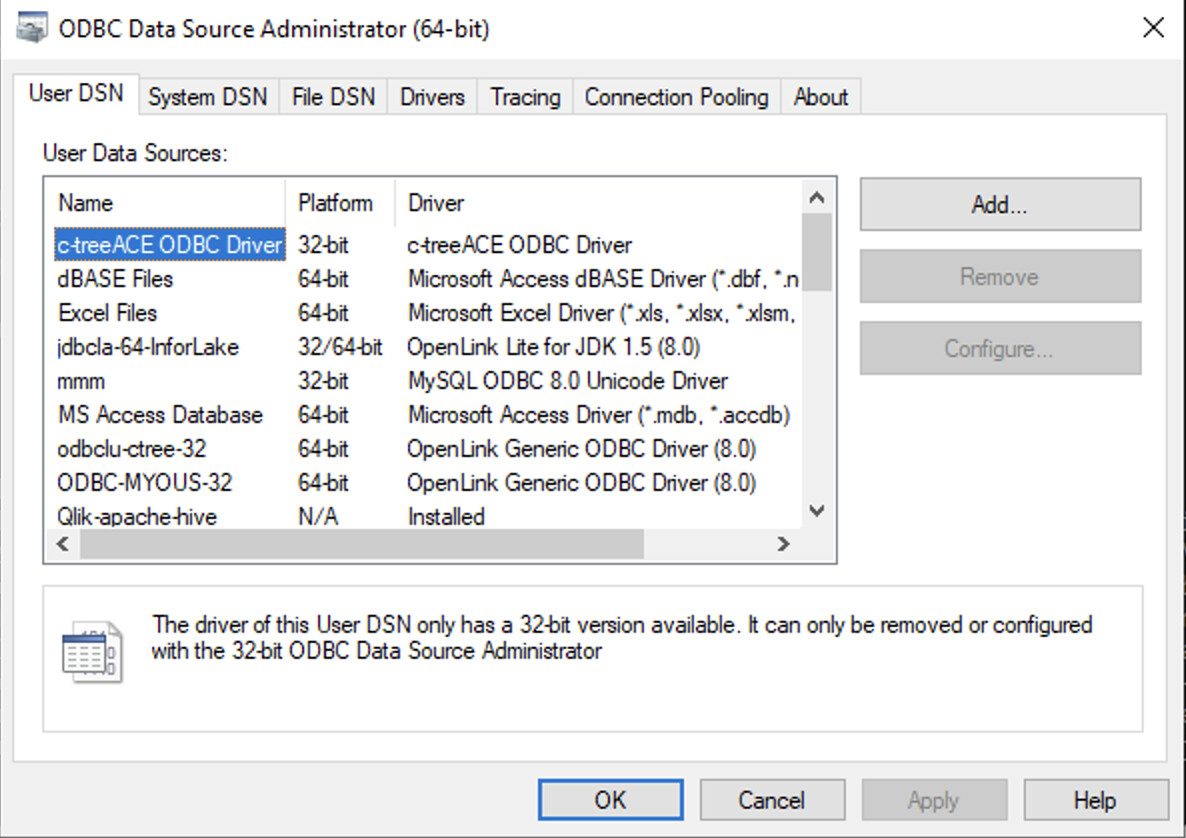
- Click on the
Addbutton and select theOpenLink Lite for ODBC (Unicode)(8.0)driver.

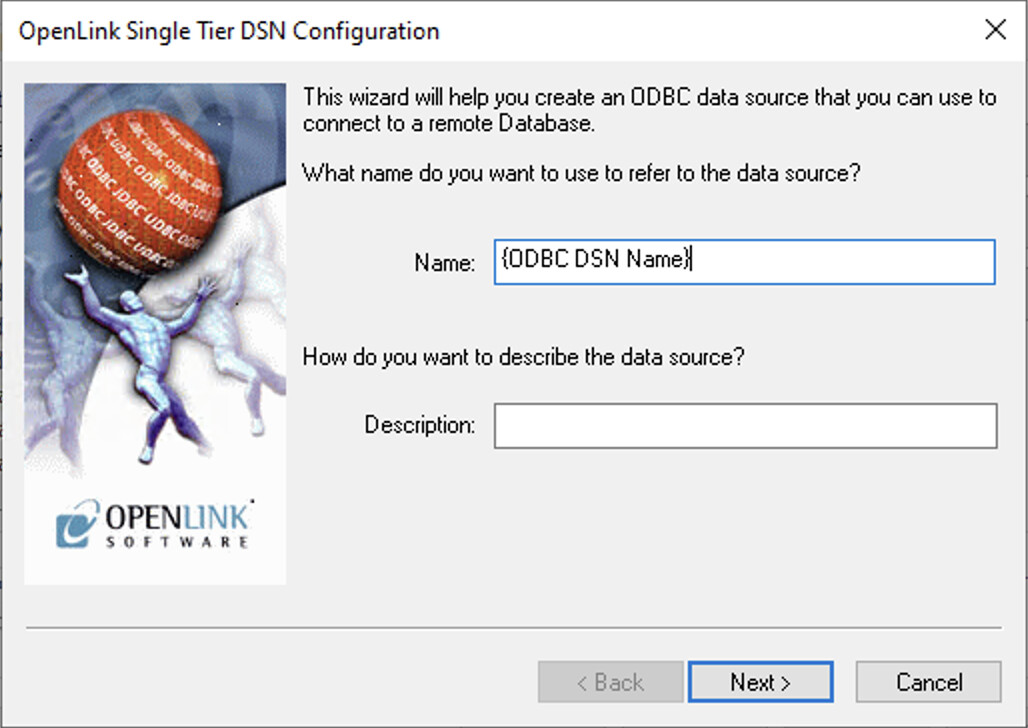
- Enter the
{ODBC DSN Name}.
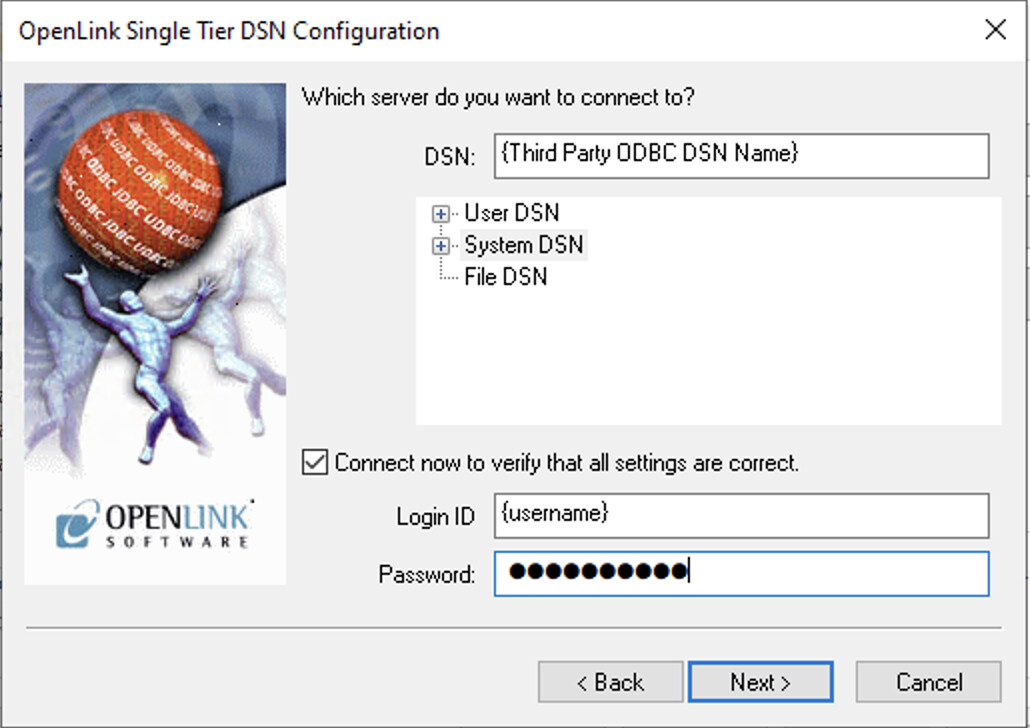
- Select the {Third Party ODBC DSN Name} from either the list of available
User, Systemor File DSNs; Login ID{Username}, Password. Select theConnect now to verify that all settings are correct and click theNextbutton to verify connection to the target database.
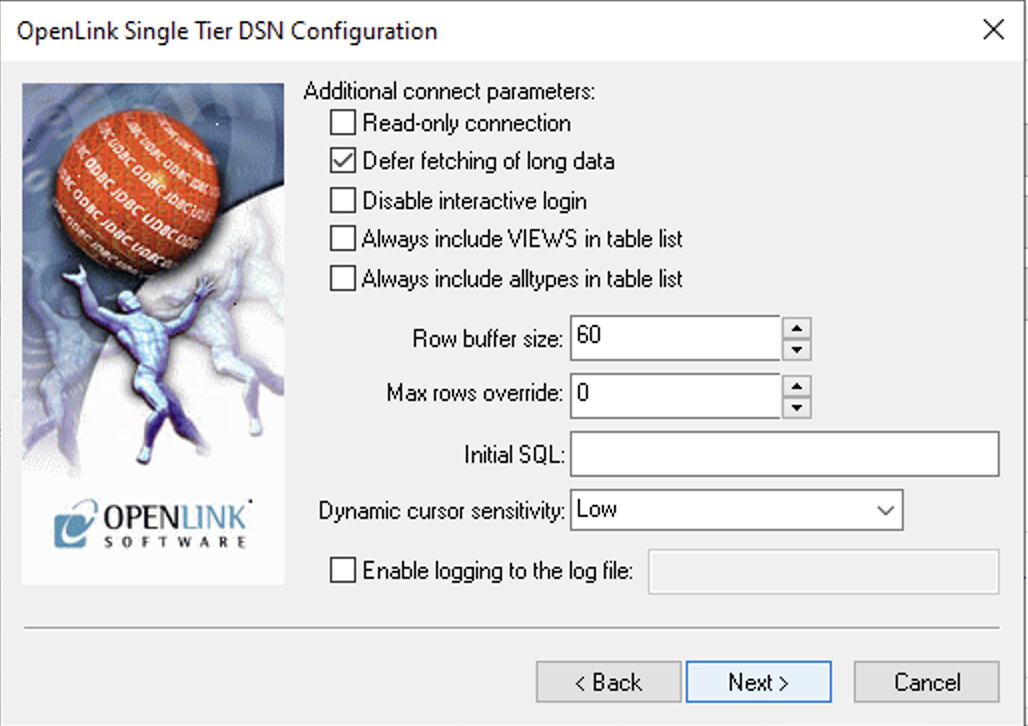
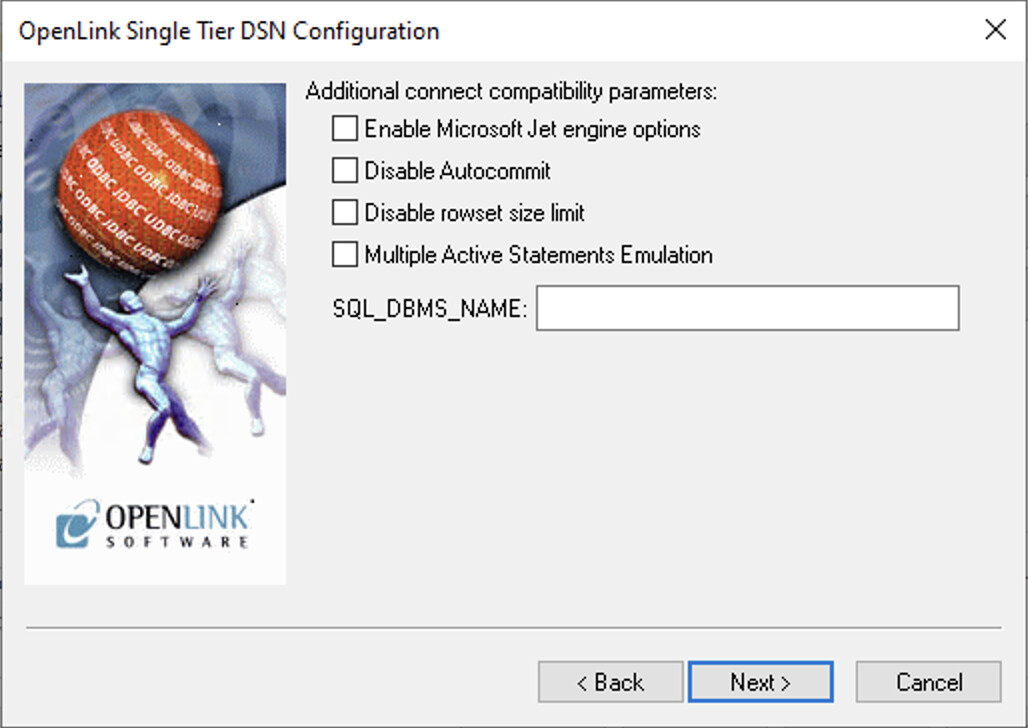
- The next 3 setup dialog options can normally be left as the defaults.

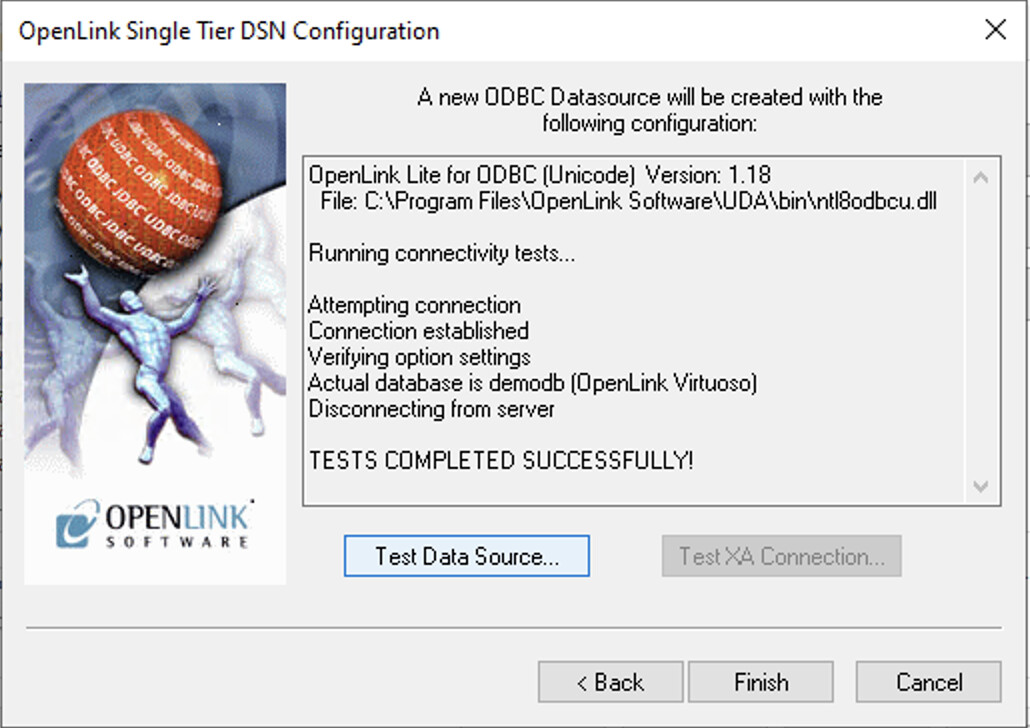
- Details of the ODBC DSN are provided for which the
Test Data Sourcebutton can be selected to test the connection.

- The connection should complete successfully
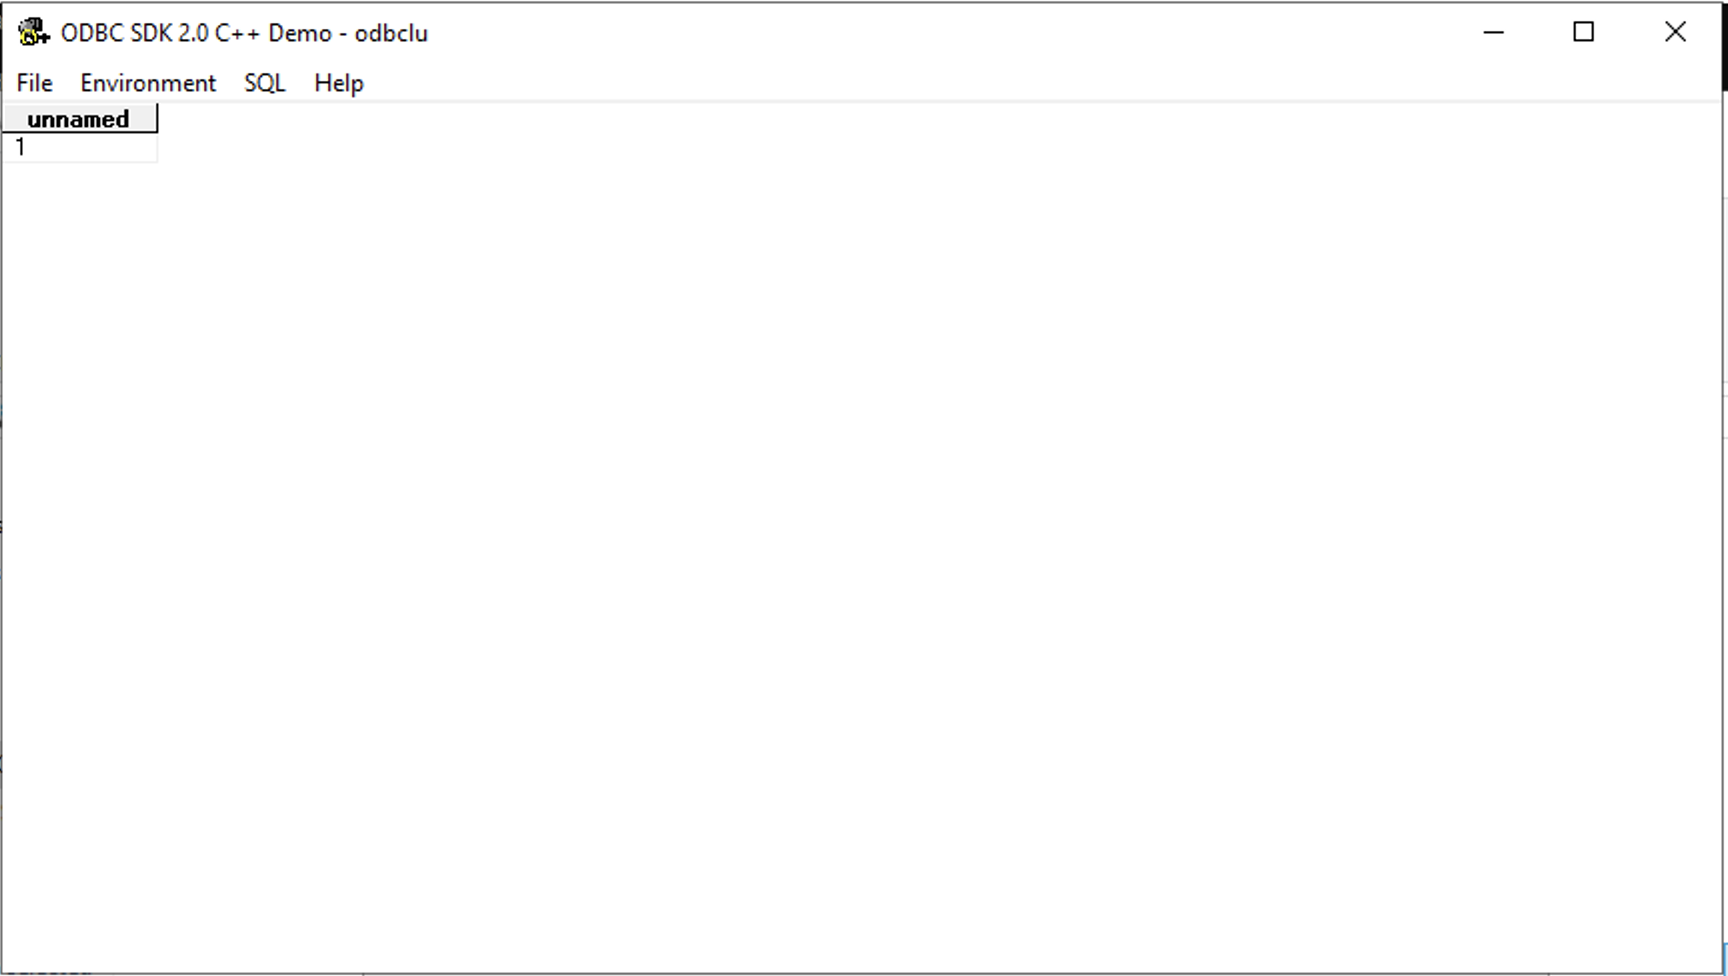
Step 6: Test connection
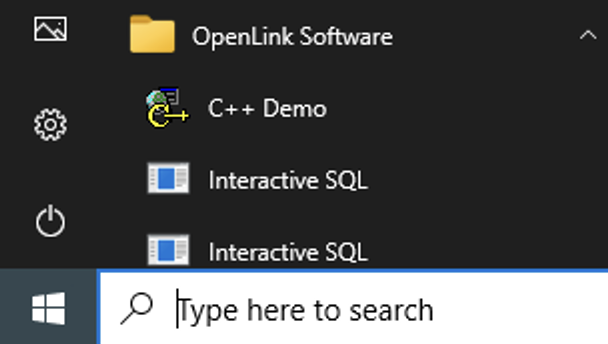
- Got to the
OpenLink Softwareprogram menu item and select theC++ Demosample application.
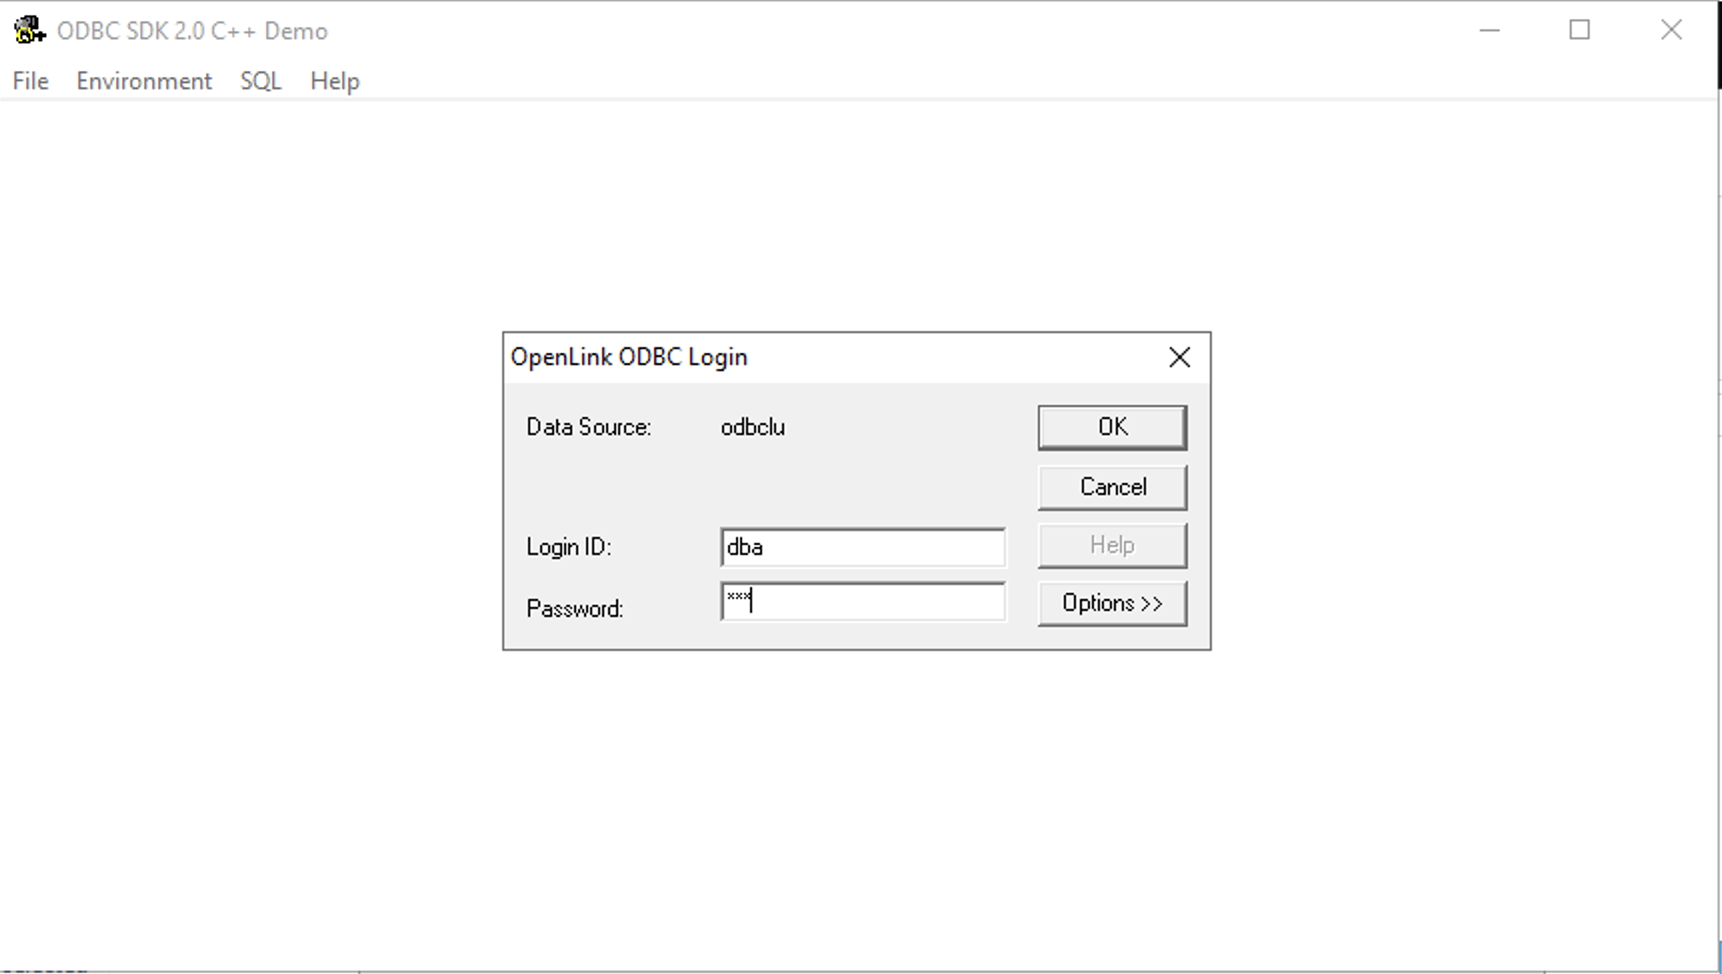
- Select the
Environment -> Open Connectionmenu item.
- Select the ODBC DSN for connection.

- Enter the username and password for the target database.
- Select the
SQL -> Execute SQLmenu item, enter the SQL query to be executed and click theOKbutton to execute.
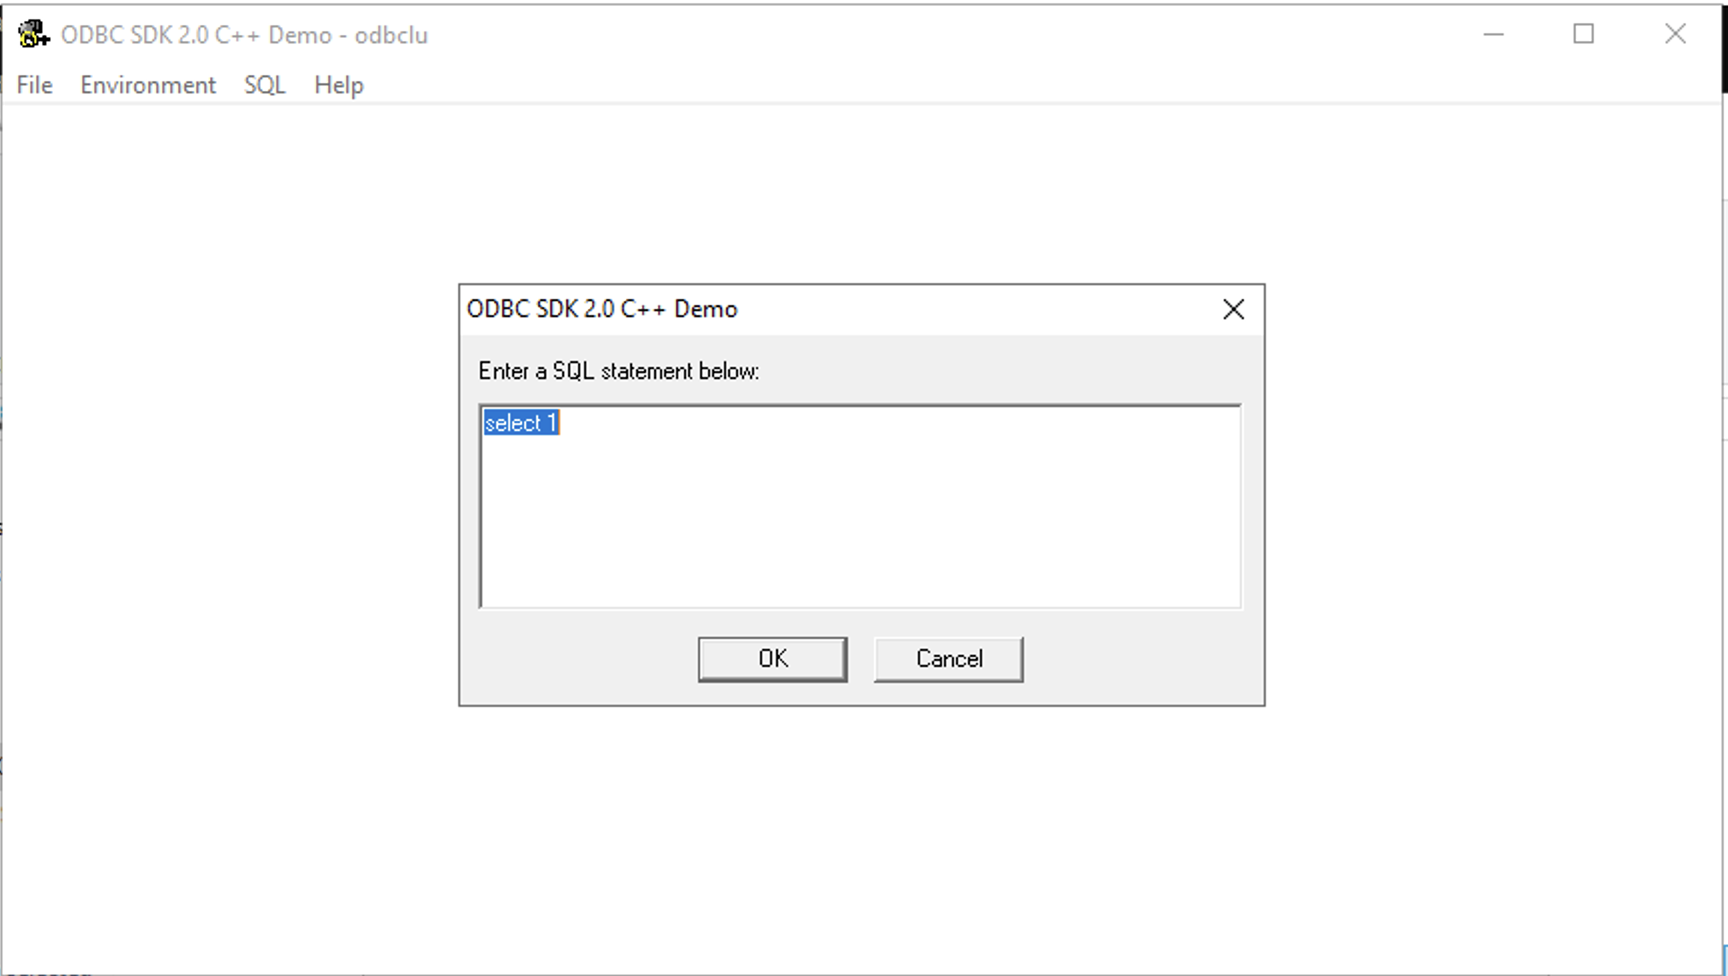
- Query results are displayed.