This installation guide walks you through installation of the Enterprise Edition ODBC to JDBC Bridge Driver to a Personal or Application Server host functioning as a client to a database that’s accessible via its native JDBC Driver.
Step 1: Download the Installer Archive
- Visit the OpenLink ODBC Enterprise Edition Driver Download Page to download the appropriate ODBC to JDBC Bridge Driver.
- Alternatively,
curlcan be used to download the installer archives andinstall.shscript directly:
curl -O https://download3.openlinksw.com/uda/components/9.0/x86_64-generic-win-64/waajzzzz.msi
curl -O https://download3.openlinksw.com/uda/components/9.0/x86_64-generic-win-64/wabrzzzz.msi
curl -O https://download3.openlinksw.com/uda/components/9.0/x86_64-generic-win-64/wao3zzzz.msi
Step 2: Pre-Installation Configuration
- A 64-bit JVM must be installed and configured.
- A
third-party or native JDBC driversthat connects to the target database must be available - The JDBC Driver must be installed on the same machine as the Multi-Tier “Enterprise” Edition Request Broker and Bridge Agent(s) for JDBC Data Sources.
- The JDBC driver jar file (or a symbolic link to it) must be included in the active
CLASSPATHenvironment variable. - The JDBC driver
class namemust be known. - The JDBC
connection URLthat connects to your target JDBC Data Source must be known. - The location of the
jvm.dllshared library DLL used by the OpenLink JDBC Bridge agent must be set in thePATHenvironment variable - Generally, the latest JVM from http://java.com/ is the best choice.
Step 3: Installation
- Log onto the target machine for the installation
- Copy or downloaded all windows MSI installers to the target machine, which are the waajzzzz.msi, wabrzzzz.msi, wao3zzzz.msi MSI files.
- Run each MSI installer to install the client and server components of the Enterprise Multi-Tier ODBC-JDBC Bridge.
- Take care to enter correct information when prompted pertaining to ports, passwords, etc and ensure that you note these down for future use.
- The installation should finish without error.
Step 4: Configuration
- The installers would have setup all the environment variables etc required to use the OpenLink drivers, but the Java CLASSPATH for the target
JDBC driverand PATH to thejvm.dllJava runtime environment variables can be set in the OpenLink Rule Book (oplrqb.ini) if not already set system wide - In which case open the file
{OPENLINK_INSTALL}/bin/oplrqb.iniwith a suitable text editor such asnotepad. - Locate the
[Environment JDBC18]section for setting the driver specific JDBC configuration and edit to reflect your environment, setting theCLASSPATHto the location of the JDBC Driver jar file and thePATHto the location of thejvm.dllshared library determined inStep 2–
[Environment JDBC18]
CLASSPATH          = {JDBC Driver JAR file}
PATH = {Directory of jvm.dll file}
;; PATCHNULLSIZEOFSQLCHAR = 4096
;; SQL_DBMS_NAME = hugh
- Place the License file(s) (
oplrqb.lic, jdbc.lic) either purchased or obtain during the evaluation download process in the{OPENLINK_INSTALL}/bindirectory.
Step 5: Create Data Source Name (DSN)
- Open the ODBC Data Source Administrator program.
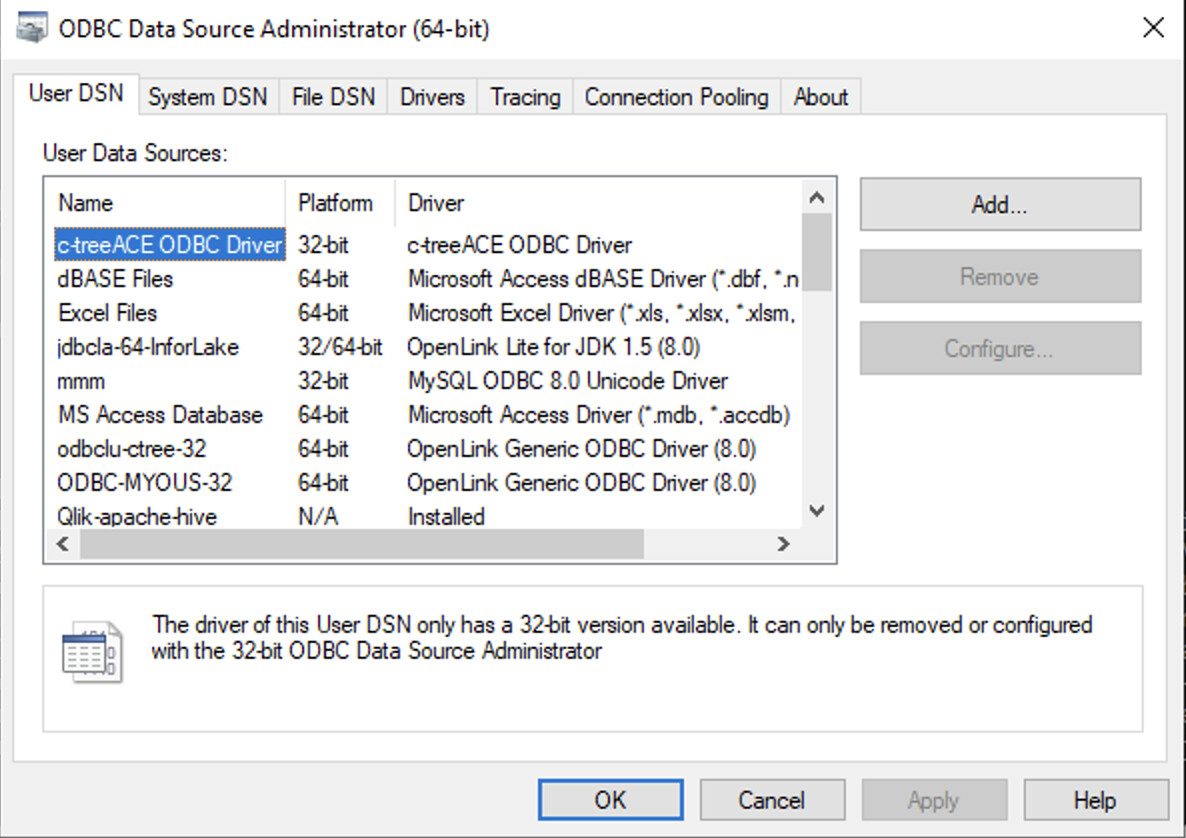
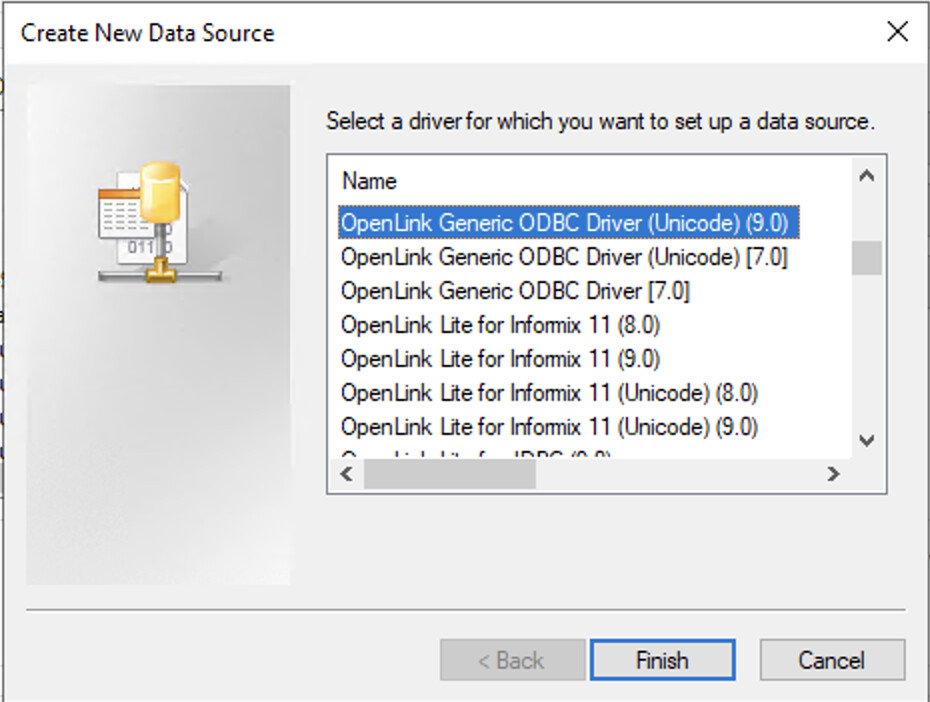
- Click on the
Addbutton and select theOpenLink Generic ODBC Driver (Unicode)(9.0)driver.
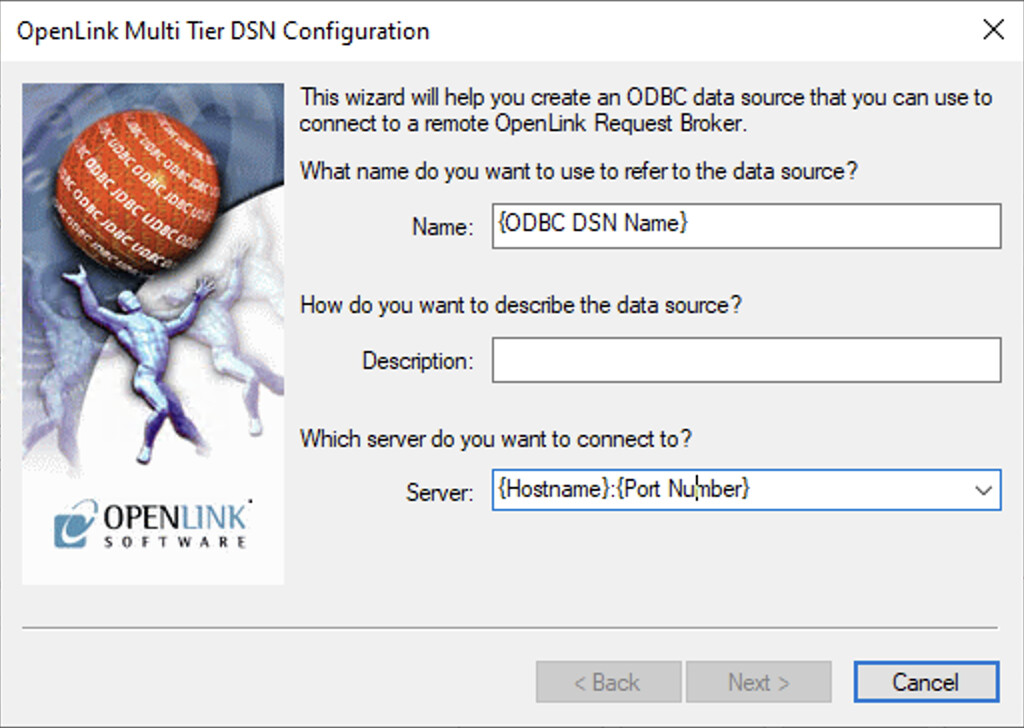
- Enter the
{ODBC DSN Name}and{Hostname}:{Port Number}, default islocalhost:5000if making a localhost connection.
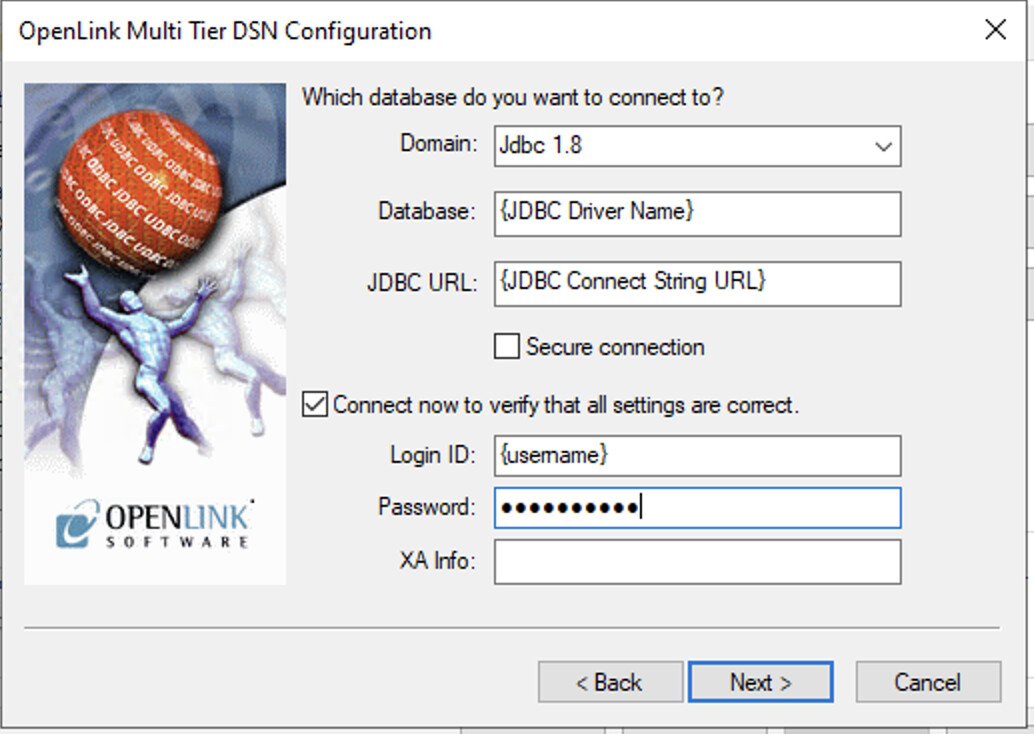
- Select the Domain
Jdbc 1.8, the Database{JDBC Driver Name}, JDBC URLJDBC Connect String URL, Login ID{Username}, Password, Select theConnect now to verify that all settings are correct and click theNextbutton to verify connection to the target database.
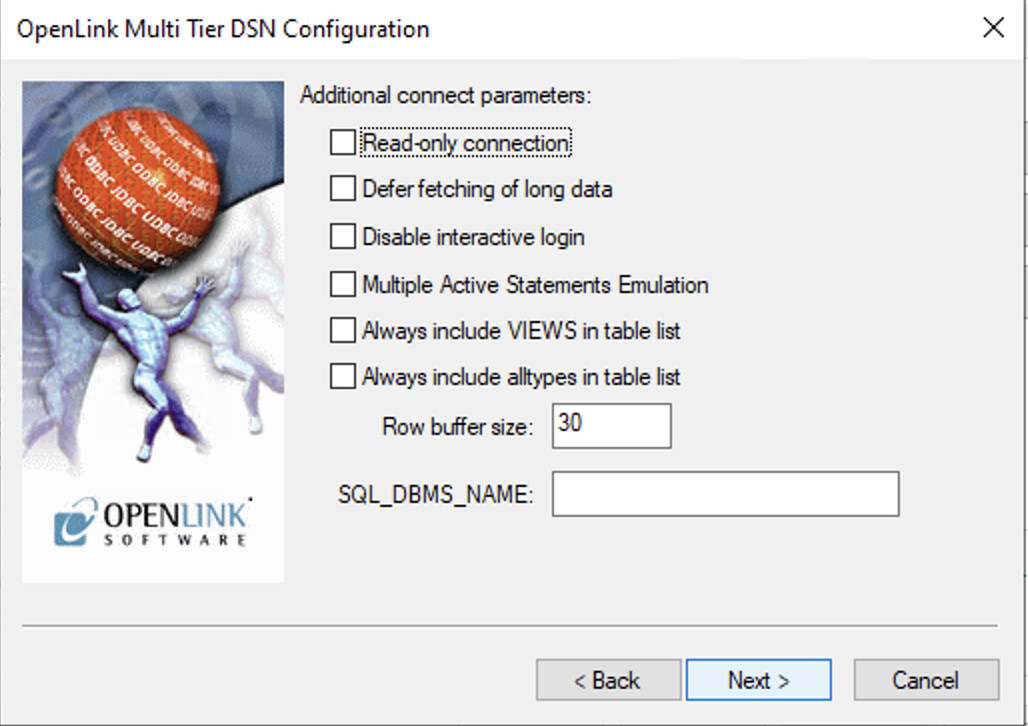
- These options can normally be left as the defaults.
- Details of the ODBC DSN are provided to for which the
Test Data Sourcebutton can be selected to test the connection.

- The connection should complete successfully

Step 6: Test connection
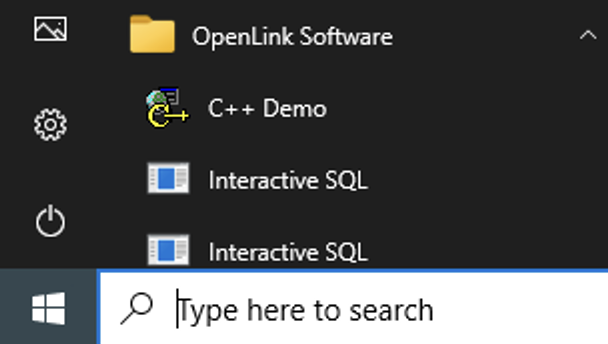
- Got to the
OpenLink Softwareprogram menu item and select theC++ Demosample application.
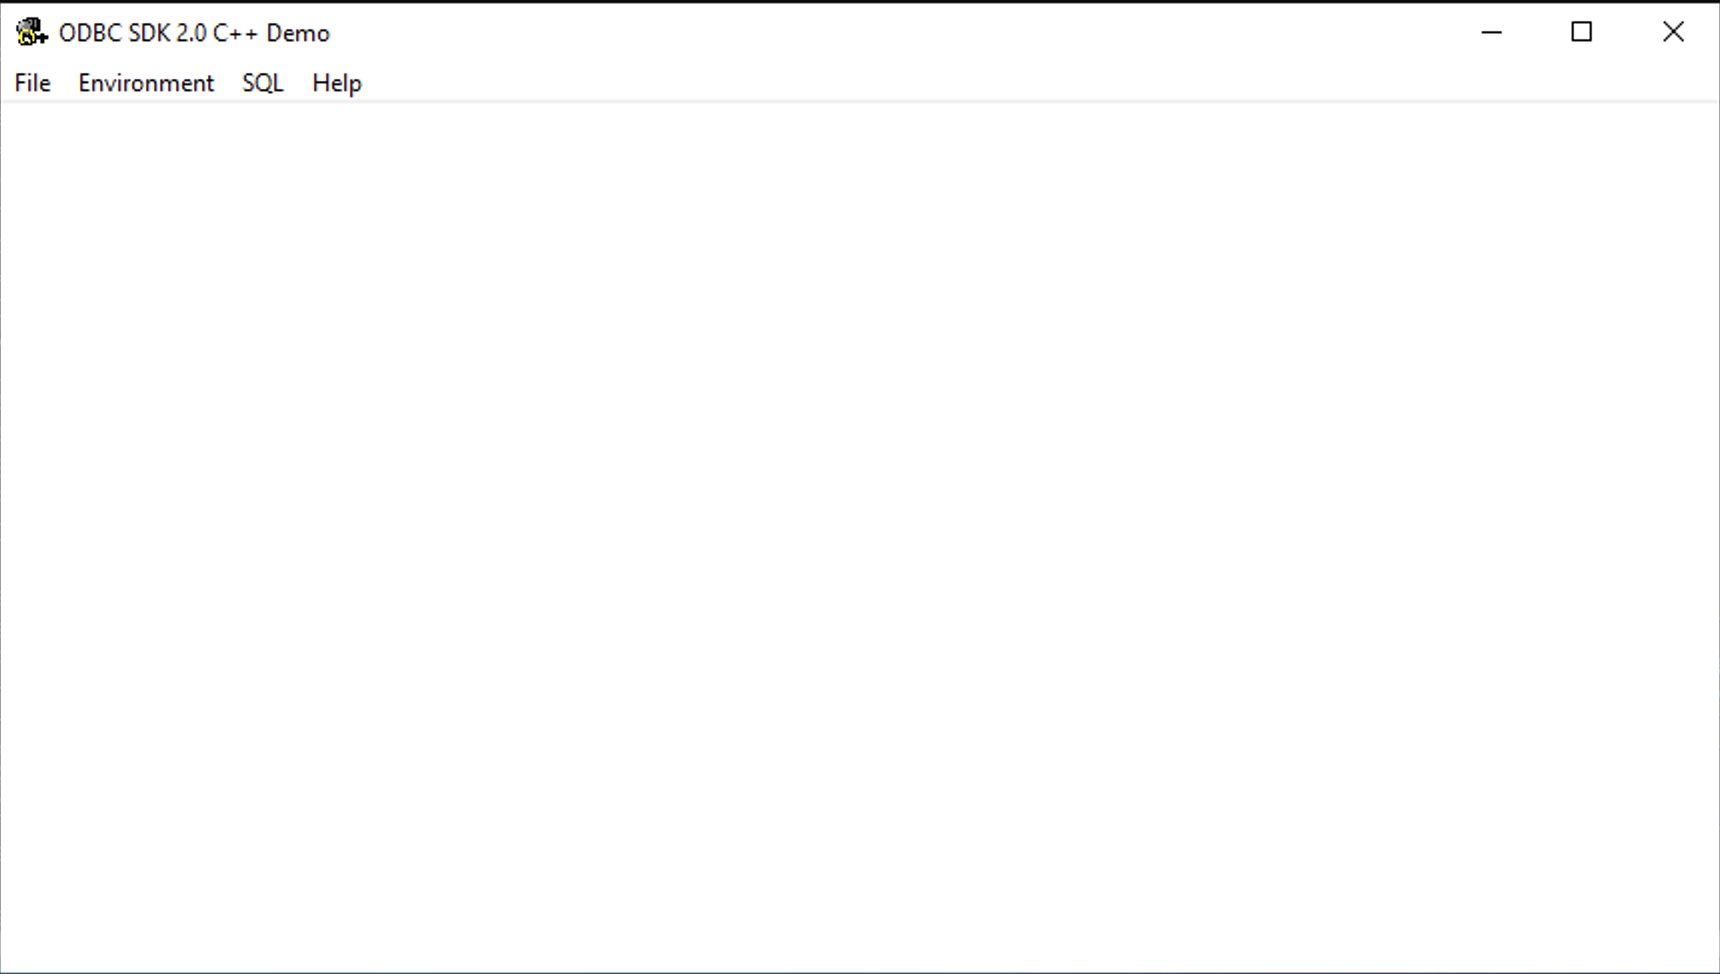
- Select the
Environment -> Open Connectionmenu item.
- Select the ODBC DSN for connection.

- Enter the username and password for the target database.

- Select the
SQL -> Execute SQLmenu item, enter the SQL query to be executed and click theOKbutton to execute.
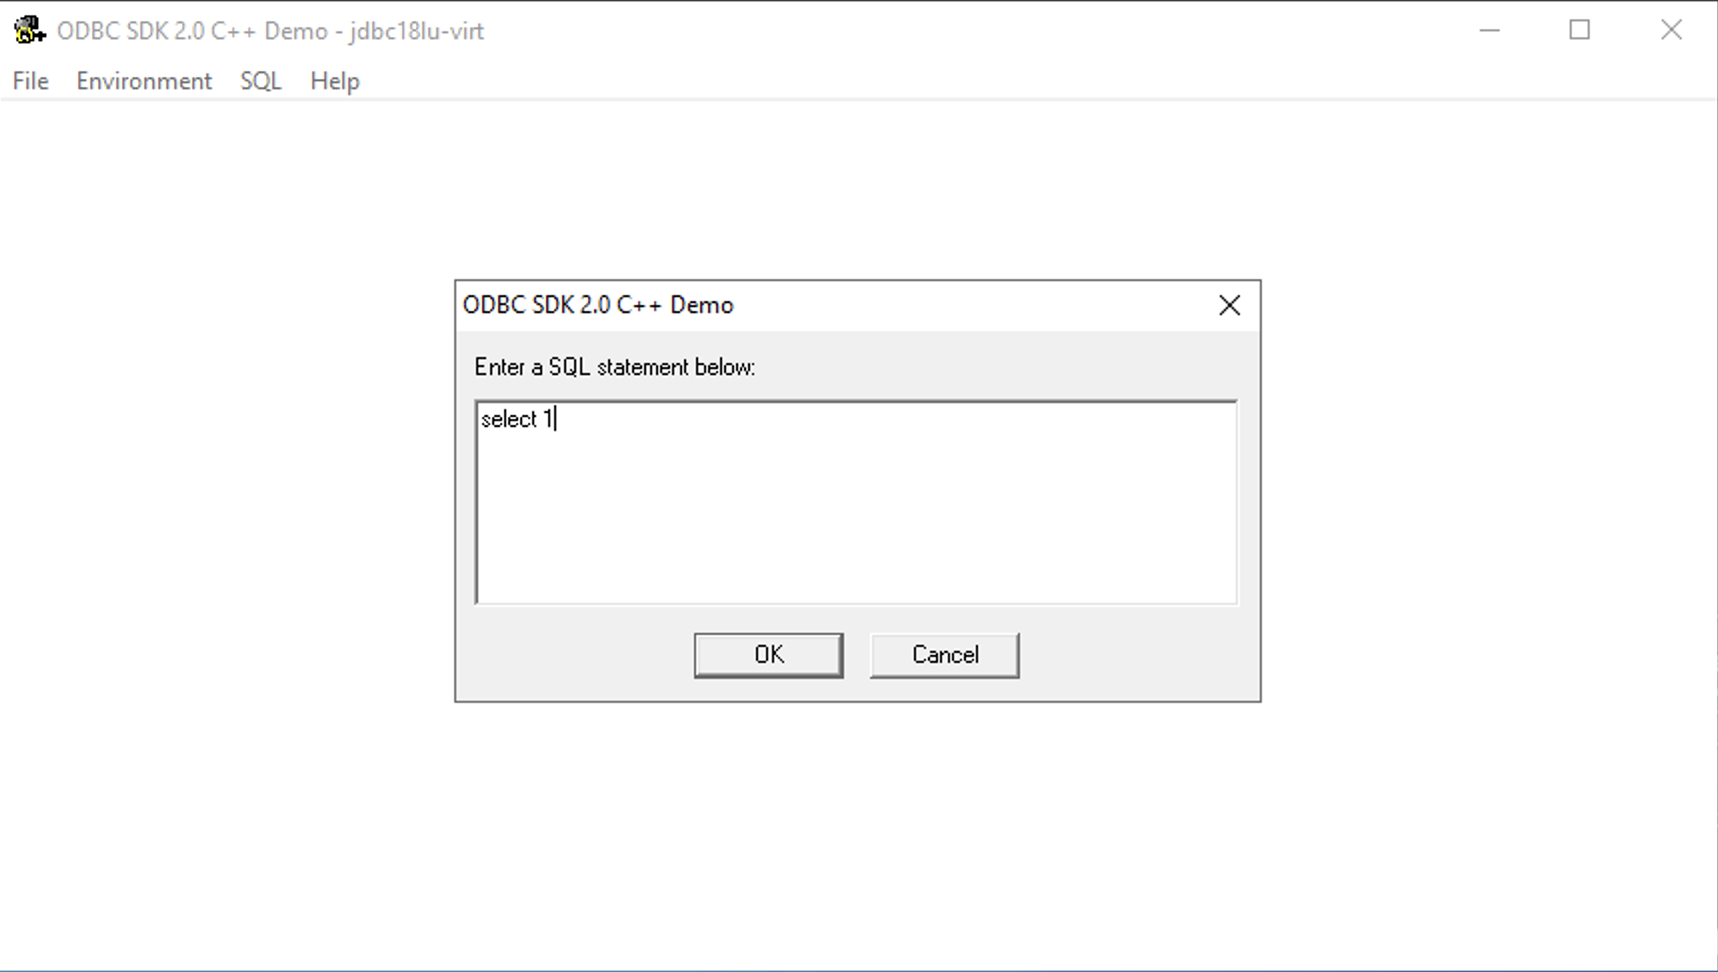
- Query results are displayed.
